Understanding the Value of Fluorescent Tube Light Fixtures
Fluorescent tube lighting remains a staple in commercial and industrial settings due to its energy efficiency and long lifespan. For lighting contractors, mastering the installation of these fixtures is not just about completing a job-it’s about maximizing profitability through speed, precision, and quality.
Fluorescent tubes offer a cost-effective lighting solution that balances upfront investment with operational savings. When installed correctly, they reduce maintenance calls and enhance client satisfaction, leading to repeat business and referrals. Knowing the ins and outs of installation can set a contractor apart in a competitive market.
Moreover, the versatility of fluorescent tube fixtures makes them suitable for a variety of applications, from warehouses and retail spaces to offices and educational institutions. Their ability to provide uniform lighting over large areas helps reduce eye strain and enhances productivity, making them an ideal choice for environments where people work for extended periods. Additionally, advancements in technology have led to the development of energy-efficient options, such as T5 and T8 tubes, which offer improved lumen output and reduced energy consumption compared to traditional models.
Furthermore, the integration of fluorescent lighting with smart technology is becoming increasingly popular. By incorporating sensors and dimmers, contractors can provide clients with customizable lighting solutions that not only save energy but also adapt to the specific needs of the space. This trend towards smart lighting systems not only enhances the functionality of fluorescent fixtures but also positions contractors as forward-thinking professionals who are in tune with modern advancements in the industry. As sustainability becomes a priority for many businesses, offering energy-efficient lighting solutions can significantly boost a contractor’s reputation and appeal in the marketplace.
Preparing for Installation: Tools, Materials, and Safety
Essential Tools and Materials
Before heading to the job site, ensure you have the right tools and materials. A typical installation requires:
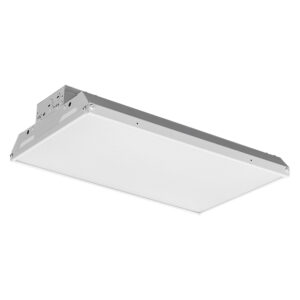
- Fluorescent tube light fixture (compatible with the tube size and wattage)
- Fluorescent tubes (T8 or T12 are common sizes)
- Ballasts (electronic ballasts are preferred for energy efficiency)
- Screwdrivers, wire strippers, and pliers
- Voltage tester or multimeter
- Wire nuts and electrical tape
- Drill and mounting hardware
Having these ready reduces downtime and keeps the installation process smooth. Additionally, consider including a level to ensure that your fixtures are perfectly aligned, which not only enhances the aesthetic appeal but also ensures optimal light distribution. A good-quality flashlight can also be invaluable, especially in dimly lit areas where you may need to work. Remember, preparation is key; double-check your inventory before leaving to avoid unnecessary trips back to the supply store.
Prioritizing Safety
Electricity and working at heights can be hazardous. Always turn off power at the circuit breaker before starting any electrical work. Use a voltage tester to confirm the power is off. Wear insulated gloves and safety glasses. If working on a ladder, ensure it is stable and positioned correctly. It’s also wise to have a buddy system in place; having someone nearby can provide assistance in case of an emergency, and they can help keep the work area clear of hazards.
Following safety protocols protects you and your crew, minimizing risk and potential liability, which is crucial for maintaining a professional reputation and profitability. Furthermore, consider reviewing Material Safety Data Sheets (MSDS) for any chemicals or materials you might be using during the installation. Understanding the properties and potential hazards of these materials can help you take the necessary precautions. Regular safety training sessions can also reinforce best practices and keep everyone informed about the latest safety regulations and techniques in the industry.
Step-by-Step Installation Process
1. Remove the Old Fixture
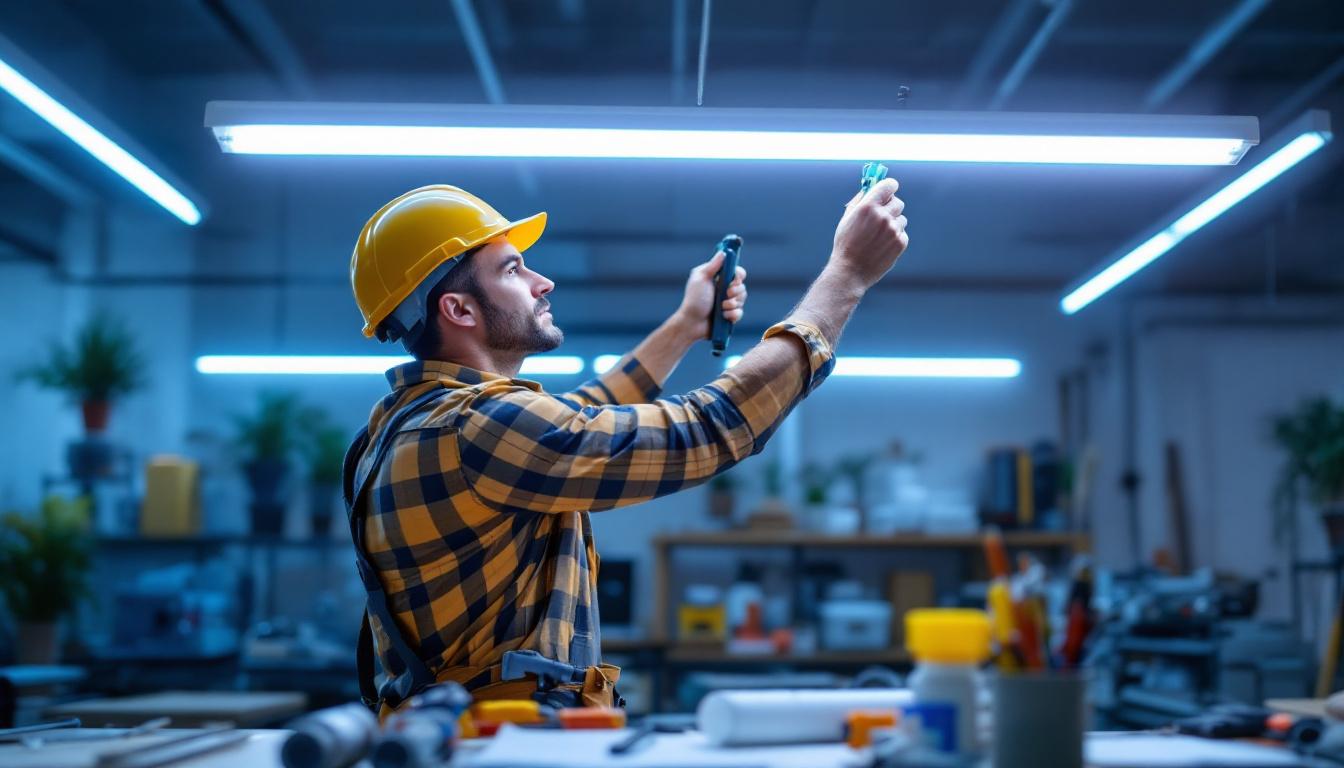
Begin by carefully removing the existing light fixture. Unscrew the fixture from the ceiling or wall, disconnect the wiring, and safely remove the old tubes and ballast if necessary. Dispose of fluorescent tubes properly as they contain mercury and require special handling. It’s advisable to wear gloves and goggles during this process to protect yourself from any potential hazards, and ensure that the power is turned off at the circuit breaker before starting. This precaution not only safeguards your safety but also prevents any electrical shorts that could occur during removal.
2. Inspect and Prepare the Wiring
Check the wiring for any damage or wear. Replace any frayed or outdated wiring to ensure safety and compliance with electrical codes. Confirm that the power source matches the voltage requirements of the new fixture. Additionally, take this opportunity to examine the junction box for any signs of corrosion or rust, which could indicate moisture issues. If the junction box is compromised, it may need to be replaced to ensure a secure and safe connection for the new fixture.
3. Mount the New Fixture
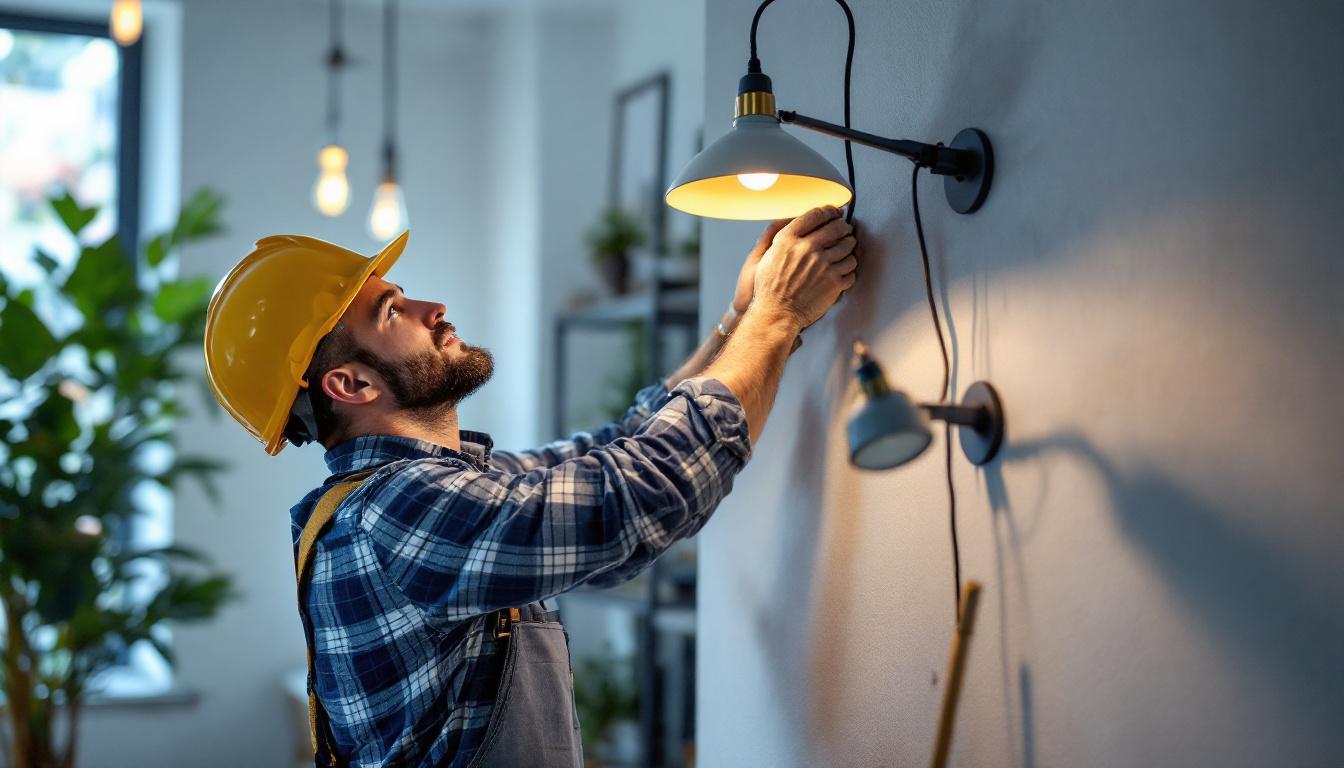
Secure the new fixture to the mounting surface using the appropriate hardware. Make sure it is level and firmly attached to prevent any movement or sagging over time. Precision at this stage reduces callbacks and enhances client satisfaction. Consider using a stud finder to locate the best mounting points, as securing the fixture to a stud will provide additional stability. If you’re installing a heavier fixture, using toggle bolts can also help distribute the weight more evenly, ensuring a long-lasting installation.
4. Connect the Wiring
Match the fixture’s wires to the building’s wiring—typically black to black (hot), white to white (neutral), and green or bare copper to ground. Use wire nuts to secure connections and wrap them with electrical tape for added safety. Double-check connections with a multimeter. It’s also beneficial to label the wires if you’re working with multiple fixtures or if the wiring is complex. This practice can save time and confusion during future maintenance or upgrades, making it easier for anyone who might work on the system later.
5. Install the Ballast and Tubes
If the fixture doesn’t come pre-installed with a ballast, mount the ballast inside the fixture housing. Connect the ballast wiring according to the manufacturer’s instructions. Insert the fluorescent tubes by aligning the pins with the sockets and twisting gently until they lock in place. Be mindful of the type of tubes being used, as there are various sizes and wattages available. Using the correct type not only ensures optimal performance but also maximizes energy efficiency, which is increasingly important in today’s environmentally conscious market.
6. Test the Installation
Restore power and switch on the fixture. The tubes should illuminate immediately. If they flicker or fail to light, recheck wiring and ballast connections. Addressing issues on-site avoids costly return visits. Additionally, it’s a good idea to observe the fixture for a few minutes after installation to ensure that it operates smoothly without any unusual sounds or flickering, which could indicate underlying issues that need to be addressed. This proactive approach not only enhances the reliability of your installation but also builds trust with your clients, demonstrating your commitment to quality workmanship.
Maximizing Profitability Through Efficient Installation
Streamlining the Process
Time is money. Efficient installations mean more jobs completed and higher earnings. Organize tools and materials before arriving, and develop a consistent routine for installation steps. Experienced contractors often complete fluorescent fixture installations in under an hour, depending on complexity.
Investing in quality tools and training your team can reduce errors and rework, saving both time and money. Electronic ballasts, though slightly more expensive upfront, reduce installation complexity and improve energy efficiency, making them a smart choice for long-term profitability.
Offering Value-Added Services
Clients appreciate contractors who go beyond basic installation. Offering services such as upgrading to energy-efficient ballasts, retrofitting with LED tubes, or providing maintenance contracts can increase revenue streams. Educating clients on the benefits of these options positions you as a trusted advisor rather than just a labor provider.
Maintaining Compliance and Quality Standards
Adhering to local electrical codes and manufacturer guidelines not only ensures safety but also protects your business from liability. Quality workmanship reduces callbacks and builds a strong reputation. Satisfied clients are more likely to recommend your services, driving business growth.
Common Challenges and How to Overcome Them
Dealing with Old or Non-Standard Wiring
Older buildings often have outdated wiring that may not meet current standards. This can complicate installations and increase labor time. Conduct a thorough inspection before starting and be prepared to upgrade wiring as needed. Clear communication with clients about potential additional costs is essential.
Handling Fixture Compatibility Issues
Not all fluorescent tubes and ballasts are interchangeable. Using incompatible components can lead to flickering, reduced lifespan, or failure. Verify specifications and source components from reputable suppliers to avoid these pitfalls.
Managing Client Expectations
Clients may not understand the nuances of fluorescent lighting technology. Providing clear explanations about installation timelines, costs, and maintenance requirements helps set realistic expectations and fosters trust.
Conclusion: Turning Installation Expertise Into Profit
Mastering fluorescent tube light fixture installation is a valuable skill that directly impacts profitability. Efficient, safe, and high-quality installations reduce costs and enhance client satisfaction. By preparing thoroughly, following best practices, and offering value-added services, lighting contractors can build a strong, profitable business in the lighting industry.
Staying informed about the latest technologies and industry standards ensures that contractors remain competitive and capable of meeting diverse client needs. Fluorescent lighting may be a mature technology, but it still offers plenty of opportunities for skilled professionals to shine.
Get Your Lighting Supplies at LumenWholesale
Ready to elevate your lighting installations to the next level? At LumenWholesale, we provide lighting contractors like you with the highest quality, spec-grade fluorescent tube light fixtures and more, all at unbeatable wholesale prices. Say goodbye to local distributor markups and hello to our direct-to-you savings. Our extensive selection not only meets but exceeds industry standards, ensuring that every installation is as profitable as it is impressive. Plus, with free shipping on bulk orders, you can stock up on premium lighting without worrying about hidden fees or compromises. Don’t miss out on the perfect combination of quality, affordability, and convenience. Visit LumenWholesale now and discover the best value in wholesale lighting for your next project.