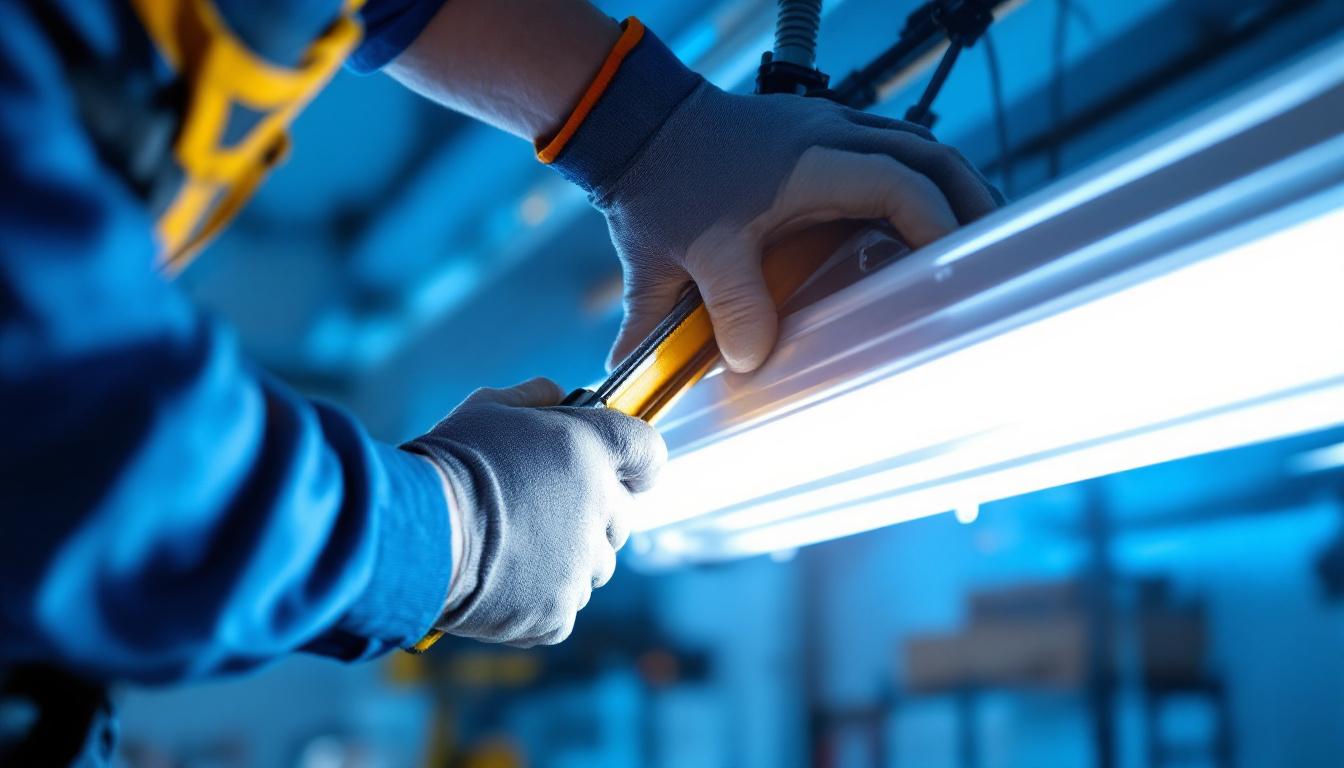
Replacing a fluorescent light ballast is a task that many lighting contractors encounter regularly. Understanding the intricacies of this process can not only enhance efficiency but also improve the quality of service provided to clients. This article delves into the essential steps, tools, and tips that can help contractors master the art of ballast replacement.
Understanding the Fluorescent Light Ballast
The ballast is a crucial component in fluorescent lighting systems. It regulates the current to the lamps and provides the necessary voltage to start the lamps. Without a properly functioning ballast, fluorescent lights may flicker, hum, or fail to operate altogether. Recognizing the signs of a failing ballast is the first step toward a successful replacement. Additionally, the choice of ballast can significantly impact energy consumption and overall lighting quality, making it essential for contractors to stay informed about the latest advancements in ballast technology.
Signs of a Failing Ballast
Contractors should be vigilant for several indicators that suggest a ballast is nearing the end of its life. Common signs include flickering lights, buzzing sounds, and inconsistent brightness. In some cases, the light may not turn on at all. Addressing these issues promptly can prevent further complications and ensure a safe working environment. Furthermore, it is important to note that a failing ballast can also lead to increased energy costs, as it may cause the lamps to draw more power than necessary. Regular maintenance checks can help in identifying these issues early, allowing for timely interventions that can save both time and money.
Types of Ballasts
There are two primary types of ballasts: magnetic and electronic. Magnetic ballasts are older technology and tend to be heavier and bulkier, while electronic ballasts are more energy-efficient and compact. Understanding the differences between these types will help contractors choose the right replacement for the specific lighting system they are working on. In addition to these two main types, there are also hybrid options that combine features of both magnetic and electronic ballasts, offering unique benefits such as improved energy efficiency while maintaining compatibility with older fixtures. As the industry evolves, new technologies continue to emerge, including smart ballasts that can be integrated into building automation systems, providing enhanced control over lighting and further optimizing energy usage.
Tools and Materials Needed
Before embarking on the ballast replacement process, it is essential to gather the necessary tools and materials. This preparation not only streamlines the job but also ensures safety and compliance with electrical standards.
Essential Tools
- Wire cutters/strippers
- Screwdriver set (both flathead and Phillips)
- Voltage tester
- Safety goggles
- Gloves
Having the right tools on hand can make the replacement process smoother. A voltage tester is particularly important for ensuring that the power is off before any work begins, thus minimizing the risk of electrical shock. Additionally, a sturdy ladder may be necessary if the fixtures are mounted at a height, allowing for safe access to the ballast. It’s also wise to have a flashlight or work light available to illuminate the workspace, especially in dimly lit areas where visibility can be a challenge.
Materials Required
In addition to tools, contractors will need to acquire a replacement ballast that is compatible with the existing fluorescent fixtures. It’s advisable to check the specifications on the old ballast or consult the fixture’s manual to ensure the correct match. Additionally, having electrical tape and wire connectors on hand will facilitate secure connections. It is also beneficial to consider the type of fluorescent bulbs being used, as some ballasts are designed specifically for certain bulb types, such as T8 or T12. Ensuring compatibility not only aids in optimal performance but can also extend the lifespan of the new ballast and the bulbs themselves. Moreover, having a multimeter can be invaluable for diagnosing any electrical issues that may arise during the replacement process, allowing for a thorough assessment of the entire lighting system.
Step-by-Step Guide to Replacing a Fluorescent Light Ballast
Replacing a fluorescent light ballast can be broken down into several clear steps. Following this guide will help ensure that the process is efficient and safe.
1. Safety First
Before starting any electrical work, safety should be the top priority. Turn off the power at the circuit breaker and use a voltage tester to confirm that the power is off. Wearing safety goggles and gloves is also recommended to protect against accidental injuries. Additionally, it’s wise to inform others in the household that you are working on electrical fixtures to prevent accidental power restoration while you’re in the middle of the job.
2. Remove the Fixture Cover
Once safety is assured, the next step is to remove the fixture cover. This typically involves unscrewing or unclipping the cover to access the ballast. Depending on the fixture design, this may require a specific screwdriver or tool. Some fixtures may have a more complex assembly, so be prepared to take your time and carefully document each step to ensure you can reassemble everything correctly. If the fixture is particularly old or has been painted over, you may encounter additional resistance when trying to remove the cover.
3. Disconnect the Old Ballast
With the cover removed, locate the ballast. It is usually secured with screws or clips. Carefully disconnect the wires connected to the ballast, taking note of how they are wired. This is crucial for the installation of the new ballast. It may be helpful to take a photo or sketch the wiring configuration for reference. Additionally, inspect the old ballast for any signs of damage or corrosion, as this can give you insight into the lifespan of the previous unit and help you understand what might have caused its failure.
4. Install the New Ballast
Secure the new ballast in place using the same screws or clips from the old ballast. Connect the wires according to the configuration noted earlier. Ensure that all connections are tight and secure, using wire connectors and electrical tape as needed to prevent any loose connections. It’s also beneficial to check the specifications of the new ballast to ensure it is compatible with your fluorescent tubes, as different types may require specific ballasts for optimal performance.
5. Reassemble the Fixture
After the new ballast is installed and all connections are made, reattach the fixture cover. Ensure that it is secured properly to prevent any hazards. Double-check that no wires are pinched or exposed, as this could lead to electrical issues. This is also a good time to clean any dust or debris from inside the fixture, as a clean environment can improve the efficiency and lifespan of your lighting system.
6. Restore Power and Test
Once everything is reassembled, it’s time to restore power at the circuit breaker. Turn on the light switch to test the new ballast. If all has gone well, the fluorescent lights should illuminate without any flickering or buzzing. If you encounter any issues, double-check your wiring connections and ensure that the ballast is properly seated. Sometimes, a simple adjustment can resolve unexpected problems, allowing you to enjoy your newly functioning light fixture without further complications.
Common Mistakes to Avoid
Even experienced contractors can make mistakes during the ballast replacement process. Being aware of common pitfalls can help avoid unnecessary complications.
Incorrect Wiring
One of the most frequent errors is incorrect wiring of the new ballast. It is essential to ensure that wires are connected to the correct terminals, as specified by the ballast’s instructions. Miswiring can lead to malfunctioning lights or even electrical hazards.
Neglecting Safety Protocols
Another common mistake is neglecting safety protocols. Always ensure that the power is off before beginning work, and use appropriate safety gear. Skipping these steps can lead to serious injuries.
Using Incompatible Components
Using a ballast that is not compatible with the existing fixtures can lead to performance issues. Always verify specifications before purchasing a replacement ballast to ensure it meets the requirements of the lighting system.
Advanced Tips for Lighting Contractors
For contractors looking to elevate their skills in ballast replacement, consider these advanced tips that can enhance efficiency and service quality.
Keep a Stock of Common Ballasts
Maintaining a stock of commonly used ballasts can save time during service calls. This ensures that replacements can be made quickly, minimizing downtime for clients and improving overall satisfaction.
Stay Updated on Technology
As lighting technology continues to evolve, staying informed about the latest advancements in ballast technology is crucial. Understanding the benefits of newer electronic ballasts can help contractors provide better recommendations to clients, ultimately enhancing their service offerings.
Offer Maintenance Services
In addition to replacement, offering routine maintenance services can help clients prolong the life of their lighting systems. Regular checks can identify potential issues before they become significant problems, leading to happier clients and repeat business.
Conclusion
Replacing a fluorescent light ballast is a fundamental skill for lighting contractors. By understanding the components, gathering the right tools, and following a systematic approach, contractors can ensure successful replacements that enhance the functionality of lighting systems. Avoiding common mistakes and implementing advanced tips can further elevate the quality of service provided. Mastering these aspects will not only improve efficiency but also foster trust and satisfaction among clients.
Get Your Premium Lighting Supplies at LumenWholesale
Ready to take your lighting projects to the next level? At LumenWholesale, we provide lighting contractors like you with the highest quality, spec-grade lighting products at prices that can’t be beaten. Say goodbye to local distributor markups and hello to our extensive selection that meets rigorous industry standards. Whether you’re replacing a fluorescent light ballast or stocking up for future projects, we’ve got you covered with hassle-free bulk buying and free shipping. Elevate your service with reliable, high-performance lighting from LumenWholesale, where quality, affordability, and convenience come together. Discover the best value in wholesale lighting by visiting LumenWholesale today.