Understanding Screw In Ceiling Lights: Basics Every Contractor Should Know
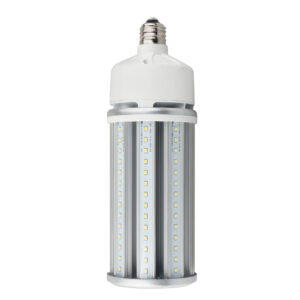
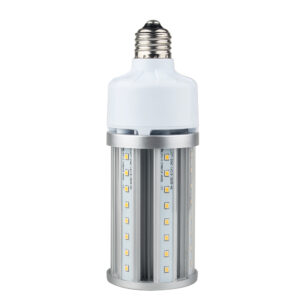
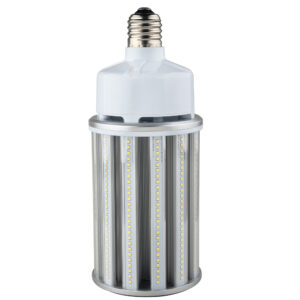
Screw in ceiling lights, often referred to as socket-based fixtures, remain a staple in residential and commercial lighting installations. Their simplicity and versatility make them a go-to choice for many lighting contractors. These fixtures typically rely on bulbs with standard screw bases, such as the E26 or E27, which are widely available and compatible with a range of bulb types from incandescent to LED.
Before diving into installation or maintenance, it’s essential to grasp the fundamental components: the socket, the mounting bracket, the wiring, and the bulb itself. Each part plays a critical role in ensuring safety, functionality, and longevity. For contractors, understanding these elements helps in troubleshooting issues and advising clients on upgrades or replacements.
Common Types of Screw In Ceiling Lights
There are several variations of screw in ceiling lights that contractors encounter regularly. These include flush mount fixtures, semi-flush mounts, and pendant fixtures that use screw-in bulbs. Each type offers different installation challenges and aesthetic outcomes.
Flush mount fixtures sit directly against the ceiling, making them ideal for low ceilings or spaces where a streamlined look is desired. Semi-flush mounts hang slightly below the ceiling, adding a bit of depth and style. Pendant fixtures, while less common for standard screw in bulbs, can incorporate these bulbs for a modern or industrial vibe. Additionally, contractors should be aware of the growing trend of smart bulbs that can be used with these fixtures. These smart options allow homeowners to control lighting remotely, set schedules, and even change colors, adding a layer of convenience and energy efficiency that appeals to tech-savvy clients.
Furthermore, when selecting screw in ceiling lights, it’s important to consider the lumen output and color temperature of the bulbs. Higher lumen output is essential for spaces requiring bright illumination, such as kitchens or work areas, while softer, warmer tones create a cozy atmosphere in living rooms or bedrooms. Contractors should also advise clients on the benefits of LED bulbs, which not only consume less energy but also have a longer lifespan compared to traditional incandescent bulbs. This knowledge can help clients make informed decisions that enhance both the functionality and aesthetic appeal of their spaces.
Pre-Installation Checklist: Setting the Stage for Success
Preparation is key to a smooth installation. Skipping or rushing through this phase can lead to safety hazards, rework, or unhappy clients. Here’s a detailed checklist to follow before installing screw in ceiling lights.
Assess the Electrical Box and Wiring
Begin by inspecting the existing electrical box. It must be securely fastened to the ceiling joist or a support brace. Loose boxes can cause the fixture to wobble or fall, posing a safety risk. Verify that the box is rated for the weight of the fixture you plan to install.
Next, check the wiring condition. Look for signs of wear, corrosion, or improper splicing. The wiring should comply with local electrical codes, typically featuring a hot (live) wire, neutral, and ground. If any wiring appears suspect, replace or repair before proceeding. Additionally, consider the age of the wiring; older homes may have outdated systems that require an upgrade to handle modern lighting demands safely.
Choose the Right Bulb and Fixture Compatibility
Not all screw in bulbs are created equal. Confirm the fixture’s maximum wattage rating and select bulbs that do not exceed this limit. LED bulbs are highly recommended for their energy efficiency and longevity, but ensure the bulb base matches the fixture socket type.
Consider the color temperature and lumen output to meet the client’s lighting needs. For example, warmer tones (2700K-3000K) work well in living spaces, while cooler tones (4000K-5000K) are preferred in work areas or kitchens. Additionally, think about the dimming capabilities; if the client desires adjustable lighting, ensure both the fixture and bulbs are compatible with dimmer switches to create the perfect ambiance for any occasion.
Gather Proper Tools and Safety Gear
Having the right tools on hand can save time and prevent accidents. Essential tools include a voltage tester, wire strippers, screwdrivers, pliers, and a ladder rated for ceiling work. Personal protective equipment such as insulated gloves and safety glasses are non-negotiable for electrical tasks.
Furthermore, consider having a few additional items handy, such as electrical tape for securing connections and a flashlight to illuminate dark spaces during installation. It’s also wise to have a helper available, especially for larger fixtures, to ensure safe handling and positioning. Working as a team can streamline the process and provide an extra set of eyes to catch any potential issues before they become problems during installation.
Installation Process: Step-by-Step Guide for Contractors
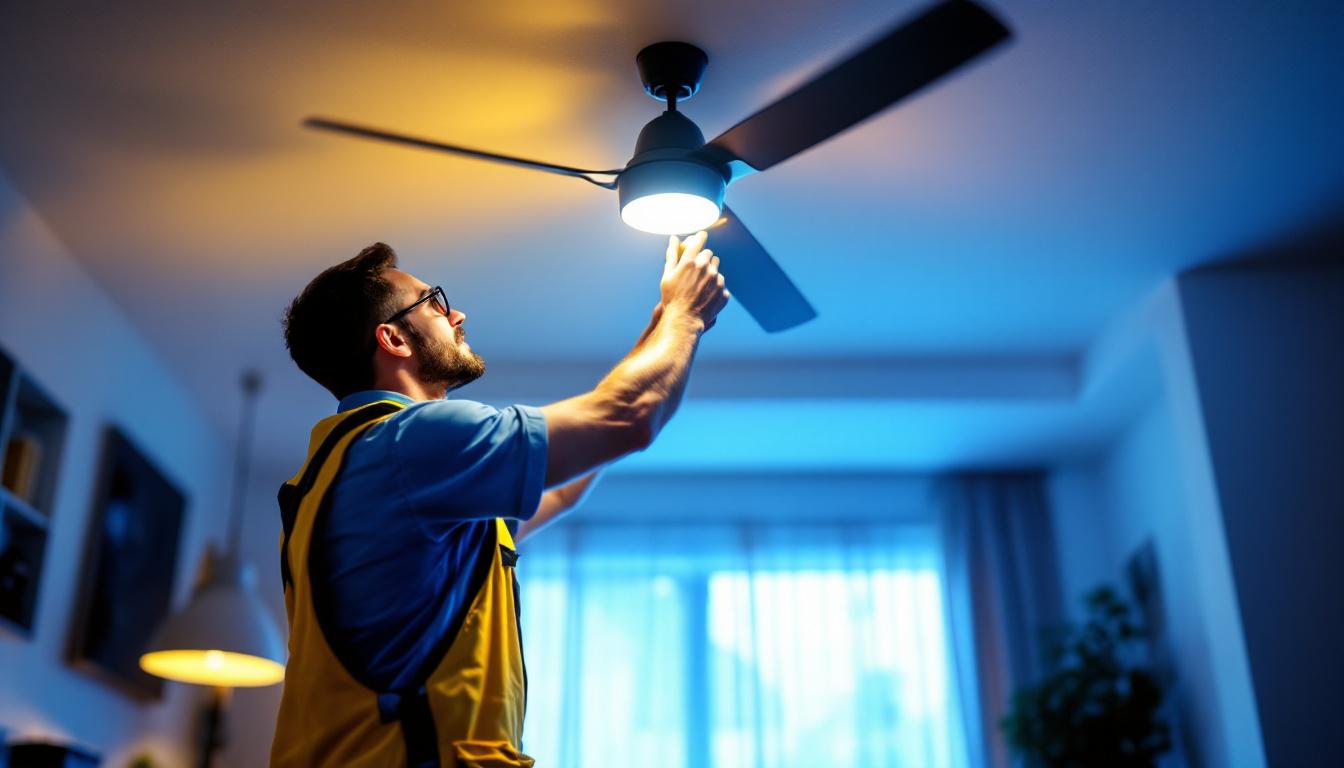
Installing screw in ceiling lights might seem straightforward, but attention to detail ensures a professional finish and client satisfaction. Follow these steps carefully.
Turn Off Power and Verify
Always switch off the circuit breaker controlling the fixture’s wiring. Use a voltage tester to confirm that no current is flowing before touching any wires. This step is crucial to avoid electrical shock.
Remove Old Fixture and Prepare the Site
If replacing an existing fixture, carefully remove it by unscrewing the mounting screws and disconnecting the wires. Inspect the electrical box and wiring once more before installing the new fixture.
Clean the mounting surface and ensure the box is free from debris or damage. It’s also a good practice to check for any signs of wear or corrosion on the wires and connections, as this can indicate potential issues that may need addressing before proceeding. Additionally, take a moment to assess the overall design and placement of the new fixture to ensure it aligns with the client’s expectations and the room’s aesthetic.
Connect Wiring Correctly
Match the fixture wires to the house wiring: black (hot) to black, white (neutral) to white, and green or bare copper (ground) to the grounding screw or wire. Use wire nuts to secure connections and wrap them with electrical tape for added safety.
Neatly tuck the wires into the electrical box to avoid pinching or damage when mounting the fixture. It’s advisable to double-check that all connections are secure and that there are no exposed wires, as this can lead to short circuits or electrical fires. Furthermore, consider labeling the wires if you’re working in a complex setup, as this can save time and confusion during future maintenance or upgrades.
Mount the Fixture and Install Bulb
Attach the fixture’s mounting bracket to the electrical box using the provided screws. Then, secure the fixture to the bracket, ensuring it is flush and stable.
Insert the appropriate screw in bulb, ensuring it is snug but not overtightened to prevent damage to the socket or bulb base. Depending on the design of the fixture, you may also want to consider the type of bulb used; LED options can provide energy efficiency and longevity, while incandescent bulbs may offer a warmer light quality. Discussing these options with the client can enhance their satisfaction with the final product.
Restore Power and Test
Turn the circuit breaker back on and test the light. Check for flickering, buzzing, or any irregular behavior. If issues arise, turn off power immediately and re-inspect wiring and connections.
After confirming that the light operates correctly, take a moment to adjust the fixture’s angle or orientation if applicable, ensuring it illuminates the desired area effectively. Additionally, consider providing the client with maintenance tips, such as how to replace bulbs safely or clean the fixture without damaging its finish, to help them maintain the quality and appearance of their new lighting installation over time.
Maintenance and Troubleshooting Tips for Screw In Ceiling Lights
Regular maintenance extends the life of screw in ceiling lights and prevents common issues. Contractors should educate clients on simple upkeep and be prepared to troubleshoot when problems occur.
Routine Cleaning and Bulb Replacement
Dust and debris can accumulate on fixtures and bulbs, reducing light output and causing overheating. Recommend clients clean fixtures periodically with a dry cloth and replace bulbs promptly when they burn out.
When replacing bulbs, always match the wattage and base type to avoid fixture damage or electrical hazards.
Addressing Flickering or Non-Functioning Lights
Flickering often results from loose wiring, incompatible bulbs, or voltage fluctuations. Start by tightening bulb connections and testing with a known good bulb. If flickering persists, inspect wiring connections inside the fixture or consult an electrician for voltage issues.
For lights that do not turn on, verify power at the switch and fixture. A faulty switch or blown fuse could be the culprit.
Upgrading to Smart or Energy-Efficient Options
Many clients seek upgrades to smart bulbs or energy-efficient fixtures. When retrofitting screw in ceiling lights, ensure compatibility with dimmers or smart hubs. Some LED bulbs require specific dimmer types to avoid flickering or reduced lifespan.
Advising clients on these options can enhance their satisfaction and position contractors as knowledgeable professionals.
Safety Considerations and Code Compliance
Safety is paramount when working with electrical fixtures. Lighting contractors must adhere to local and national electrical codes to protect themselves and their clients.
Grounding and Circuit Protection
Proper grounding prevents electrical shocks and fires. Always connect the fixture’s ground wire to the house grounding system. Use circuit breakers or fuses rated for the circuit load to protect wiring and devices.
Working in Wet or Damp Locations
When installing screw in ceiling lights in bathrooms, kitchens, or outdoor covered areas, ensure fixtures are rated for damp or wet locations. Use appropriate sealants and covers to prevent moisture ingress.
Documentation and Permits
Some jurisdictions require permits for electrical work. Keep thorough documentation of installations, including fixture specifications, wiring diagrams, and inspection approvals. This protects contractors legally and enhances professionalism.
Final Thoughts: Mastering Screw In Ceiling Light Installations
Mastering the installation and maintenance of screw in ceiling lights is a fundamental skill for lighting contractors. Attention to detail, adherence to safety standards, and clear communication with clients set the foundation for successful projects.
By following this comprehensive checklist, contractors can ensure each installation is safe, efficient, and aesthetically pleasing. Staying informed about new bulb technologies and code updates further elevates a contractor’s expertise and reputation in the field.
Illuminate Your Projects with LumenWholesale
Ready to elevate your lighting installations with the best in the business? At LumenWholesale, we provide lighting contractors like you with the highest quality, spec-grade lighting products at prices that can’t be beaten. Say goodbye to local distributor markups and hello to our extensive selection that meets rigorous industry standards. With free shipping on bulk orders, you can stock up on reliable, high-performance lighting for every project, ensuring safety, efficiency, and aesthetic appeal. Discover wholesale lighting at the best value and make LumenWholesale your go-to for premium lighting solutions.