Fluorescent lighting remains a popular choice in both residential and commercial settings due to its efficiency and longevity. However, the performance of these lights heavily relies on the proper installation of a ballast. For lighting contractors, understanding how to install a ballast correctly is essential for ensuring optimal functionality and customer satisfaction. This article delves into the steps, tips, and best practices for installing a ballast in a fluorescent light fixture.
Understanding the Role of a Ballast
Before diving into the installation process, it is crucial to understand what a ballast does. A ballast is an electrical device that regulates the current to the fluorescent lamps and provides the necessary voltage to start the lamps. Without a properly functioning ballast, fluorescent lights may flicker, hum, or fail to start altogether. This regulation of current is essential not only for the operation of the lamps but also for their safety, as it prevents overheating and potential damage to the lighting system.
Types of Ballasts
There are primarily two types of ballasts used in fluorescent lighting: magnetic and electronic. Magnetic ballasts are older technology, often heavier and less efficient, while electronic ballasts are lighter, more energy-efficient, and provide better performance. Magnetic ballasts operate using a transformer to regulate the current, which can result in a warmer operating temperature and increased energy consumption. In contrast, electronic ballasts use solid-state circuitry, allowing for more precise control over the electrical flow, which translates into longer lamp life and reduced energy waste.
When selecting a ballast, it is essential to consider the type of fluorescent lamp being used, as well as the specific requirements of the lighting installation. Electronic ballasts are generally recommended for new installations due to their advantages in energy efficiency and reduced noise levels. Additionally, they often come with features such as dimming capabilities and compatibility with various lamp types, making them a versatile choice for modern lighting solutions.
Common Issues with Ballasts
Lighting contractors often encounter various issues with ballasts, including flickering lights, buzzing sounds, and complete lamp failure. Understanding these problems can help in troubleshooting and ensuring a successful installation. A faulty ballast can lead to inefficient lighting, increased energy costs, and customer dissatisfaction. For instance, flickering lights may indicate that the ballast is struggling to provide the necessary voltage, while a persistent buzzing sound can be a sign of an aging or malfunctioning unit that may need immediate attention.
Regular maintenance and timely replacement of ballasts are vital for the longevity of fluorescent lighting systems. Familiarity with the symptoms of a failing ballast can save time and resources in the long run. Monitoring the performance of ballasts and conducting routine inspections can help identify potential issues before they escalate. Furthermore, keeping an inventory of replacement ballasts on hand can streamline the repair process, minimizing downtime and ensuring that lighting systems remain efficient and effective. This proactive approach not only enhances the reliability of the lighting but also contributes to overall energy savings and sustainability efforts in both residential and commercial settings.
Tools and Materials Needed for Installation
Before beginning the installation process, gathering the necessary tools and materials is crucial. Having everything on hand ensures a smooth workflow and minimizes interruptions. Proper preparation not only helps in executing the task efficiently but also contributes to safety, as it reduces the need to search for tools while working with electrical components.
Essential Tools
- Screwdriver (flathead and Phillips)
- Wire cutters/strippers
- Voltage tester
- Electrical tape
- Safety goggles
Materials Required
- Replacement ballast
- Wire connectors
- Fluorescent lamps (if needed)
Ensuring that all tools and materials are ready before starting the installation can save time and enhance efficiency. It is advisable to double-check the specifications of the ballast to ensure compatibility with the existing lighting system. Additionally, it may be beneficial to have a multimeter on hand for more advanced troubleshooting, as this tool can help diagnose electrical issues that may arise during the installation process.
Furthermore, consider the environment in which the installation will take place. If you’re working in a dimly lit area, a portable work light can be invaluable for providing adequate visibility. Also, having a sturdy ladder or step stool can assist in reaching high fixtures safely. Remember, safety should always be a priority; wearing gloves can protect your hands from sharp edges, and keeping a first aid kit nearby is a wise precaution, just in case of minor accidents. By taking these extra steps, you can ensure a more organized and secure installation experience.
Step-by-Step Installation Process
Installing a ballast in a fluorescent light fixture is a straightforward process, but it requires careful attention to detail. Follow these steps to ensure a successful installation.
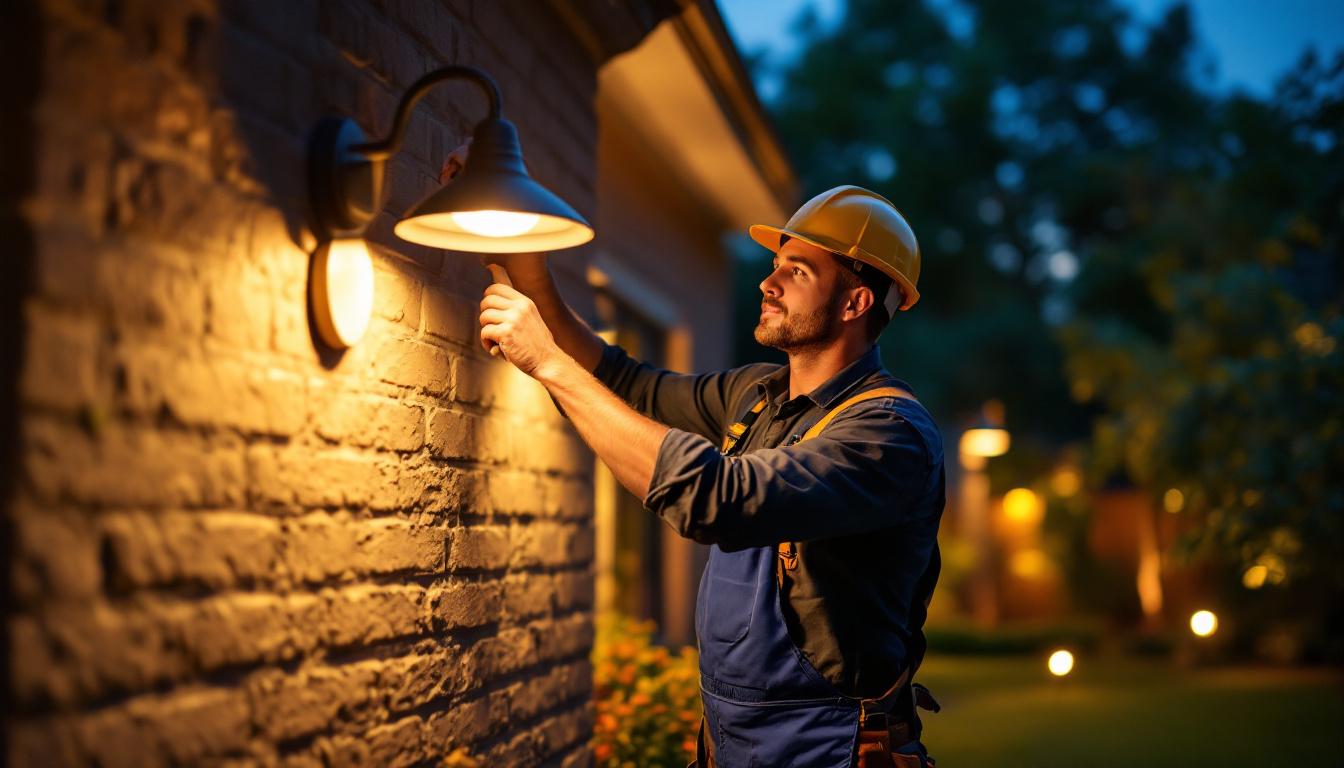
1. Safety First
Before beginning any electrical work, safety should always be the top priority. Turn off the power to the light fixture at the circuit breaker. Use a voltage tester to confirm that the power is off before proceeding. Wearing safety goggles can protect against debris and accidental electrical contact.
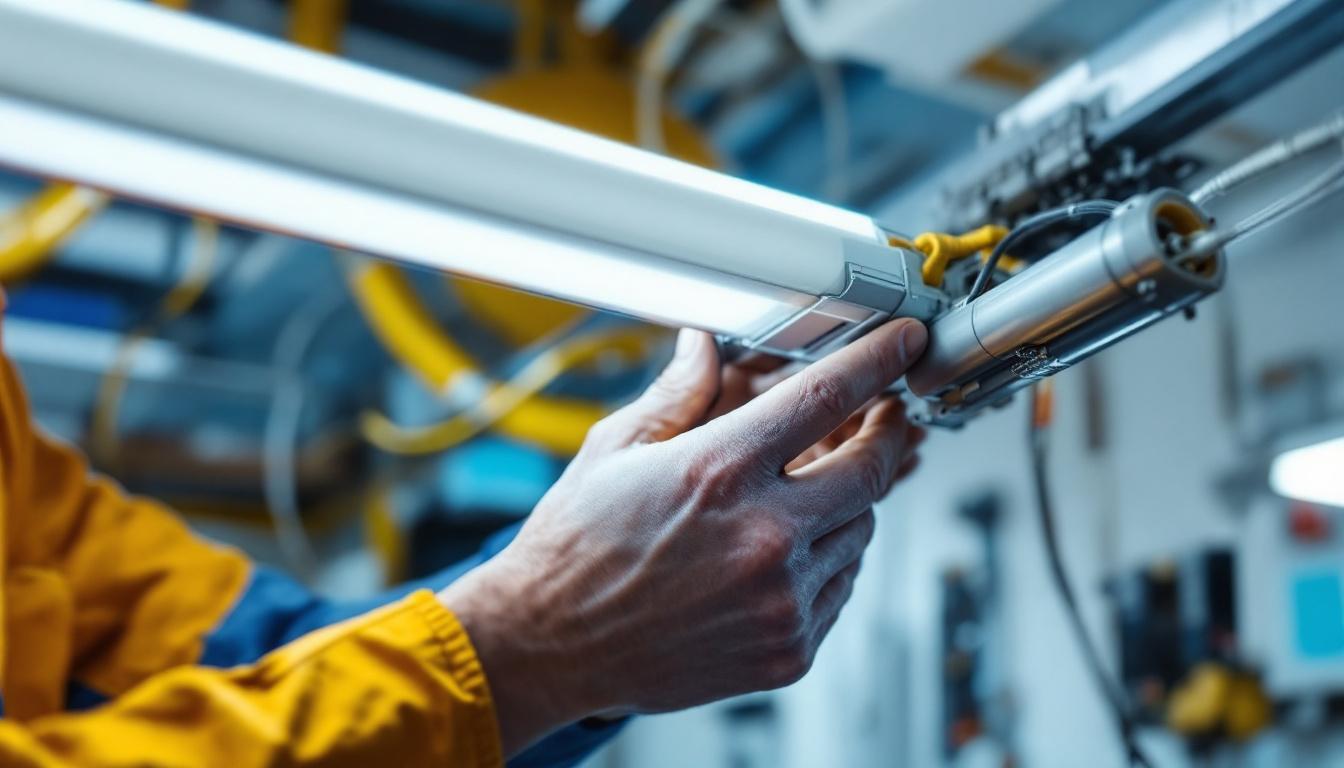
2. Remove the Old Ballast
Once the power is confirmed off, remove the fluorescent lamps from the fixture. This typically involves twisting the lamps to release them from their sockets. Next, remove the cover of the fixture if applicable, which may require unscrewing or unclipping.
Locate the old ballast, which is usually mounted to the fixture with screws. Disconnect the wires connected to the ballast, taking note of their arrangement for reference during the installation of the new ballast. Remove the old ballast from the fixture.
3. Install the New Ballast
Position the new ballast in the same location as the old one and secure it with screws. Connect the wires from the ballast to the corresponding wires in the fixture. Typically, this involves connecting the black (hot) wire to the black wire from the ballast, the white (neutral) wire to the white wire, and the red or blue wires to the lamp sockets.
Use wire connectors to secure the connections and wrap them with electrical tape for added safety. Ensure that all connections are tight and secure to prevent any electrical issues.
4. Reassemble the Fixture
Once the new ballast is installed and all connections are made, reassemble the fixture by replacing the cover and reinstalling the fluorescent lamps. Ensure that the lamps are seated correctly in their sockets.
After everything is back in place, turn the power back on at the circuit breaker. Test the fixture to ensure that the new ballast is functioning correctly and that the lamps light up without flickering.
It’s also a good idea to monitor the fixture over the next few days to ensure consistent performance. If you notice any flickering or buzzing sounds, it may indicate a loose connection or a faulty ballast. In such cases, it’s advisable to turn off the power again and double-check all connections. Additionally, consider keeping the old ballast and any packaging from the new ballast for a short period; this can be useful in case you need to return or exchange the new ballast due to any defects.
Finally, remember that different types of ballasts may have specific installation instructions, so always refer to the manufacturer’s guidelines that come with your new ballast. This will ensure that you are following the best practices for that particular model, which can vary based on wattage and fixture type. Proper installation not only enhances the longevity of your lighting system but also contributes to energy efficiency, helping to reduce your electricity bills while providing optimal illumination for your space.
Best Practices for Installation
To enhance the success of ballast installation, consider the following best practices:
1. Follow Manufacturer Instructions
Each ballast may come with specific installation instructions provided by the manufacturer. Adhering to these guidelines ensures that the ballast is installed correctly and operates as intended. Always refer to the documentation for wiring diagrams and installation tips.
2. Label Wires During Removal
When removing the old ballast, labeling the wires can simplify the installation process. Using masking tape or a marker to label each wire will help avoid confusion during reassembly, ensuring that each wire is connected to the correct terminal.
3. Conduct Regular Maintenance
Regular maintenance of fluorescent lighting systems, including ballasts, can extend their lifespan and improve performance. Encourage clients to schedule periodic inspections to identify and address any potential issues before they escalate.
Common Mistakes to Avoid
Even experienced lighting contractors can make mistakes during ballast installation. Being aware of common pitfalls can help avoid costly errors.
1. Ignoring Compatibility
Using an incompatible ballast can lead to poor performance or complete failure of the lighting system. Always check the specifications of the ballast against the requirements of the fluorescent lamps and fixture.
2. Inadequate Wire Connections
Improperly connected wires can result in flickering lights or electrical shorts. Ensure that all connections are secure and that the wire connectors are appropriately used. Double-checking connections can prevent issues down the line.
3. Neglecting Safety Protocols
Failing to prioritize safety can lead to accidents and injuries. Always turn off the power before starting any electrical work and use appropriate safety gear. Following safety protocols is essential for both the contractor’s well-being and the client’s peace of mind.
Conclusion
Installing a ballast in a fluorescent light fixture is a fundamental skill for lighting contractors. By understanding the role of the ballast, following a systematic installation process, and adhering to best practices, contractors can ensure that their clients receive high-quality lighting solutions.
With the right tools, materials, and knowledge, the installation of a ballast can be a straightforward task that contributes significantly to the success of lighting projects. By avoiding common mistakes and prioritizing safety, contractors can enhance their reputation and build lasting relationships with their clients.
In the competitive field of lighting contracting, mastering the installation of ballasts is not just a technical skill; it is a key component of delivering exceptional service and results. Embracing this knowledge will undoubtedly lead to greater success in the industry.
Get Your Quality Lighting Supplies at LumenWholesale
Ready to take your lighting projects to the next level? LumenWholesale is your go-to source for spec-grade lighting products that combine quality with unbeatable wholesale prices. Say goodbye to local distributor markups and hello to a vast selection of reliable, high-performance lighting essentials that meet the highest industry standards. With free shipping on bulk orders, you can stock up on everything you need without worrying about hidden fees. Elevate your service offerings and delight your clients by choosing Wholesale Lighting at the Best Value from LumenWholesale — where quality, affordability, and convenience shine bright.