In the ever-evolving world of lighting design, LED pot light trims have emerged as a popular choice among contractors and homeowners alike. These fixtures not only provide excellent illumination but also enhance the aesthetic appeal of any space. For lighting contractors, understanding the intricacies of LED pot light trims is essential for delivering quality installations and satisfying clients. This checklist serves as a comprehensive guide to ensure that every aspect of LED pot light trim installation is covered.
Understanding LED Pot Light Trims
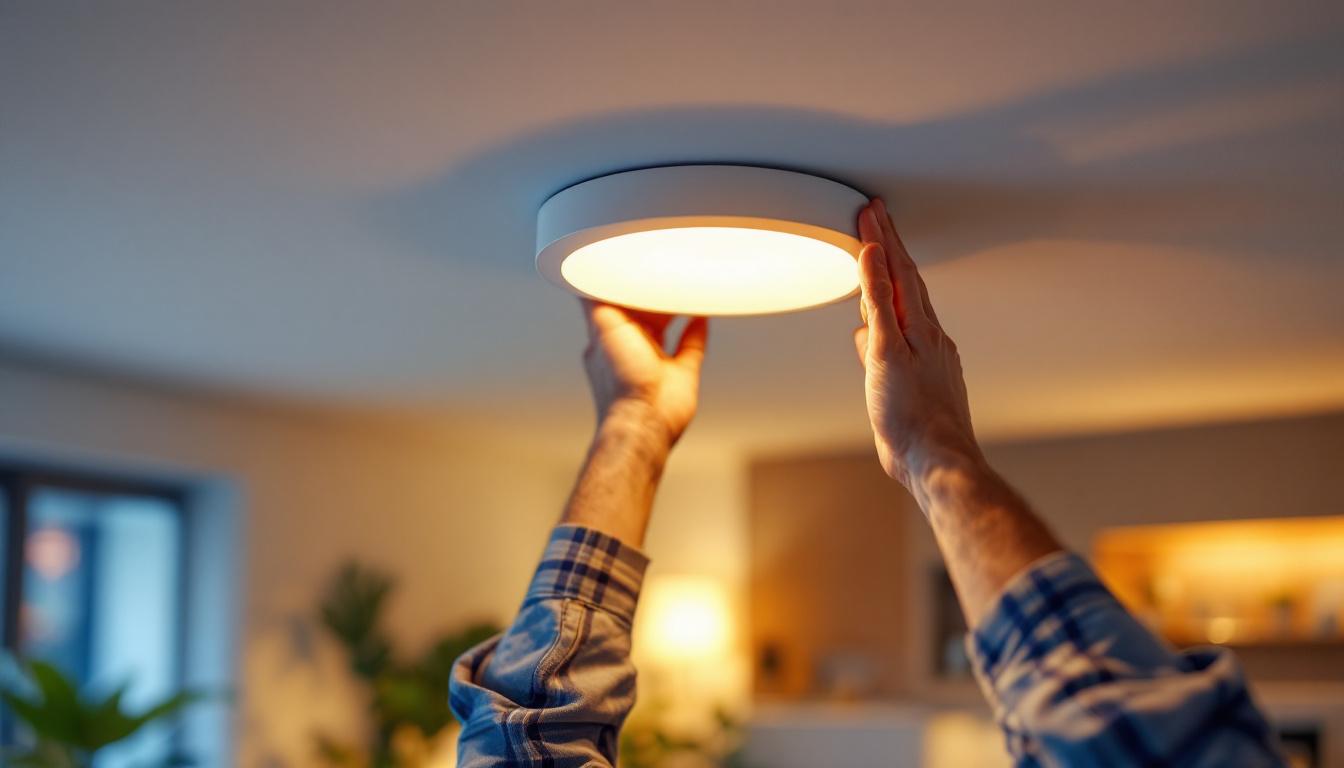
LED pot light trims are designed to fit into recessed housing and offer a sleek, modern appearance. They come in various styles, colors, and finishes, allowing for versatility in design. Understanding the different types of trims available is crucial for contractors to recommend the best options to their clients.
Types of LED Pot Light Trims
There are several types of LED pot light trims available on the market, each designed for specific applications. These include:
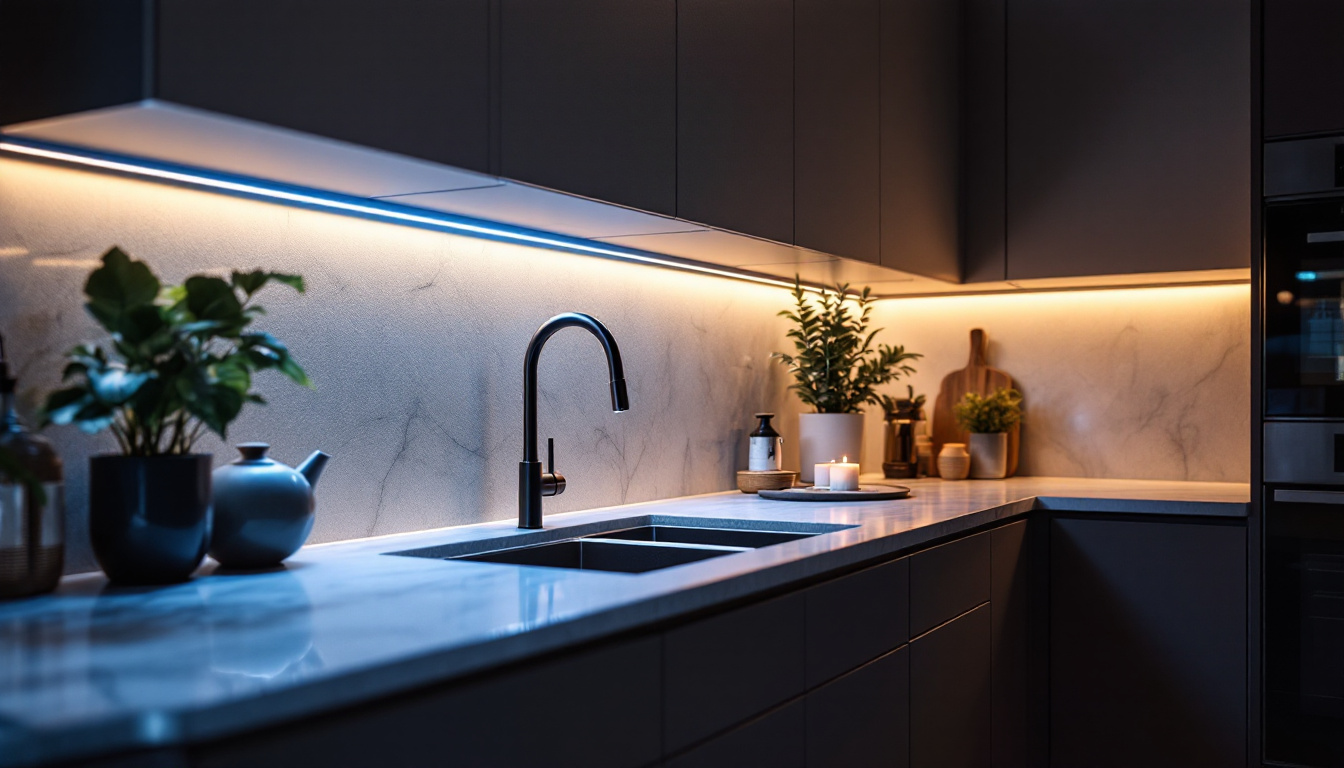
- Reflector Trims: Ideal for creating a focused beam of light, these trims are perfect for task lighting in kitchens or workspaces.
- Baffle Trims: Featuring a ribbed interior, baffle trims help reduce glare and are suitable for general lighting in living areas.
- Wall Wash Trims: Designed to direct light onto walls, these trims enhance the visual appeal of artwork or architectural features.
Benefits of Using LED Pot Light Trims
The advantages of LED pot light trims extend beyond aesthetics. They offer energy efficiency, longevity, and reduced heat output compared to traditional lighting options. This not only translates to lower energy bills for clients but also enhances the overall comfort of the space.
Moreover, LED trims are available in various color temperatures, allowing contractors to create the desired ambiance in any room. Whether it’s warm white for a cozy feel or cool white for a modern touch, the options are abundant.
In addition to their functional benefits, LED pot light trims also contribute to sustainability efforts. By using significantly less energy than incandescent or fluorescent bulbs, they help reduce carbon footprints. Many models are also made from recyclable materials, making them an eco-friendly choice for environmentally conscious consumers. This aspect of LED trims not only appeals to homeowners looking to make greener choices but also positions contractors as forward-thinking professionals who prioritize sustainability in their projects.
Furthermore, the installation of LED pot light trims can be a straightforward process, especially with the advent of retrofit options that allow for easy upgrades of existing fixtures. This means that even older homes can benefit from the modern advantages of LED technology without the need for extensive renovations. As a result, homeowners can enjoy improved lighting quality and energy savings with minimal disruption to their daily lives.
Essential Tools and Materials
Before embarking on an installation project, it’s vital for contractors to gather all necessary tools and materials. This ensures a smooth workflow and minimizes delays.
Tools Required
Having the right tools at hand can make all the difference in the efficiency of the installation process. Essential tools include:
- Drill: A power drill is necessary for creating holes in ceilings for the recessed housing.
- Wire Strippers: These are crucial for preparing electrical wires for connections.
- Voltage Tester: Ensuring that the power is off before beginning work is a critical safety measure.
Materials Needed
In addition to tools, contractors should prepare a list of materials required for the installation. This typically includes:
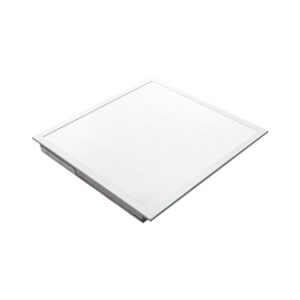
- LED Pot Light Trims: Choose the appropriate trims based on the project requirements.
- Recessed Housings: Ensure compatibility with the selected trims.
- Electrical Wire: Use the correct gauge wire for safe and effective connections.
Installation Process
The installation of LED pot light trims involves several steps that must be followed meticulously to ensure optimal performance and safety. Each step is crucial and should not be overlooked.
Step 1: Planning the Layout
Before any installation begins, it’s essential to plan the layout of the pot lights. This involves measuring the space and determining the optimal placement of each fixture. Factors such as room size, ceiling height, and the purpose of the lighting should be considered.
Creating a lighting plan not only helps in achieving the desired illumination but also enhances the overall design of the space. Marking the locations on the ceiling can provide a visual guide during installation.
Step 2: Cutting the Ceiling Holes
Once the layout is finalized, the next step is to cut holes in the ceiling for the recessed housings. Using a drywall saw or hole saw, carefully cut out the marked areas. It’s important to ensure that the holes are the correct size for the housings to fit snugly.
Contractors should also be mindful of any existing electrical wiring or plumbing in the ceiling to avoid damaging these systems during cutting.
Step 3: Installing the Recessed Housings
After the holes are cut, the recessed housings can be installed. These housings should be secured to the ceiling joists using screws or clips, depending on the design of the housing. Ensure that the housings are level and properly aligned with the ceiling.
Once the housings are in place, the next step involves making the electrical connections. It’s crucial to follow local electrical codes and regulations during this process to ensure safety and compliance.
Electrical Connections
Making electrical connections is a critical part of the installation process. Proper wiring ensures that the LED pot lights function correctly and safely.
Wiring the Fixtures
When wiring the LED pot light trims, it’s essential to follow the manufacturer’s instructions carefully. Begin by stripping the ends of the electrical wires and connecting them to the corresponding wires in the housing. Typically, this involves connecting the black (hot) wire to the black wire, the white (neutral) wire to the white wire, and grounding the fixture as necessary.
After making the connections, it’s advisable to use wire nuts to secure the connections and ensure they are insulated. This step is crucial for preventing electrical shorts and ensuring safety.
Testing the Installation
Before finalizing the installation, testing the lights is an important step. After connecting the power, turn on the circuit breaker and test each fixture to ensure they operate correctly. If any lights fail to illuminate, double-check the wiring connections and troubleshoot as necessary.
It’s also beneficial to check for any flickering or dimming, which could indicate issues with the wiring or compatibility between the trim and housing.
Finishing Touches
Once the installation is complete and the lights are functioning properly, it’s time to add the finishing touches. This final phase enhances the overall appearance and ensures that the installation meets client expectations.
Installing the Trims
With the housings in place and the wiring completed, the next step is to install the LED pot light trims. These trims typically snap or twist into place within the recessed housing. Ensure that they are securely fitted and aligned with the ceiling for a polished look.
Contractors should also consider the trim finish and color, as this can significantly impact the overall aesthetic of the space. Offering clients a selection of finishes can enhance their satisfaction with the final product.
Cleaning Up the Work Area
After the installation is complete, it’s essential to clean up the work area. Removing any debris, dust, or leftover materials not only creates a safer environment but also leaves a positive impression on clients. A tidy workspace reflects professionalism and attention to detail.
Additionally, contractors should take the time to explain the operation and maintenance of the LED pot lights to clients. Providing guidance on how to change bulbs or troubleshoot minor issues can enhance the client’s experience and build trust.
Common Issues and Troubleshooting
Even with careful planning and execution, issues can arise during or after the installation of LED pot light trims. Understanding common problems and their solutions can save time and frustration.
Flickering Lights
Flickering lights can be caused by several factors, including loose connections, incompatible dimmers, or poor-quality bulbs. If flickering occurs, the first step is to check the wiring connections to ensure they are secure.
If connections are tight, consider whether the dimmer switch is compatible with LED fixtures. Upgrading to an LED-compatible dimmer can resolve this issue and provide a smoother dimming experience.
Inconsistent Brightness
Inconsistent brightness among fixtures can be frustrating for clients. This issue may arise from differences in the wattage of bulbs or variations in the quality of the trims. To address this, ensure that all bulbs used are of the same wattage and from the same manufacturer.
Additionally, checking the compatibility of the trims with the recessed housings can help identify any discrepancies that may lead to brightness inconsistencies.
Conclusion
LED pot light trims offer a modern, efficient lighting solution that enhances the beauty and functionality of any space. For lighting contractors, mastering the installation process is essential for delivering quality work and ensuring client satisfaction. By following this comprehensive checklist, contractors can navigate the complexities of LED pot light trims with confidence.
From understanding the types of trims available to executing a flawless installation, each step plays a vital role in the overall success of the project. By paying attention to detail and addressing common issues proactively, contractors can establish a reputation for excellence in the competitive lighting industry.
Ultimately, the goal is to create well-lit, inviting spaces that meet the needs and preferences of clients, ensuring they enjoy the benefits of LED lighting for years to come.
Get Your Premium LED Pot Light Trims at LumenWholesale
Ready to elevate your lighting projects with the finest LED pot light trims? LumenWholesale is your go-to source for spec-grade lighting products that combine quality and affordability. Say goodbye to local distributor markups and hello to our unbeatable wholesale prices, extensive selection, and the convenience of free shipping on bulk orders. Enhance your installations with reliable, high-performance lighting that your clients will love. Visit us now and discover why contractors trust LumenWholesale for Wholesale Lighting at the Best Value.