Changing out a light ballast is a crucial task in the realm of lighting installations, particularly for contractors who want to ensure optimal performance and longevity of lighting systems. A light ballast regulates the current to the lamps and provides the necessary voltage to start the lamps. Understanding how to change a ballast not only enhances the quality of light but also contributes to energy efficiency and safety in electrical systems.
Understanding the Role of a Light Ballast
Before diving into the process of changing a light ballast, it is essential to understand its function. A ballast serves as a stabilizing component in fluorescent and HID (High-Intensity Discharge) lighting systems. It controls the electrical current flowing through the lamp and provides the initial surge of electricity needed to ignite the bulb. This crucial component ensures that the lamp operates efficiently and safely, preventing the risk of electrical overloads that could lead to premature failure or even fire hazards.
Without a properly functioning ballast, lights may flicker, fail to start, or consume more energy than necessary. This can lead to increased operational costs and a shorter lifespan for the lighting fixtures. Therefore, recognizing the signs of a failing ballast is critical for any lighting contractor. Moreover, understanding the different types of ballasts, such as magnetic and electronic, can help in selecting the right replacement and optimizing the performance of the lighting system.
Common Signs of a Failing Ballast
Several indicators can signal that a ballast is failing. Flickering lights are one of the most common symptoms, often caused by a weak or faulty ballast. Additionally, if the lights take longer than usual to start or exhibit dimming, it’s time to consider a replacement. These issues not only affect the ambiance of a space but can also lead to decreased productivity in work environments where adequate lighting is essential.
Another sign is unusual noises coming from the ballast, such as buzzing or humming. These sounds can indicate overheating or internal failure. It’s important to address these noises promptly, as they can be a precursor to complete ballast failure, which may leave you in the dark unexpectedly. Lastly, if the ballast shows physical signs of damage, such as corrosion or leaking, it should be replaced immediately to prevent further issues. Regular maintenance and inspections can help catch these problems early, ensuring that your lighting systems remain reliable and efficient.
Tools and Materials Needed for the Replacement
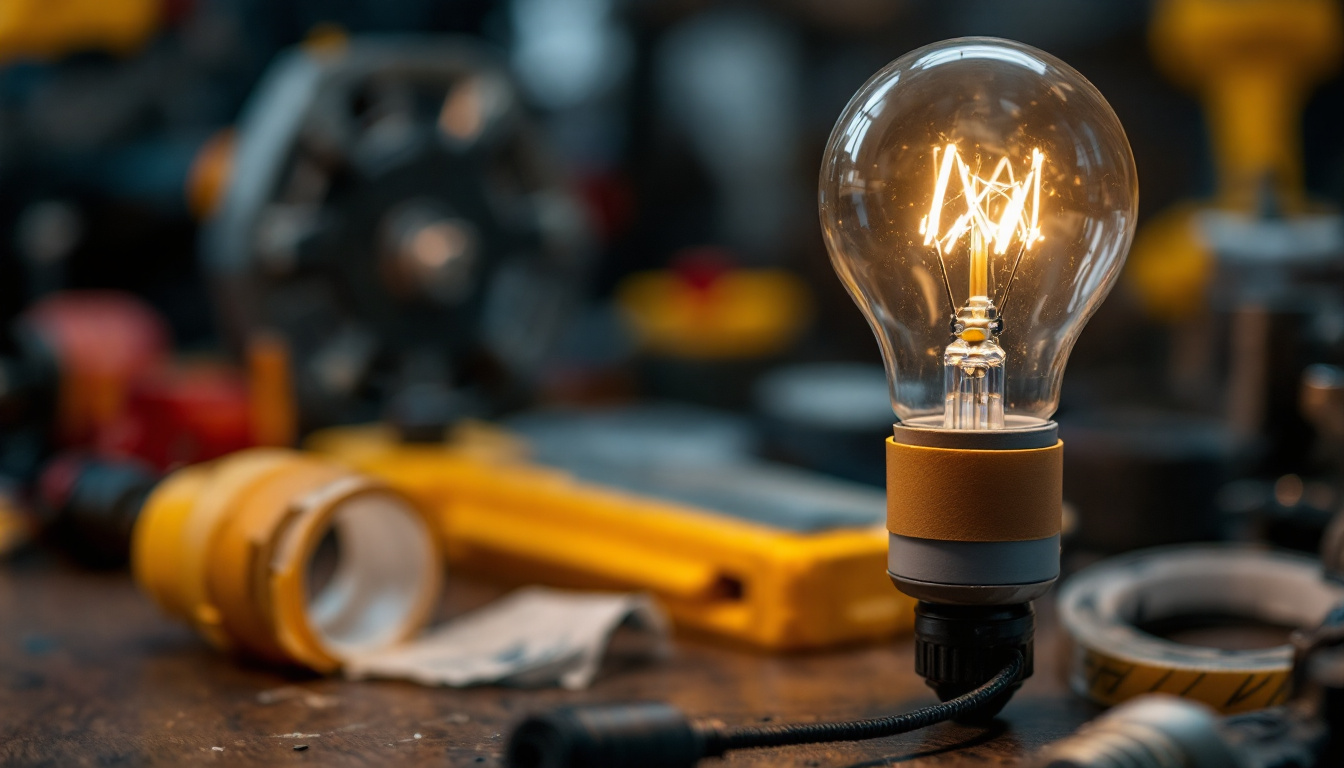
Before starting the replacement process, gather the necessary tools and materials. Having everything on hand will streamline the operation and ensure safety throughout the procedure. Proper preparation can make a significant difference in the efficiency of your work, allowing you to focus on the task at hand without unnecessary interruptions.
Essential Tools
- Voltage tester
- Screwdriver set
- Wire cutters and strippers
- Safety gloves and goggles
In addition to the essential tools listed, consider having a multimeter handy for more advanced electrical diagnostics. This tool can help you measure voltage, current, and resistance, providing a clearer picture of the electrical system’s health. Furthermore, a flashlight can be invaluable for illuminating dark spaces, ensuring you can see what you’re working on, especially in tight or poorly lit areas. Having a clean workspace is also crucial; a drop cloth can help protect your floors and keep your tools organized.
Replacement Ballast
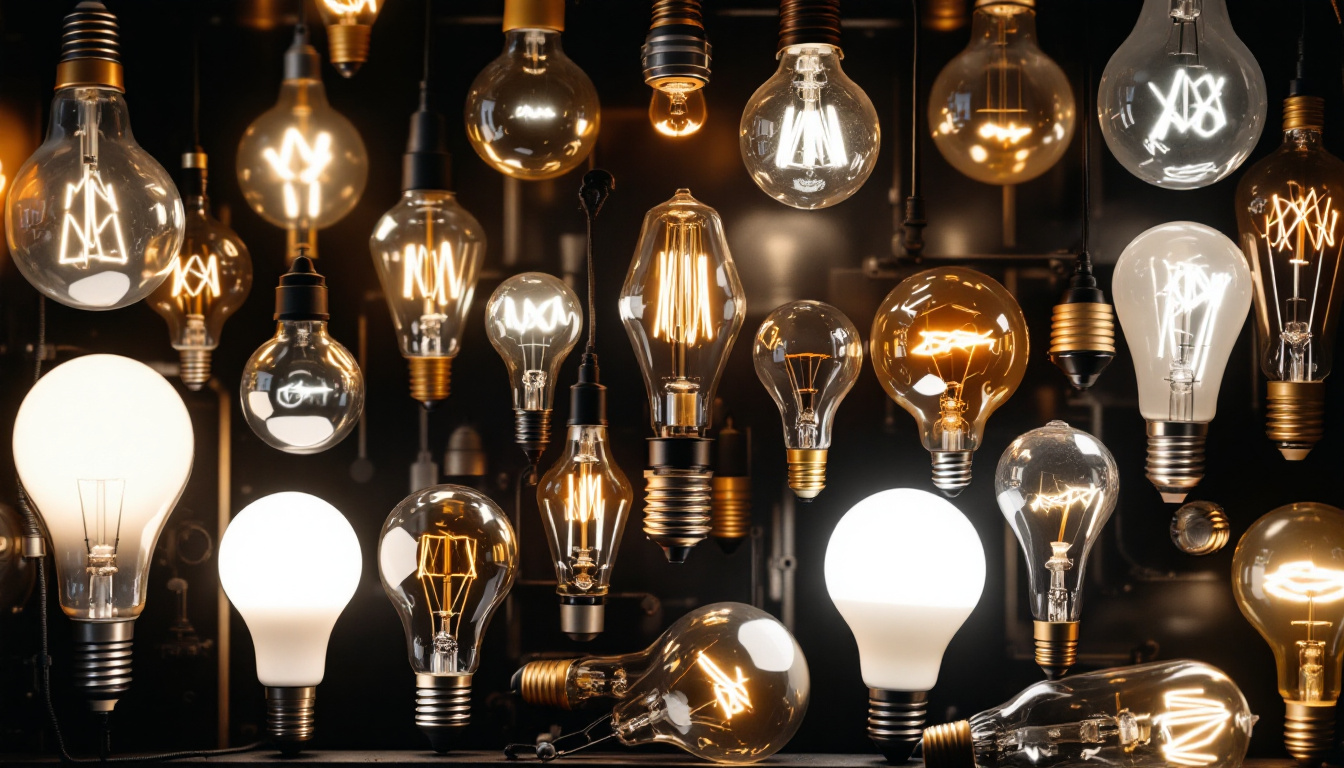
Choosing the correct replacement ballast is critical. Ensure that the new ballast matches the specifications of the existing one, including voltage, wattage, and lamp type. Consulting the manufacturer’s guidelines can provide clarity on the appropriate ballast for your lighting system. It’s also wise to consider the energy efficiency of the ballast; opting for a high-efficiency model can reduce energy consumption and prolong the lifespan of your lighting fixtures. Additionally, familiarize yourself with the different types of ballasts available, such as electronic or magnetic, as this can impact the performance and compatibility with your existing setup. If you’re unsure about the specifications, visiting a local home improvement store or seeking advice from a lighting specialist can provide valuable insights and help you make an informed decision.
Step-by-Step Guide to Changing Out a Light Ballast
Now that the tools and materials are ready, it’s time to proceed with the replacement. Following a systematic approach will help ensure the job is done safely and correctly.
Step 1: Safety First
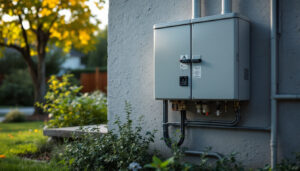
Before beginning any electrical work, safety should always be the top priority. Turn off the power to the light fixture at the circuit breaker to avoid any electrical hazards. Use a voltage tester to confirm that the power is off before proceeding. It’s also wise to wear safety goggles and gloves to protect yourself from any accidental injuries or debris that may fall during the process.
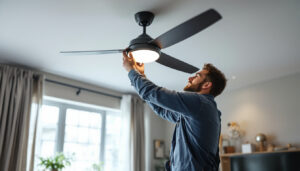
Step 2: Remove the Light Fixture
Carefully remove the light fixture from the ceiling or wall. This may involve unscrewing it from its mounting bracket and gently lowering it. Take care not to damage any wiring during this process. If the fixture is heavy, it may be helpful to have an assistant to hold it while you work. Additionally, consider placing a drop cloth or tarp beneath the fixture to catch any falling screws or parts, making cleanup easier and preventing damage to your flooring.
Step 3: Access the Ballast
Once the fixture is removed, locate the ballast. It is typically housed within the fixture itself. Depending on the design, you may need to remove additional screws or covers to access the ballast. Take note of how the ballast is wired to the fixture, as this will be important for reinstallation. If the fixture has been in place for a long time, be prepared for dust and grime buildup, which may require a quick clean-up before you can proceed with the ballast replacement.
Step 4: Disconnect the Old Ballast
Carefully disconnect the wires connecting the ballast to the fixture and the lamps. Use wire cutters if necessary, but be cautious not to damage the existing wiring. It’s advisable to label the wires or take a picture of the connections for reference during reinstallation. Additionally, check for any signs of wear or damage on the wiring itself, as this could indicate a need for further repairs or replacements beyond just the ballast.
Step 5: Install the New Ballast
Begin by connecting the new ballast to the fixture using the existing wiring. Follow the wiring diagram provided with the new ballast to ensure proper connections. Secure the ballast in place, making sure it is firmly attached to the fixture to prevent any movement. It’s also a good idea to double-check that the new ballast is compatible with the type of lamps being used, as using the wrong ballast can lead to performance issues or even damage to the new components.
Step 6: Reassemble the Fixture
Once the new ballast is installed, reassemble the light fixture. Replace any covers or screws that were removed during disassembly. Ensure that everything is securely fastened before proceeding to the next step. If your fixture has a lens or diffuser, clean it thoroughly before reattaching it to maximize light output and improve the overall appearance of the fixture.
Step 7: Restore Power and Test
With the fixture reassembled, it’s time to restore power at the circuit breaker. Turn on the switch to test the new ballast. Observe the lights to ensure they are functioning correctly without flickering or dimming. If any issues arise, double-check the wiring connections. If the lights do not illuminate as expected, consider consulting the ballast’s manual for troubleshooting tips, or seek assistance from a professional electrician to ensure everything is in proper working order.
Importance of Regular Maintenance
Changing out a light ballast is not just a one-time task; regular maintenance is essential for ensuring the longevity and efficiency of lighting systems. Routine inspections can help identify potential issues before they escalate, saving time and costs in the long run. Moreover, consistent maintenance can enhance safety by preventing electrical failures that could lead to hazardous situations, ensuring that both the environment and the occupants remain secure.
Scheduled Inspections
Implementing a schedule for regular inspections can help lighting contractors stay ahead of potential problems. During these inspections, check for signs of wear and tear, including the condition of the ballast and the overall integrity of the lighting system. It’s also beneficial to document the findings of each inspection, as this record can provide valuable insights into the performance trends of the lighting systems over time. By analyzing this data, contractors can make informed decisions about when to perform replacements or upgrades, ultimately optimizing the maintenance schedule.
Upgrading to Energy-Efficient Options
As technology advances, energy-efficient lighting options become more available. Consider recommending LED retrofits or electronic ballasts that can provide better performance and energy savings compared to traditional magnetic ballasts. Upgrading can lead to reduced operational costs and improved lighting quality. Furthermore, many municipalities and utility companies offer incentives or rebates for upgrading to energy-efficient systems, making the transition not only environmentally friendly but also financially advantageous. These upgrades can significantly lower energy consumption, which is particularly important in commercial settings where lighting can account for a substantial portion of energy costs.
In addition to energy savings, modern lighting solutions often come with enhanced features such as dimming capabilities and smart technology integration. These advancements allow for greater control over lighting conditions, which can improve the overall ambiance of a space and contribute to increased productivity in work environments. As businesses become more conscious of their environmental footprint, investing in energy-efficient lighting becomes not just a practical choice, but a strategic one that aligns with sustainability goals.
Conclusion
Changing out a light ballast is a critical skill for lighting contractors. Understanding the role of the ballast, recognizing the signs of failure, and knowing how to perform the replacement safely and effectively are essential components of maintaining quality lighting installations.
By following the outlined steps and emphasizing regular maintenance, contractors can ensure that their lighting systems operate efficiently and reliably. Staying informed about advancements in lighting technology can also provide opportunities for upgrades that enhance performance and energy savings.
In the ever-evolving world of lighting, being proactive and knowledgeable about components like ballasts will not only improve the quality of work but also foster trust and satisfaction among clients.
Upgrade Your Lighting Game with LumenWholesale
Ready to take your lighting installations to the next level? At LumenWholesale, we provide lighting contractors with the highest quality, spec-grade lighting products at prices that can’t be beaten. Say goodbye to local distributor markups and hello to our extensive selection that meets rigorous industry standards. With free shipping on bulk orders, you can stock up on reliable, high-performance lighting without any hidden fees. Don’t compromise on quality or value—choose LumenWholesale for the perfect blend of affordability and convenience. Elevate your lighting projects today by visiting Wholesale Lighting at the Best Value.