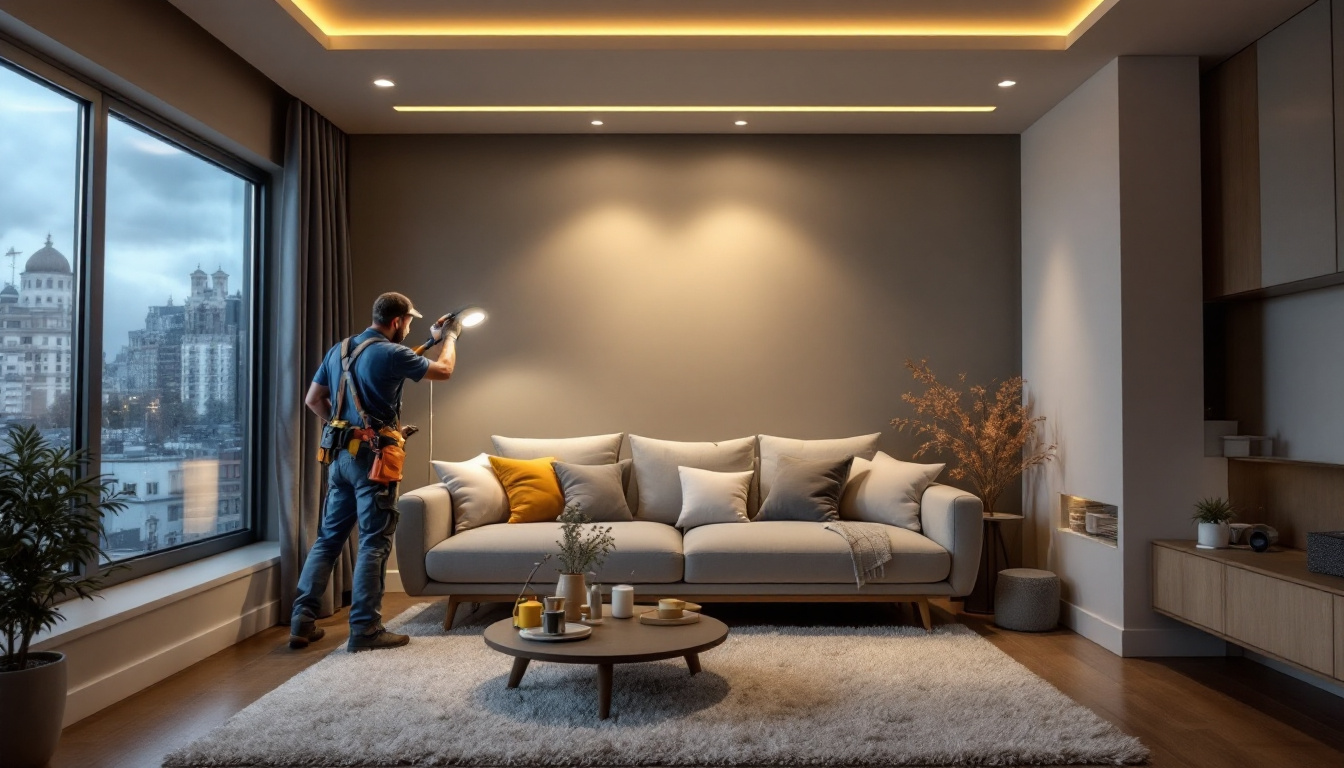
Replacing traditional light fixtures with recessed lights can transform the ambiance of any space while providing a sleek, modern aesthetic. For lighting contractors, this project requires careful planning and execution to ensure a successful installation. This article serves as a comprehensive checklist to guide contractors through the process of replacing lights with recessed lights, covering essential considerations, tools, and techniques.
Understanding Recessed Lighting
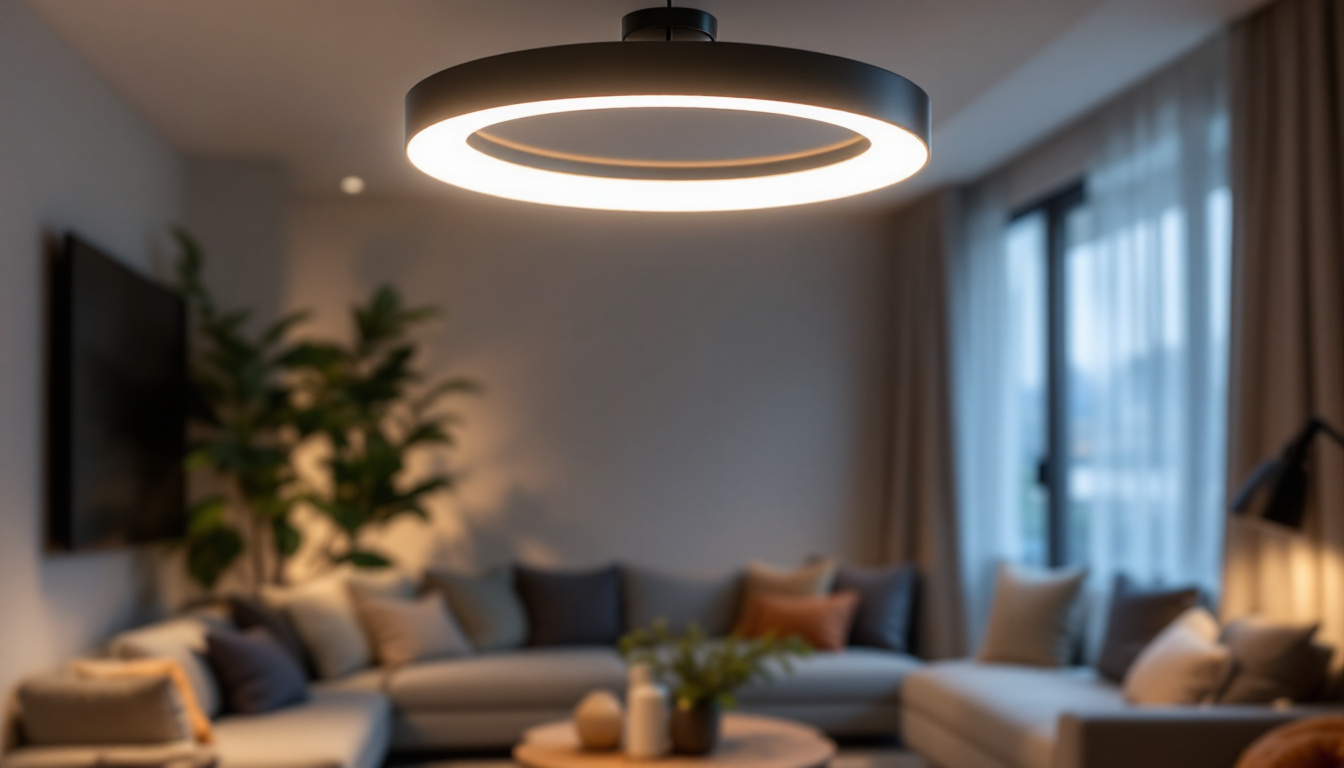
Recessed lighting, often referred to as can lights or pot lights, is a type of lighting fixture that is installed into the ceiling, creating a clean look that enhances the overall design of a room. Unlike traditional fixtures that hang from the ceiling, recessed lights are flush with the surface, making them ideal for low ceilings or spaces where a minimalist design is desired. This unobtrusive style not only maximizes headroom but also allows for a seamless integration into various interior design themes, from contemporary to traditional.
Before embarking on an installation project, it is crucial for lighting contractors to understand the various types of recessed lights available, including adjustable, fixed, and wall-wash options. Each type serves a different purpose and can significantly impact the lighting design. Additionally, understanding the appropriate placement and spacing of these fixtures is essential to achieve a balanced and functional lighting scheme. Properly installed recessed lighting can transform the ambiance of a room, making it feel more inviting and spacious.
Types of Recessed Lights
1. **Fixed Recessed Lights**: These lights provide direct illumination and are typically used for general lighting. They are ideal for areas where consistent light is needed, such as kitchens, living rooms, and hallways. When selecting fixed recessed lights, it’s important to consider the wattage and beam angle to ensure optimal brightness and coverage for the intended space.
2. **Adjustable Recessed Lights**: These fixtures can be tilted to direct light towards specific areas, making them perfect for accent lighting or highlighting artwork. By focusing light on key features, adjustable recessed lights can create dramatic effects and add depth to a room. They are particularly useful in spaces where you want to draw attention to architectural elements or decorative pieces, enhancing the overall aesthetic appeal.
3. **Wall-Wash Recessed Lights**: Designed to illuminate walls, these lights create a soft glow that enhances the texture and color of the wall surfaces. Wall-wash lights are excellent for creating a warm and inviting atmosphere, especially in dining areas or living rooms. They can also be used to highlight textured wallpaper or artwork, making them a versatile choice for interior designers looking to add dimension to their spaces. Furthermore, wall-wash lights can help to visually expand a room, making it feel larger and more open.
Planning the Installation
Proper planning is essential for a successful recessed lighting installation. This phase involves assessing the space, determining the number of fixtures needed, and creating a layout that optimizes light distribution.
Assessing the Space
Begin by evaluating the area where the recessed lights will be installed. Consider factors such as ceiling height, existing wiring, and the purpose of the space. For instance, a living room may require a different lighting approach than a kitchen or hallway.
Additionally, take note of any architectural features, such as beams or ductwork, that may affect the placement of the lights. Understanding these elements will help in creating an effective lighting plan. It’s also beneficial to observe how natural light enters the space throughout the day, as this can influence your choice of fixtures and their placement. For example, a room with ample natural light during the day may require fewer recessed lights or softer bulbs to maintain a balanced ambiance during the evening hours.
Calculating the Number of Fixtures
Determining how many recessed lights are necessary involves calculating the square footage of the space and the desired light level. A common guideline is to use one recessed light for every 4 to 6 square feet of ceiling space.
However, this can vary based on the brightness of the bulbs used and the overall design aesthetic. For instance, areas requiring more light, such as kitchens, may benefit from additional fixtures to ensure adequate illumination. It’s also important to consider the type of activities that will take place in the space. For example, a home office may require brighter, more focused lighting for tasks like reading or working on a computer, while a bedroom might benefit from softer, dimmable lights that create a relaxing atmosphere. Furthermore, experimenting with different bulb types, such as LED or halogen, can help achieve the desired effect while also being mindful of energy efficiency and longevity.
Creating a Layout
Once the space has been assessed and the number of fixtures determined, the next step is to create a layout. This layout should consider the spacing between fixtures, ensuring even light distribution without creating dark spots.
Spacing Considerations
A general rule of thumb for spacing recessed lights is to place them 4 to 6 feet apart. However, the specific distance can vary based on the height of the ceiling and the type of lighting desired. For higher ceilings, fixtures can be spaced further apart, while lower ceilings may require closer placement.
It is also important to avoid placing fixtures too close to walls, as this can lead to uneven lighting and shadows. A distance of 1.5 to 2 feet from the wall is often recommended for optimal results.
Marking Fixture Locations
After finalizing the layout, mark the locations of the fixtures on the ceiling using a pencil. This step is crucial for visualizing the overall design and ensuring accuracy during installation. Additionally, it allows for adjustments before cutting any holes.
Tools and Materials Required
Having the right tools and materials on hand is vital for a smooth installation process. Below is a list of essential items that lighting contractors should prepare before starting the project.
Essential Tools
- Drill and drill bits
- Wire stripper
- Measuring tape
- Level
- Stud finder
- Pencil for marking
- Safety goggles and gloves
Materials Needed
- Recessed light fixtures
- Light bulbs (LED or incandescent)
- Electrical wire
- Wire nuts
- Electrical tape
- Ceiling insulation (if applicable)
Installation Process
With the planning and preparation complete, the installation process can begin. This phase involves cutting holes in the ceiling, wiring the fixtures, and securing them in place.
Cutting Holes for Fixtures
Using the marked locations as a guide, cut holes in the ceiling for the recessed lights. A hole saw attachment for the drill is typically used for this task, ensuring clean and precise cuts. Be mindful of any electrical wiring or plumbing that may be hidden within the ceiling.
After cutting the holes, it is advisable to check for any debris or insulation that may have fallen into the openings. Clearing these areas will help prevent any issues during installation.
Wiring the Fixtures
Before wiring the fixtures, ensure that the power is turned off at the circuit breaker. This step is crucial for safety. Begin by running electrical wire from the power source to each fixture location, following local electrical codes.
Once the wiring is in place, connect the wires to the recessed light fixtures. Typically, this involves connecting the black (hot) wire, white (neutral) wire, and the ground wire. Use wire nuts to secure the connections, and wrap them with electrical tape for added safety.
Securing the Fixtures
After wiring is complete, secure the recessed light fixtures into the ceiling. Most fixtures come with clips or brackets that hold them in place. Ensure that each fixture is level and flush with the ceiling surface.
Installing the Trim
Once the fixtures are secured, install the trim that surrounds the recessed lights. This trim can vary in style and finish, allowing for customization based on the design of the space. Follow the manufacturer’s instructions for attaching the trim properly.
Testing and Final Adjustments
With the installation complete, it’s time to test the recessed lights. Turn the power back on at the circuit breaker and check each fixture to ensure they are functioning correctly.
Adjusting Light Direction
If adjustable recessed lights were installed, take a moment to direct them towards focal points or areas that require additional illumination. This adjustment can significantly enhance the overall lighting effect in the space.
Final Inspection
Conduct a thorough inspection of the installation, checking for any visible gaps or misalignments. Ensure that all fixtures are securely in place and that the lighting is evenly distributed throughout the room.
Maintenance and Care
Once the recessed lights are installed, it is important to inform clients about maintenance and care. Regular cleaning and occasional bulb replacement will ensure that the lights continue to function optimally.
Cleaning the Fixtures
Dust and debris can accumulate on recessed lights over time, affecting their brightness and appearance. Recommend that clients periodically clean the trim and lens with a soft cloth to maintain clarity and shine.
Replacing Bulbs
For fixtures that use traditional incandescent bulbs, remind clients to replace burned-out bulbs promptly. If LED bulbs are used, they typically have a longer lifespan, but it is still essential to monitor their performance and replace them as needed.
Conclusion
Replacing traditional lights with recessed lights can significantly enhance the aesthetic and functionality of a space. By following this comprehensive checklist, lighting contractors can ensure a successful installation that meets client expectations and delivers exceptional results.
From understanding the types of recessed lights to planning the installation and executing the project with precision, every step is crucial in achieving a professional finish. With the right tools, techniques, and attention to detail, contractors can transform any room into a beautifully lit environment.
Get Your Premium Recessed Lighting at LumenWholesale
Ready to elevate your lighting projects with the sleek appeal of recessed lights? Look no further than LumenWholesale for all your lighting needs. Our extensive selection of spec-grade lighting products ensures you have access to the highest quality options at wholesale prices that can’t be beaten. Say goodbye to local distributor markups and hello to superior lighting that fits your budget. Plus, with free shipping on bulk orders, you can stock up on premium lighting without worrying about extra costs. Make your next installation a shining success with the value and convenience of Wholesale Lighting at the Best Value from LumenWholesale.