Fluorescent bulbs have long been a staple in both residential and commercial lighting. Their energy efficiency and longevity make them a preferred choice for many lighting contractors. However, the installation process can vary depending on the type of fixture and bulb. This comprehensive guide will walk you through the steps necessary to install a fluorescent bulb safely and effectively, ensuring that you can provide the best service to your clients.
Understanding Fluorescent Bulbs
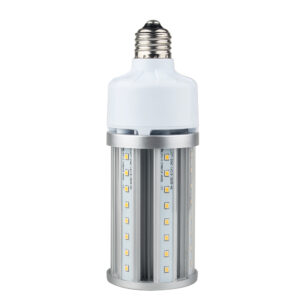
Before diving into the installation process, it’s essential to understand the different types of fluorescent bulbs available. Familiarity with the various options will help you choose the right bulb for each project. Fluorescent bulbs have been a staple in both residential and commercial lighting for decades, offering a balance of efficiency and brightness that many other types of bulbs struggle to achieve. Their unique design utilizes a gas-filled tube that emits ultraviolet light when electricity passes through it, which then excites a phosphor coating inside the bulb, producing visible light. This process not only makes them energy-efficient but also allows for a variety of color temperatures, catering to different lighting needs.
Types of Fluorescent Bulbs
Fluorescent bulbs come in several types, each designed for specific applications. The most common types include:
- T12 Bulbs: These are the older, larger diameter bulbs that are less energy-efficient. They typically consume more power and have a shorter lifespan compared to their modern counterparts.
- T8 Bulbs: A more modern option, T8 bulbs are slimmer and provide better energy efficiency. They are widely used in both commercial and residential settings due to their balance of brightness and energy savings.
- T5 Bulbs: The smallest and most efficient, T5 bulbs are often used in commercial settings where space is limited. Their compact size allows for innovative lighting designs, making them a favorite for task lighting in offices and retail spaces.
Understanding these types will allow you to recommend the best option to your clients based on their specific needs and preferences. Additionally, it’s worth noting that the color rendering index (CRI) of fluorescent bulbs can vary significantly, influencing how colors appear under their light. Higher CRI values indicate more accurate color representation, which can be particularly important in settings like art studios or retail environments where product appearance is critical.
Ballasts and Their Importance
Fluorescent bulbs require a ballast to regulate the current flowing to the bulb. This component is crucial for the proper operation of the bulb. There are two main types of ballasts:
- Magnetic Ballasts: These are older technology and generally less efficient, but they are still found in many older fixtures. They tend to be bulkier and can produce a humming noise, which might be undesirable in quiet environments.
- Electronic Ballasts: More common in newer installations, electronic ballasts are smaller, lighter, and more energy-efficient. They also provide a flicker-free start and can improve the overall lifespan of the bulb.
When replacing a fluorescent bulb, it’s vital to ensure that the ballast is compatible with the new bulb. An incompatible ballast can lead to flickering, reduced lifespan, or even damage to the bulb. Furthermore, advancements in technology have led to the development of dimmable electronic ballasts, which allow for greater control over lighting levels. This can be particularly beneficial in settings where lighting needs may change throughout the day, such as in conference rooms or classrooms, enhancing both energy efficiency and user comfort.
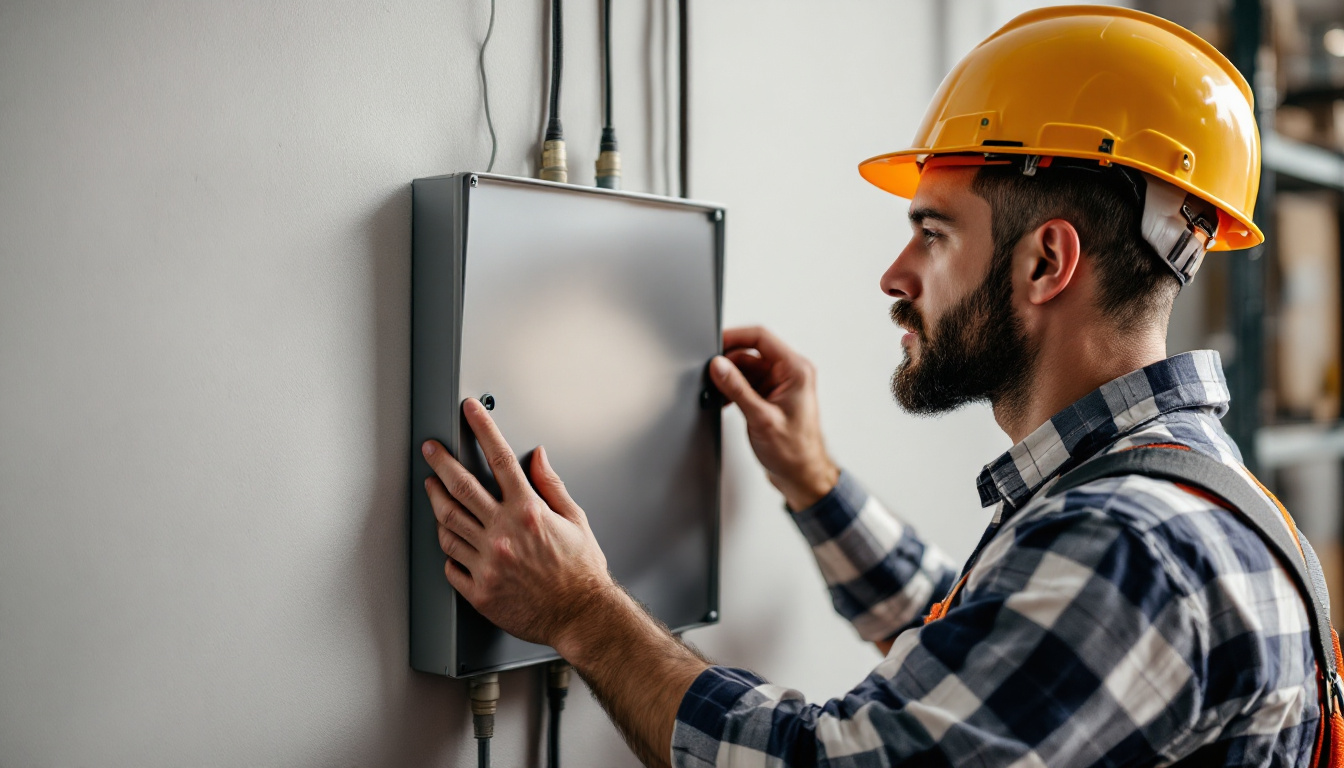
Preparation for Installation
Proper preparation is key to a successful installation. Before beginning, gather all necessary tools and materials to ensure a smooth process.
Tools and Materials Needed
Here’s a list of essential tools and materials that should be on hand:
- Safety Gear: Always wear safety goggles and gloves to protect against broken glass.
- Replacement Bulb: Ensure you have the correct type and wattage of fluorescent bulb ready.
- Voltage Tester: To check for electrical current and ensure safety.
- Screwdriver: A flathead or Phillips screwdriver, depending on the fixture.
Having these tools ready will streamline the installation process and enhance safety for both the contractor and the client.
Safety Precautions
Safety should always be a priority when working with electrical components. Here are some essential precautions:
- Always turn off the power at the circuit breaker before starting any work.
- Use a voltage tester to confirm that the power is off.
- Handle fluorescent bulbs with care to avoid breakage, as they contain small amounts of mercury.
By adhering to these safety measures, the risk of accidents and injuries can be significantly reduced.
Step-by-Step Installation Process
Now that you are prepared, it’s time to proceed with the installation. Follow these steps to ensure a successful and safe installation of a fluorescent bulb.
Step 1: Turn Off the Power
Before doing anything, ensure that the power to the fixture is completely turned off. This can be done by switching off the circuit breaker that controls the area where you will be working. Always double-check with a voltage tester to confirm that there is no electrical current present.
Step 2: Remove the Old Bulb
To remove the old fluorescent bulb, follow these steps:
- Gently twist the bulb until it releases from the socket. Be cautious not to apply too much force, as this could break the bulb.
- If the bulb is stuck, check for any locking mechanisms that may need to be disengaged.
Once the bulb is removed, place it in a safe location to avoid breakage and prepare for disposal according to local regulations.
Step 3: Inspect the Fixture and Ballast
After removing the old bulb, inspect the fixture and ballast for any signs of damage or wear. Look for:
- Burnt or damaged wiring
- Signs of corrosion or rust
- Any issues with the ballast, such as unusual noises or overheating
If any problems are detected, it may be necessary to repair or replace the fixture or ballast before proceeding with the installation of the new bulb.
Step 4: Install the New Bulb
With the fixture inspected, it’s time to install the new fluorescent bulb:
- Align the pins of the new bulb with the sockets in the fixture.
- Gently push the bulb into the sockets and twist it until it locks into place.
Ensure that the bulb is securely in place, as a loose connection can lead to flickering or failure to light.
Step 5: Restore Power and Test
Once the new bulb is installed, it’s time to restore power:
- Return to the circuit breaker and switch the power back on.
- Test the new bulb by turning on the light switch.
If the bulb does not light up, double-check the installation and ensure that the ballast is functioning correctly. If issues persist, further troubleshooting may be required.
Common Issues and Troubleshooting
Even with careful installation, issues can arise. Being prepared to troubleshoot common problems can save time and improve client satisfaction.
Flickering Bulbs
If the new fluorescent bulb flickers, it may be due to several factors:
- Incompatible ballast: Ensure that the ballast is suitable for the new bulb.
- Loose connections: Check that the bulb is securely installed in the fixture.
- Voltage fluctuations: Inspect the electrical supply for inconsistencies.
Addressing these issues promptly can prevent further complications and ensure reliable lighting for the client.
Burnt Out Bulbs
A burnt-out bulb can be frustrating, especially shortly after installation. Possible causes include:
- Age of the bulb: Ensure that the bulb is not expired or damaged before installation.
- Ballast failure: A malfunctioning ballast can lead to premature bulb failure.
If a bulb burns out quickly, it’s advisable to investigate the cause to prevent future occurrences.
Dim Lighting
If the lighting appears dim after installation, consider the following:
- Wattage mismatch: Verify that the bulb’s wattage matches the fixture’s specifications.
- Ballast issues: A failing ballast can affect the brightness of the bulb.
Correcting these issues can enhance the overall lighting experience for clients.
Best Practices for Fluorescent Bulb Installation
To ensure a successful installation every time, consider implementing these best practices.
Regular Maintenance Checks
Encourage clients to schedule regular maintenance checks for their lighting fixtures. This can help identify potential issues before they become significant problems. Regular inspections can include:
- Checking for flickering or dimming lights
- Inspecting for signs of wear or damage
- Testing the ballast for proper function
By promoting proactive maintenance, clients can enjoy reliable lighting and extend the lifespan of their fixtures.
Educating Clients
Take the time to educate clients about the benefits of fluorescent lighting and the importance of proper installation. Providing information on:
- Energy efficiency
- Environmental benefits
- Proper disposal methods for old bulbs
Empowering clients with knowledge can enhance their satisfaction and trust in your services.
Staying Updated on Technology
The lighting industry is constantly evolving, with new technologies and products emerging regularly. Staying informed about the latest advancements in fluorescent lighting, including energy-efficient options and smart lighting solutions, can give contractors a competitive edge.
Consider attending industry workshops, webinars, and trade shows to keep up with trends and innovations.
Conclusion
Installing a fluorescent bulb may seem straightforward, but attention to detail and adherence to safety protocols are essential for success. By understanding the types of bulbs and ballasts, preparing adequately, and following a step-by-step installation process, lighting contractors can ensure a reliable and efficient lighting solution for their clients.
By implementing best practices and staying informed about industry advancements, contractors can enhance their service quality and client satisfaction. With this guide, you are now equipped with everything you need to know for successful fluorescent bulb installations.
Get Your Premium Lighting Supplies at LumenWholesale
Ready to elevate your lighting installations with the highest quality fluorescent bulbs? Look no further than LumenWholesale for all your lighting needs. Our spec-grade products are designed to meet the rigorous demands of your projects, ensuring you deliver exceptional results every time. With unbeatable wholesale prices and the convenience of free shipping on bulk orders, you can trust LumenWholesale to provide the best value without any hidden fees. Make your next project shine by choosing Wholesale Lighting at the Best Value with LumenWholesale.