Lighting plays a crucial role in the world of video production, especially when it comes to green screen setups. For lighting contractors, understanding the nuances of green screen lighting is essential to ensure high-quality results. This article delves into expert advice on how to achieve optimal lighting for green screens, covering essential techniques, equipment, and common pitfalls to avoid.
Understanding Green Screen Basics
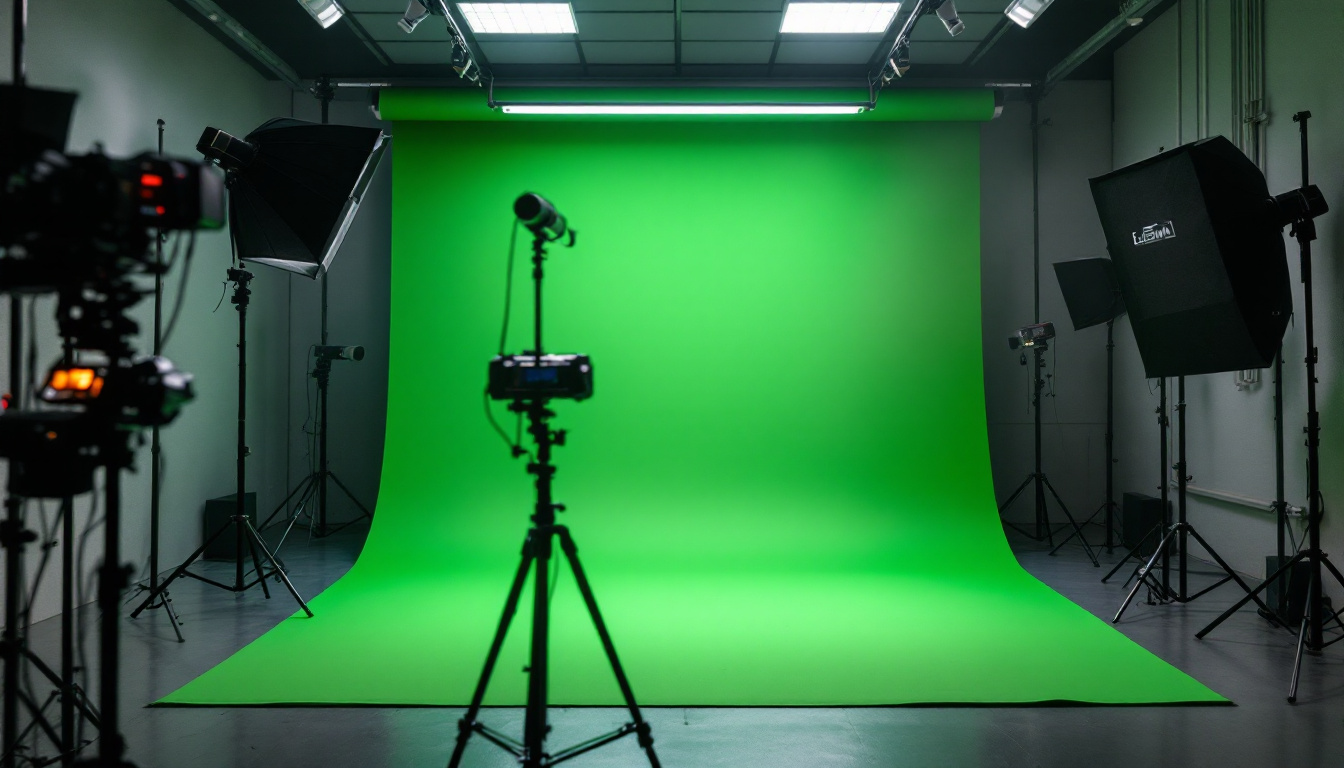
Green screens, or chroma key backgrounds, allow for the seamless integration of different backgrounds into a video. The key to successful green screen work lies in the lighting. Proper lighting ensures that the green screen is evenly lit, which is vital for effective keying in post-production. An unevenly lit screen can lead to shadows and color variations that complicate the editing process. Additionally, the choice of green as the primary color is due to its distinctiveness from human skin tones, making it an ideal backdrop for various video productions, from film to live streaming.
The Importance of Even Lighting
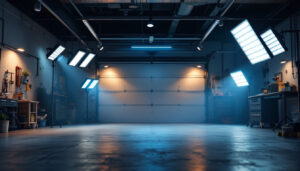
Even lighting is paramount when working with green screens. Shadows can create unwanted artifacts in the final video, making it difficult to achieve a clean key. To avoid these issues, lighting contractors should aim to illuminate the green screen uniformly. This can be accomplished by using multiple light sources positioned strategically around the screen. Softbox lights or LED panels are often recommended, as they provide a diffused light that minimizes harsh shadows. Furthermore, the distance between the lights and the green screen should be carefully calculated to maintain an even light spread, ensuring that the hue of the green remains consistent across the entire surface.
Choosing the Right Green Screen Material
The material of the green screen itself can also impact lighting quality. High-quality, non-reflective fabric is preferred, as it minimizes glare and ensures consistent color. Lighting contractors should be aware of the different types of materials available, including muslin, vinyl, and paint, and choose the one that best suits the project requirements. For instance, muslin is lightweight and portable, making it a popular choice for on-location shoots, while vinyl offers a more durable option that can withstand repeated use. Additionally, painted green screens can provide a seamless look but require careful application to avoid imperfections that could affect the final output.
Beyond just the material and lighting, the setup of the green screen itself plays a crucial role in the quality of the final video. It is essential to ensure that the screen is taut and free of wrinkles, as any creases can cast shadows and disrupt the keying process. Some professionals opt for collapsible green screen kits that come with built-in frames to maintain a smooth surface. Furthermore, the distance between the subject and the green screen should be sufficient to prevent color spill, where the green hue reflects onto the subject, causing unwanted effects in the final composite. By paying attention to these details, videographers can significantly enhance the quality of their green screen projects.
Essential Lighting Techniques
Once the basics are understood, contractors can explore various lighting techniques to enhance their green screen setups. Mastering these techniques can significantly improve the quality of the final product.
Three-Point Lighting Setup
The three-point lighting setup is a foundational technique in film and photography. It involves using three lights: the key light, fill light, and backlight. The key light is the primary source, illuminating the subject and green screen. The fill light softens shadows created by the key light, while the backlight adds depth by separating the subject from the background.
When applying this technique to green screen setups, it’s essential to ensure that the key light is positioned to avoid casting shadows on the screen. Additionally, the fill light should be adjusted to maintain an even light distribution across the green screen. Proper placement of these lights not only enhances the visual appeal but also aids in achieving a more seamless composite in post-production, as it minimizes the risk of color spill from the green screen onto the subject.
Moreover, experimenting with the intensity and angle of each light can yield different moods and effects. For instance, a lower angle for the key light can create dramatic shadows, while a higher angle can produce a more natural look. Understanding these nuances allows contractors to tailor their lighting setups to fit the specific needs of their project, whether it be a corporate video, a film scene, or a live broadcast.
Soft Lighting for a Smooth Key
Soft lighting is another effective technique for green screen work. It reduces harsh shadows and creates a more flattering look for subjects. Softboxes or diffusers can be used to achieve this effect. By softening the light, contractors can ensure that the green screen remains evenly lit, which is crucial for a clean key.
In addition to softboxes, ring lights are also popular for achieving soft lighting, particularly in close-up shots. These lights provide an even illumination that wraps around the subject, minimizing shadows and enhancing facial features. When combined with a well-lit green screen, the result is a polished appearance that facilitates easier keying in post-production. Furthermore, using multiple soft light sources can help create a more dynamic look, allowing for subtle variations in light that can add depth and interest to the scene.
It is also worth noting that the color temperature of the lights should be consistent across all sources. Mixing different color temperatures can lead to unwanted color casts that complicate the keying process. Therefore, using daylight-balanced bulbs or adjusting the white balance settings on the camera can help maintain a cohesive look throughout the shoot, ensuring that the final composite is as professional as possible.
Equipment Recommendations
Choosing the right equipment is vital for achieving the best results in green screen lighting. Various tools and fixtures can enhance the lighting setup, making it easier to achieve professional-quality results. A well-thought-out lighting plan not only improves the visual quality of the footage but also simplifies the post-production process, reducing the time spent on keying out the green background.
Types of Lights
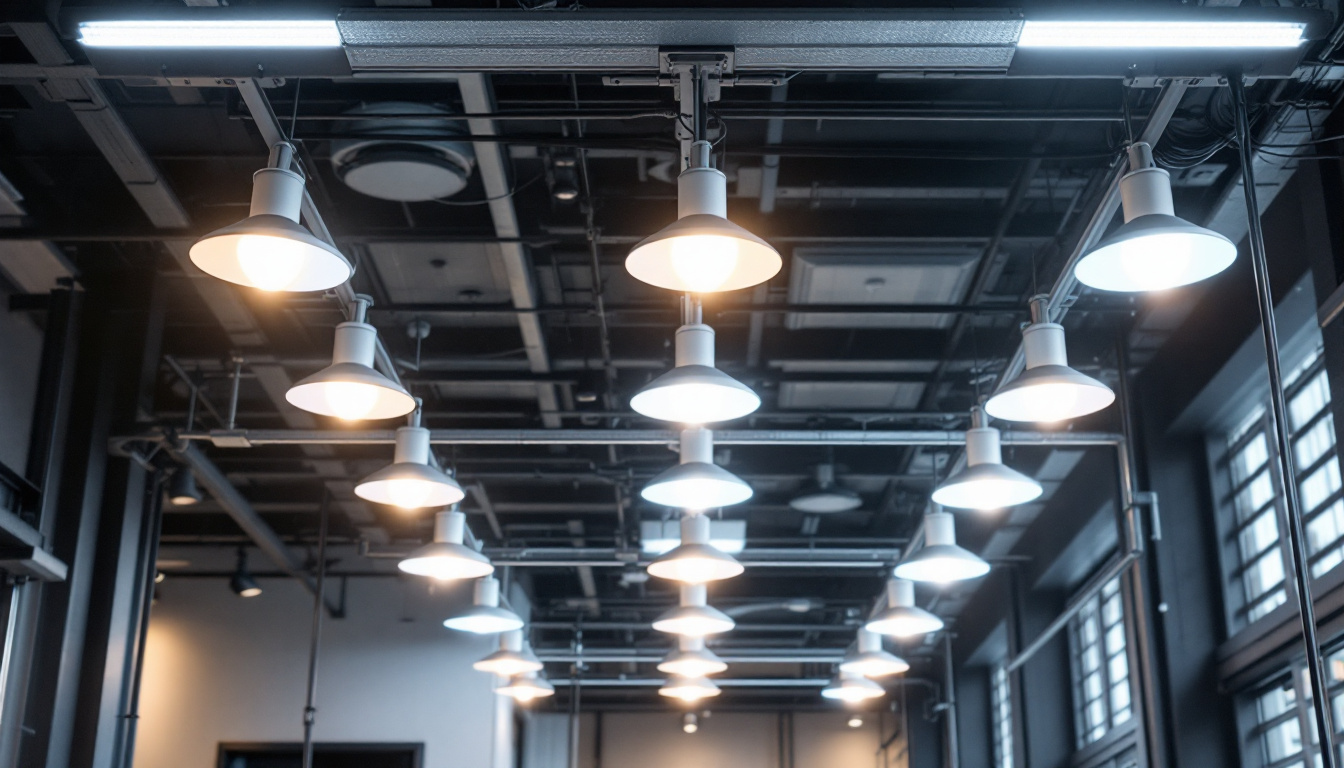
When selecting lights for green screen work, contractors should consider using LED lights, fluorescent lights, or tungsten lights. LED lights are energy-efficient and produce minimal heat, making them ideal for extended shooting sessions. Fluorescent lights provide a soft, even light, while tungsten lights offer a warmer tone but can generate more heat. Additionally, LED lights often come with adjustable color temperatures, allowing for greater flexibility in matching the ambient light conditions of the shooting environment.
Each type of light has its advantages and disadvantages, so contractors should evaluate their specific needs and budget before making a decision. For instance, while tungsten lights may be more affordable upfront, their higher electricity consumption and heat output could lead to increased operational costs over time. On the other hand, investing in high-quality LED fixtures might yield long-term savings and better performance, making them a popular choice among professionals.
Light Modifiers
Light modifiers, such as softboxes, umbrellas, and reflectors, can significantly enhance the quality of light. Softboxes are particularly useful for creating soft, diffused lighting, while reflectors help bounce light and fill in shadows. Using these modifiers can help achieve the desired lighting effect and maintain an even light distribution across the green screen. Moreover, the choice of modifier can greatly influence the mood and tone of the scene, allowing for creative expression in the visual storytelling process.
In addition to traditional modifiers, there are also specialized options like grids and barn doors that can help control light spill and direct the light more precisely. Grids can narrow the beam of light, focusing it on specific areas, while barn doors allow for adjustable flaps that can shape the light output. These tools not only enhance the lighting quality but also provide greater control over the visual aesthetics of the shot, ensuring that the green screen remains evenly lit and free from unwanted shadows or hotspots.
Common Mistakes to Avoid
Even experienced lighting contractors can make mistakes when working with green screens. Being aware of common pitfalls can help ensure a smoother production process and better results.
Neglecting Background Lighting
One common mistake is neglecting to light the background properly. Even though the focus is often on the subject, the green screen itself needs adequate lighting to avoid shadows and inconsistencies. Failing to light the background can lead to issues during the keying process, making it difficult to achieve a clean composite.
Using Inconsistent Color Temperatures
Another mistake is using lights with inconsistent color temperatures. Mixing different types of lights can create color casts that complicate the keying process. It is essential to ensure that all lights used in the setup have the same color temperature, whether it’s daylight-balanced or tungsten-balanced. This consistency helps maintain uniformity and enhances the overall quality of the footage.
Post-Production Considerations
While lighting is crucial during the shooting phase, post-production also plays a significant role in achieving the best results with green screens. Understanding how to work with the footage in editing software can make a substantial difference.
Keying Techniques
In post-production, keying techniques will determine how effectively the green screen can be removed. Software tools like Adobe After Effects and Final Cut Pro offer various keying options. It’s essential to use the right settings to achieve a clean key, ensuring that the subject is well-defined against the new background.
Contractors should familiarize themselves with the keying tools available in their editing software, as this knowledge can help them advise clients on the best practices for shooting green screen footage.
Color Correction and Grading
After keying, color correction and grading are essential steps to ensure the subject matches the new background. Adjusting the color balance, contrast, and brightness can help create a cohesive look. Contractors should understand these processes to provide comprehensive support to clients, ensuring that the final product meets their expectations.
Conclusion
Lighting for green screens is a complex but rewarding aspect of video production. By understanding the fundamentals, employing effective techniques, and avoiding common mistakes, lighting contractors can significantly enhance the quality of their work. Additionally, staying informed about post-production processes can provide added value to clients, ensuring a seamless workflow from shooting to final editing.
With the right knowledge and equipment, contractors can master green screen lighting, paving the way for stunning visual creations that captivate audiences. Embracing these expert insights will not only improve the quality of the work but also enhance the contractor’s reputation in the competitive field of video production.
Illuminate Your Green Screen Projects with LumenWholesale
Ready to elevate your green screen lighting to professional standards? Look no further than LumenWholesale for all your lighting needs. Our extensive range of spec-grade lighting products is designed to meet the demands of any video production, ensuring you achieve that flawless key every time. With unbeatable wholesale prices and free shipping on bulk orders, you can access premium quality without breaking the bank. Say goodbye to local distributor markups and hello to the value and convenience you deserve. Make your next project shine and discover the best wholesale lighting value today with LumenWholesale.