In the world of lighting design, retro can lights have emerged as a popular choice among homeowners and commercial property owners alike. Their unique blend of vintage aesthetics and modern functionality makes them an appealing option for various applications. This handbook serves as a comprehensive guide for lighting contractors looking to incorporate retro can lights into their projects, providing insights into design considerations, installation techniques, and maintenance practices.
Understanding Retro Can Lights
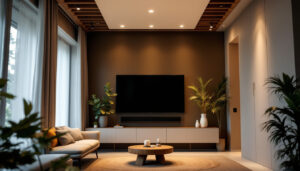
Retro can lights, also known as recessed lights or downlights, are fixtures that are installed into a hollow opening in the ceiling. They offer a sleek, unobtrusive look while providing ample illumination. Unlike traditional light fixtures that hang from the ceiling, retro can lights are designed to blend seamlessly into the architecture of a space.
The Aesthetic Appeal
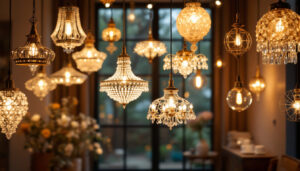
One of the primary reasons retro can lights have gained popularity is their aesthetic versatility. They can complement various design styles, from mid-century modern to industrial chic. The ability to choose different trims and finishes allows contractors to tailor the lighting to match the overall theme of the space.
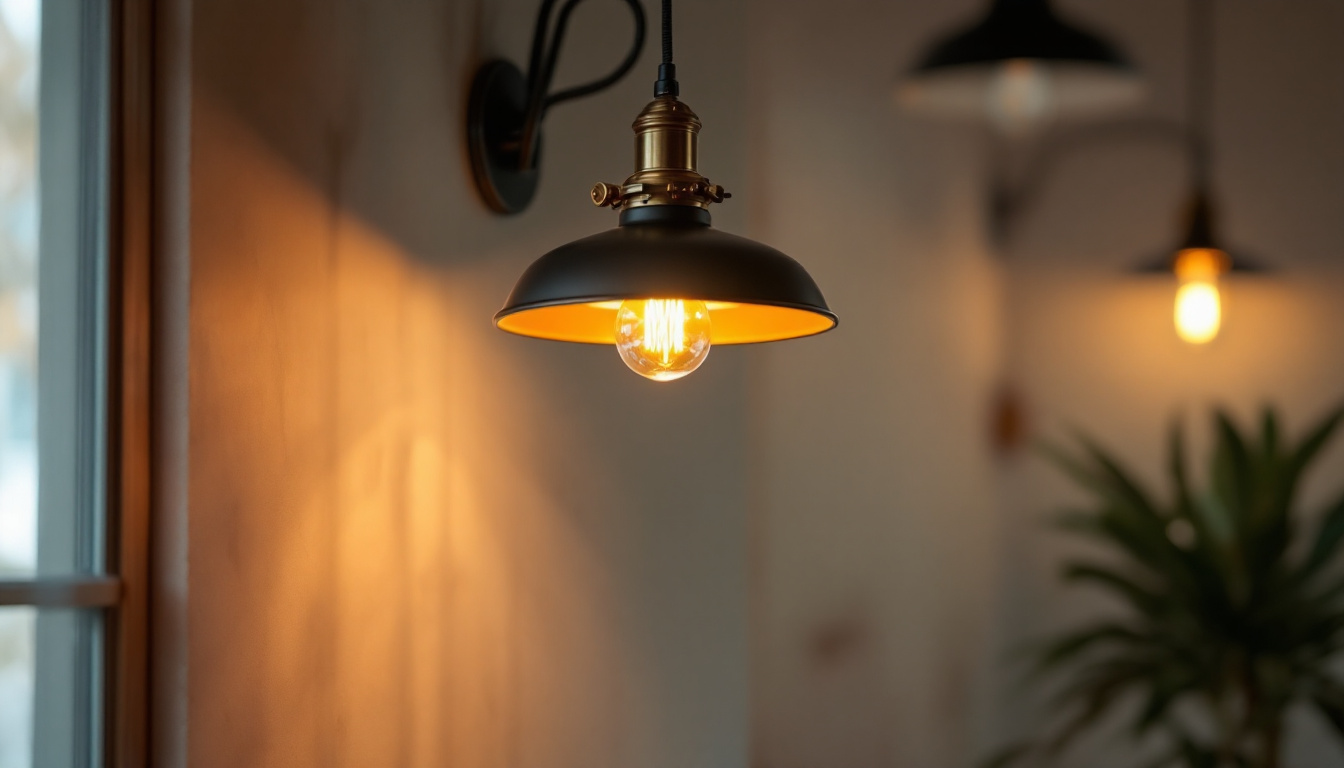
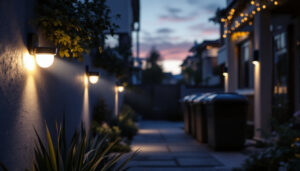
Moreover, retro can lights can be paired with vintage-style bulbs, such as Edison bulbs, to enhance their retro appeal. This combination not only provides functional lighting but also adds character and warmth to the environment. The soft glow of these bulbs can create an inviting atmosphere, making them ideal for living rooms and dining areas where ambiance is key. Additionally, the use of dimmer switches with retro can lights allows homeowners to adjust the brightness according to the time of day or occasion, further enhancing their versatility.
Functional Benefits
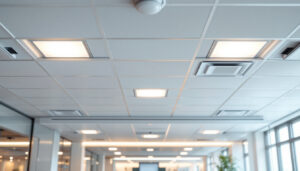
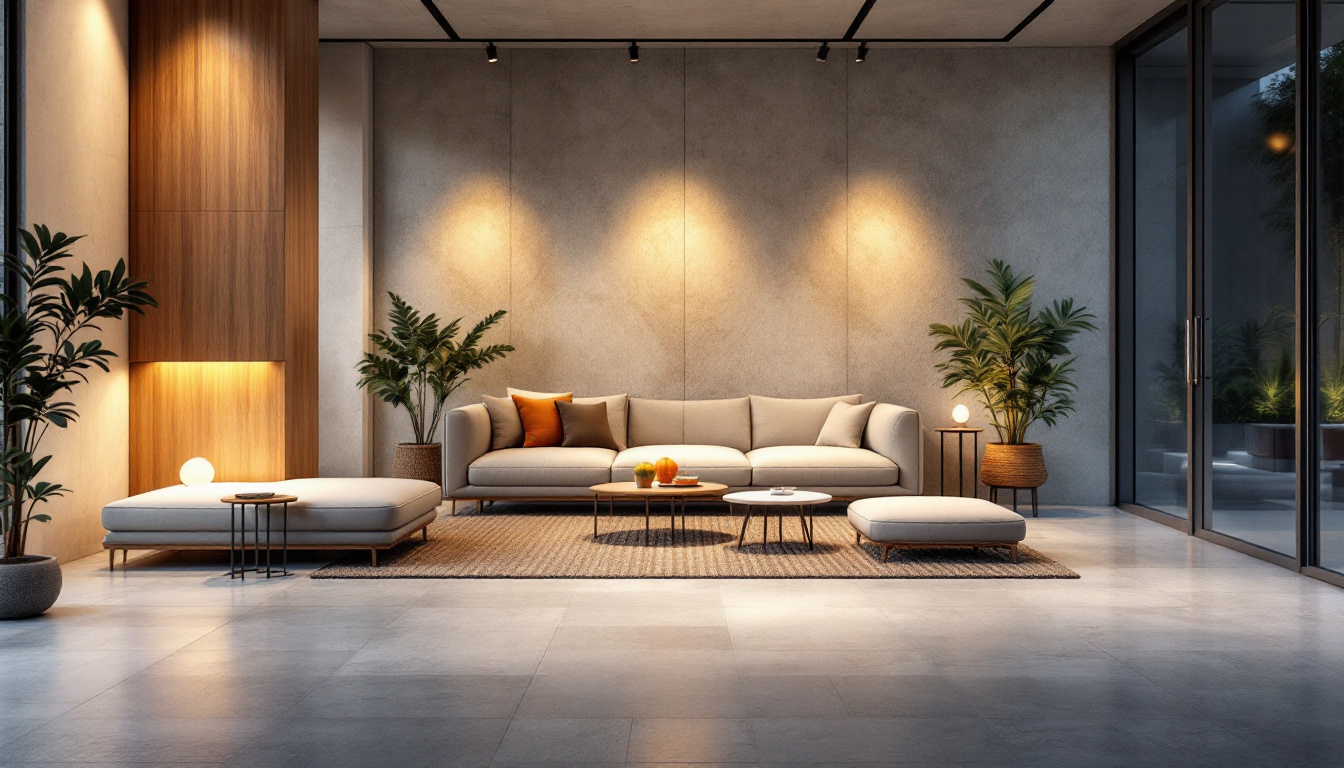
In addition to their aesthetic advantages, retro can lights offer numerous functional benefits. They provide even illumination throughout a room, reducing the likelihood of harsh shadows and dark corners. This is particularly beneficial in spaces where tasks are performed, such as kitchens and workspaces.
Furthermore, retro can lights are often energy-efficient, especially when equipped with LED bulbs. This not only helps reduce energy costs for homeowners but also aligns with the growing trend toward sustainable building practices. The longevity of LED bulbs means less frequent replacements, contributing to lower waste and a smaller carbon footprint. Additionally, many retro can lights come with adjustable features, such as tilt and rotation, allowing for targeted lighting that can highlight artwork or architectural features, adding another layer of functionality to these stylish fixtures.
Design Considerations for Retro Can Lights
When incorporating retro can lights into a design, several key considerations must be taken into account. These factors can significantly impact the overall effectiveness and aesthetic of the lighting installation.
Placement and Spacing
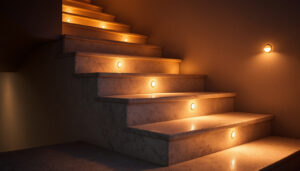
Proper placement and spacing of retro can lights are crucial for achieving optimal lighting. A common guideline is to space the lights approximately 4 to 6 feet apart, depending on the height of the ceiling and the desired level of brightness. For higher ceilings, wider spacing may be appropriate, while lower ceilings may require closer placement.
Additionally, contractors should consider the function of the space. For example, in a kitchen, lights should be strategically placed over work areas, while in a living room, they can be used to create a more ambient atmosphere. Furthermore, it’s essential to take into account any architectural features or furniture layouts that may influence light distribution. For instance, placing can lights near a dining table can enhance the dining experience, while ensuring that light does not create harsh shadows or glare on surfaces.
Trim and Finish Options
The trim and finish of retro can lights play a significant role in their overall appearance. Contractors can choose from various styles, including baffle, reflector, and adjustable trims. Each type offers different light distribution and aesthetic qualities.
Finishes can range from matte black to polished nickel, allowing contractors to match the fixtures with other elements in the room. Choosing the right trim and finish can enhance the retro vibe while ensuring the lights blend seamlessly with the surrounding decor. Additionally, considering the texture of the trim can add depth to the design; for example, a textured finish can create a more rustic feel, while a sleek, shiny finish may contribute to a modern retro aesthetic. The combination of these elements can help create a cohesive look that ties the entire space together.
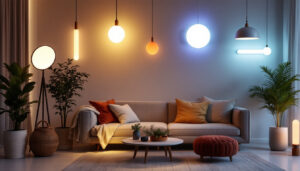
Choosing the Right Bulb
The choice of bulb is another critical aspect of retro can light design. LED bulbs are often favored for their energy efficiency and longevity. However, the color temperature of the bulbs can also affect the mood of the space. Warmer color temperatures (2700K to 3000K) create a cozy atmosphere, while cooler temperatures (3500K to 4000K) are more suitable for task-oriented areas.
Contractors should also consider dimmable options, as this feature allows homeowners to adjust the brightness according to their needs, further enhancing the versatility of retro can lights. Moreover, the wattage of the bulbs should be taken into account to ensure that the lighting is neither too harsh nor too dim for the intended use. Incorporating smart bulb technology can also offer added convenience, allowing users to control lighting remotely or set schedules, thus modernizing the retro can light experience while maintaining its nostalgic charm. This blend of old and new can create a unique lighting solution that caters to contemporary lifestyles while celebrating classic design elements.
Installation Techniques
Installing retro can lights requires careful planning and execution. Proper installation ensures not only the functionality of the lights but also the safety and integrity of the structure.
Preparing the Space
Before installation, it is essential to prepare the space adequately. This includes turning off power to the area where the lights will be installed and ensuring that the ceiling is accessible. If working in an existing structure, contractors should inspect for any obstructions, such as ductwork or plumbing, that may interfere with the installation.
Once the space is prepared, contractors can mark the desired locations for the lights. Using a template can help ensure consistent spacing and alignment. Additionally, considering the room’s layout and purpose is important; for instance, in a kitchen, lights should be positioned to illuminate work areas effectively, while in a living room, they might be placed to create a cozy ambiance.
Cutting the Ceiling Openings
After marking the locations, the next step is to cut the ceiling openings for the can lights. Using a drywall saw or a hole saw, contractors should carefully cut along the marked lines. It is crucial to wear safety goggles and a mask during this process to protect against dust and debris.
Once the openings are cut, contractors should check for any electrical wiring or insulation that may need to be adjusted before proceeding with the installation of the can lights. This step is particularly important in older homes where wiring may not be up to current codes, or where insulation may obstruct the light fixtures. Ensuring that the area is clear will help prevent any future issues related to overheating or electrical shorts.
Wiring and Mounting
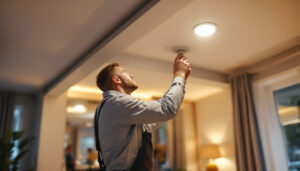
Wiring the retro can lights is a critical step that requires adherence to safety standards. Contractors should connect the fixture’s wires to the existing electrical wiring, ensuring that connections are secure and insulated. Following local electrical codes is essential to avoid any safety hazards.
Once wired, the can lights can be mounted into the ceiling openings. Most fixtures come with spring clips or mounting brackets that secure the lights in place. After installation, it is advisable to test the lights before closing up the ceiling to ensure everything is functioning correctly. This testing phase is crucial, as it allows for any necessary adjustments to be made before the final installation is completed. Furthermore, contractors should consider the type of bulbs being used, as LED options can provide energy efficiency and longer lifespans, contributing to overall cost savings in the long run.
Maintenance and Troubleshooting
Maintaining retro can lights is vital for ensuring their longevity and performance. Regular maintenance can help identify potential issues before they become significant problems.
Regular Cleaning
Dust and debris can accumulate on the surface of retro can lights over time, affecting their brightness and overall appearance. Regular cleaning with a soft cloth or duster can help maintain their aesthetic appeal. For more stubborn stains, a mild cleaning solution can be used, but care should be taken to avoid damaging the finish.
Additionally, contractors should remind homeowners to check the bulbs periodically and replace any that have burned out. This ensures consistent lighting and prevents any dim or dark spots in the room.
Troubleshooting Common Issues
Despite proper installation and maintenance, issues may arise with retro can lights. Common problems include flickering lights, dimming, or complete failure to turn on. In many cases, these issues can be traced back to electrical connections or faulty bulbs.
Contractors should advise homeowners to check the circuit breakers and ensure that the light switch is functioning correctly. If flickering persists, it may indicate a loose connection or a need for a bulb replacement. For more complex issues, consulting a licensed electrician may be necessary.
Conclusion
Retro can lights offer a unique combination of style and functionality that appeals to a wide range of clients. For lighting contractors, understanding the intricacies of design, installation, and maintenance is essential for successfully incorporating these fixtures into projects. By considering factors such as placement, trim options, and bulb selection, contractors can create stunning lighting solutions that enhance the beauty and utility of any space.
As the demand for retro can lights continues to grow, staying informed about the latest trends and best practices will ensure that lighting contractors remain competitive in the industry. Whether working on residential or commercial projects, this handbook serves as a valuable resource for navigating the world of retro can lights.
Illuminate Your Projects with LumenWholesale
Ready to elevate your lighting projects with the charm of retro can lights? At LumenWholesale, we provide lighting contractors like you with the highest quality, spec-grade lighting products at prices that can’t be beaten. Say goodbye to local distributor markups and hello to our extensive selection that meets rigorous industry standards. With free shipping on bulk orders, you can stock up on premium lighting solutions without worrying about hidden fees. Make your next project shine with the perfect blend of quality, affordability, and convenience. Wholesale Lighting at the Best Value is just a click away.