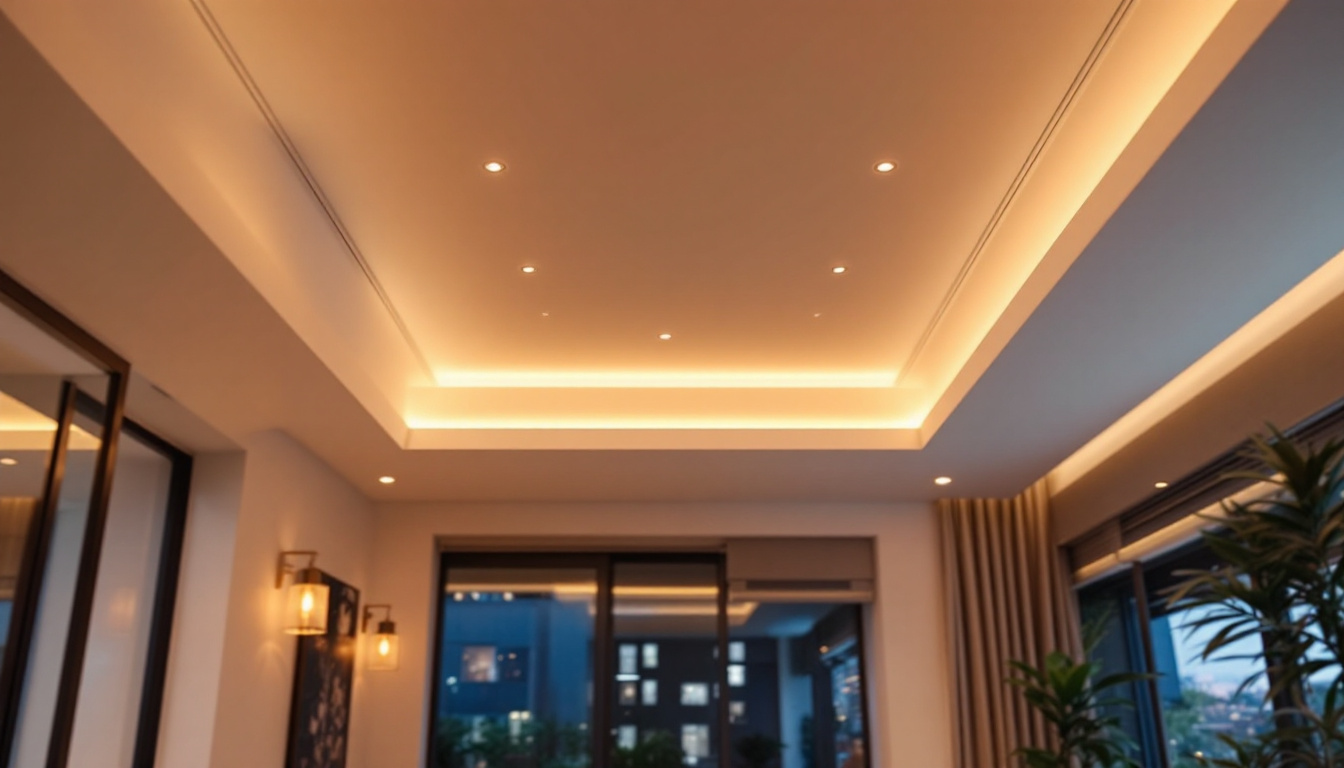
Understanding Can Lights
Can lights, also known as recessed lights or downlights, are a popular choice for both residential and commercial spaces. They provide a sleek, unobtrusive lighting solution that can enhance the aesthetic appeal of a room while offering effective illumination. For lighting contractors, understanding the nuances of installing can lights in existing ceilings is essential for delivering quality service to clients.
This article will delve into the step-by-step process of installing can lights, covering everything from planning and preparation to execution and finishing touches. By following these insights, contractors can ensure a smooth installation process and achieve optimal results for their clients.
Benefits of Can Lights
Can lights offer numerous advantages that make them an attractive option for many clients. One of the primary benefits is their ability to save space. Unlike traditional light fixtures that hang down from the ceiling, can lights are recessed, allowing for a clean and streamlined look.
Moreover, they provide excellent versatility. Can lights can be used for general lighting, task lighting, or accent lighting, depending on the needs of the space. This adaptability makes them suitable for various applications, from kitchens and living rooms to commercial offices and retail spaces. In addition to their functional benefits, can lights can also be equipped with dimmer switches, enabling clients to adjust the brightness according to their mood or activity, further enhancing the ambiance of the environment.
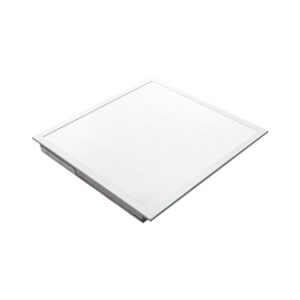
Types of Can Lights
Before beginning the installation process, it’s important to familiarize oneself with the different types of can lights available. The most common types include new construction cans, which are designed for use in ceilings that are not yet finished, and remodel cans, which are intended for use in existing ceilings.
Additionally, can lights come in various sizes and styles, including adjustable and fixed options. Understanding these differences will help contractors select the right type of can light for their specific project, ensuring both functionality and aesthetic appeal. For instance, adjustable can lights can be angled to highlight artwork or architectural features, while fixed options provide a consistent light source ideal for general illumination. Furthermore, energy-efficient LED can lights are gaining popularity due to their longevity and lower energy consumption, making them a smart choice for eco-conscious clients looking to reduce their carbon footprint while still achieving optimal lighting results.
Preparation for Installation
Preparation is a critical phase in the installation of can lights. Proper planning can significantly reduce complications during the installation process and ensure a successful outcome. Here are some essential steps to consider before starting the installation.
Assessing the Space
Begin by assessing the space where the can lights will be installed. Consider the layout of the room, the existing ceiling structure, and any potential obstacles such as beams, ductwork, or plumbing. This assessment will help determine the best locations for the can lights and ensure that they can be installed without interference.
Additionally, consider the desired lighting effect. The placement of can lights can dramatically influence the ambiance of a room. For example, spacing them evenly can create a uniform light distribution, while placing them strategically can highlight specific areas or features within the space. Think about how the light will interact with the colors and textures of the walls and furnishings; warmer tones can create a cozy atmosphere, while cooler tones can make a space feel more expansive and modern.
Gathering Necessary Tools and Materials
Before commencing the installation, gather all the necessary tools and materials. Common tools required for installing can lights include a stud finder, drywall saw, wire strippers, and a drill. Additionally, ensure you have the appropriate can lights, electrical wiring, and junction boxes on hand.
Having everything prepared in advance will streamline the installation process and minimize interruptions. It’s also wise to double-check that all materials meet local building codes and regulations to ensure compliance and safety. Moreover, consider investing in a few extra supplies, such as additional wiring or connectors, to avoid last-minute trips to the hardware store. This foresight can be invaluable, especially if you encounter unexpected challenges during the installation, such as needing to reroute wiring or adjust the layout due to unforeseen obstacles.
Step-by-Step Installation Process
With preparation complete, it’s time to dive into the installation process. Following a systematic approach will help ensure that each step is executed correctly and efficiently.
Marking the Locations
Start by marking the locations where the can lights will be installed. Use a pencil to outline the placement on the ceiling, ensuring that the spacing between lights is consistent and aligns with the overall design plan.
Utilize a stud finder to confirm that the marked locations are free from any obstructions. This step is crucial, as drilling into a beam or duct can lead to complications and additional work. Additionally, consider the height of the ceiling and the desired brightness level; adjusting the spacing between lights can significantly affect the overall illumination of the room. A well-planned layout not only enhances functionality but also contributes to the aesthetic appeal of the space.
Cutting the Ceiling Openings
Once the locations are marked and confirmed, it’s time to cut the openings for the can lights. Using a drywall saw, carefully cut along the marked lines, ensuring the cuts are neat and clean. This will facilitate easier installation and minimize any potential damage to the surrounding ceiling.
After cutting the holes, it’s advisable to check the fit of the can lights before proceeding. This ensures that the fixtures will fit snugly into the openings and allows for any necessary adjustments to be made. If you find that the holes are slightly too large, consider using a mounting bracket or trim ring to cover any gaps. Moreover, it’s a good practice to wear safety goggles and a dust mask during this process to protect yourself from debris and dust particles that can arise from cutting drywall.
Wiring the Can Lights
With the openings prepared, the next step involves wiring the can lights. Begin by turning off the power to the circuit at the breaker box to ensure safety during installation. Then, run electrical wiring from the power source to the first can light location, following local electrical codes.
When wiring, ensure that the connections are secure and that the wire is properly stripped to avoid any short circuits. It’s also essential to connect the can lights in a series, ensuring that each fixture is wired correctly to the next. This step may require the use of wire nuts to secure the connections. Additionally, consider labeling the wires as you go; this can save time and confusion during the final connections. If you’re unsure about any aspect of the wiring process, consulting with a licensed electrician can provide peace of mind and ensure compliance with safety standards. Properly executed wiring not only enhances the functionality of your lighting but also contributes to the longevity and reliability of the fixtures you are installing.
Installing the Can Lights
With the wiring complete, the next phase is to install the can lights themselves. This step is relatively straightforward but requires attention to detail to ensure a secure and professional finish.
Inserting the Can Lights
Begin by inserting the can light fixtures into the openings created in the ceiling. Most can lights are designed to be pushed into place, with clips that hold them securely against the ceiling. Ensure that the fixtures are level and flush with the ceiling surface for a polished appearance.
Once the can lights are in place, double-check the wiring connections to ensure everything is secure before proceeding. This is a critical step, as any loose connections can lead to electrical issues down the line.
Securing the Fixtures
After the can lights are inserted, it’s important to secure them properly. Most fixtures come with mounting brackets or clips that need to be fastened to the ceiling joists. Follow the manufacturer’s instructions for securing the fixtures, as this will vary depending on the specific model.
Take care to avoid overtightening, which can damage the fixture or the ceiling. A snug fit is sufficient to ensure stability while maintaining the integrity of the surrounding materials.
Final Steps and Testing
Once the can lights are installed, there are a few final steps to complete before the project is considered finished. These steps are crucial for ensuring that the installation is not only functional but also safe and aesthetically pleasing.
Installing Trims and Bulbs
After securing the can lights, the next step is to install the trims and bulbs. The trim is the visible part of the fixture that sits flush with the ceiling and can come in various styles and finishes. Select trims that complement the overall design of the space.
Once the trims are in place, install the appropriate bulbs based on the specifications of the can lights. Ensure that the bulbs are compatible with the fixtures to prevent any issues with performance or safety.
Restoring Power and Testing the Installation
With everything in place, it’s time to restore power to the circuit. Turn on the breaker and test the can lights to ensure they function correctly. Check each fixture individually to confirm that they are all working as intended.
If any lights do not illuminate, double-check the wiring connections and ensure that the bulbs are properly installed. Troubleshooting any issues at this stage is crucial to ensure client satisfaction and the longevity of the installation.
Conclusion
Installing can lights in existing ceilings can be a rewarding project for lighting contractors, offering clients a modern and efficient lighting solution. By following the steps outlined in this article, contractors can ensure a successful installation that meets both safety standards and aesthetic expectations.
From understanding the different types of can lights to executing a meticulous installation process, each phase is vital for achieving a professional finish. With careful planning and attention to detail, lighting contractors can enhance their skill set and provide exceptional service to their clients.
Ultimately, the goal is to create beautifully lit spaces that not only meet functional needs but also elevate the overall design of the environment. By mastering the installation of can lights, contractors can contribute to the creation of inviting and stylish interiors that leave a lasting impression.
Get Your Can Lights at LumenWholesale
Ready to elevate your lighting projects with the sleek appeal of can lights? At LumenWholesale, we provide lighting contractors with the highest quality, spec-grade lighting products at prices that can’t be beaten. Say goodbye to local distributor markups and hello to our extensive selection that meets rigorous industry standards. With free shipping on bulk orders, you can stock up on reliable, high-performance lighting and enjoy the best value without any hidden fees. Make your next installation shine with the perfect blend of quality, affordability, and convenience at LumenWholesale – Wholesale Lighting at the Best Value.