Changing out a fluorescent light fixture can seem like a daunting task, especially for those who may not have extensive experience in electrical work. However, with the right strategies and techniques, lighting contractors can efficiently replace these fixtures while ensuring safety and compliance with local regulations. This article delves into the top strategies employed by lighting contractors to streamline the process of changing out fluorescent light fixtures.
Understanding the Basics of Fluorescent Fixtures
Components of a Fluorescent Light Fixture
Before diving into the replacement process, it’s essential to understand the components of a fluorescent light fixture. Typically, these fixtures consist of a housing, ballast, lamps, and reflectors. The housing protects the internal components and provides a mounting surface. The ballast regulates the current to the lamps, while the lamps produce light when an electric current passes through the gas within them.
Recognizing these components will aid in diagnosing issues and determining the appropriate replacement parts. For instance, if the fixture flickers or fails to light, it may indicate a problem with the ballast rather than the lamps themselves. Understanding these nuances can save time and resources during the replacement process. Moreover, it’s worth noting that fluorescent lamps come in various sizes and types, including T8 and T12, which can affect compatibility with different fixtures. Familiarizing yourself with these specifications can further streamline your repair efforts and ensure optimal performance of your lighting system.
Safety Precautions to Consider
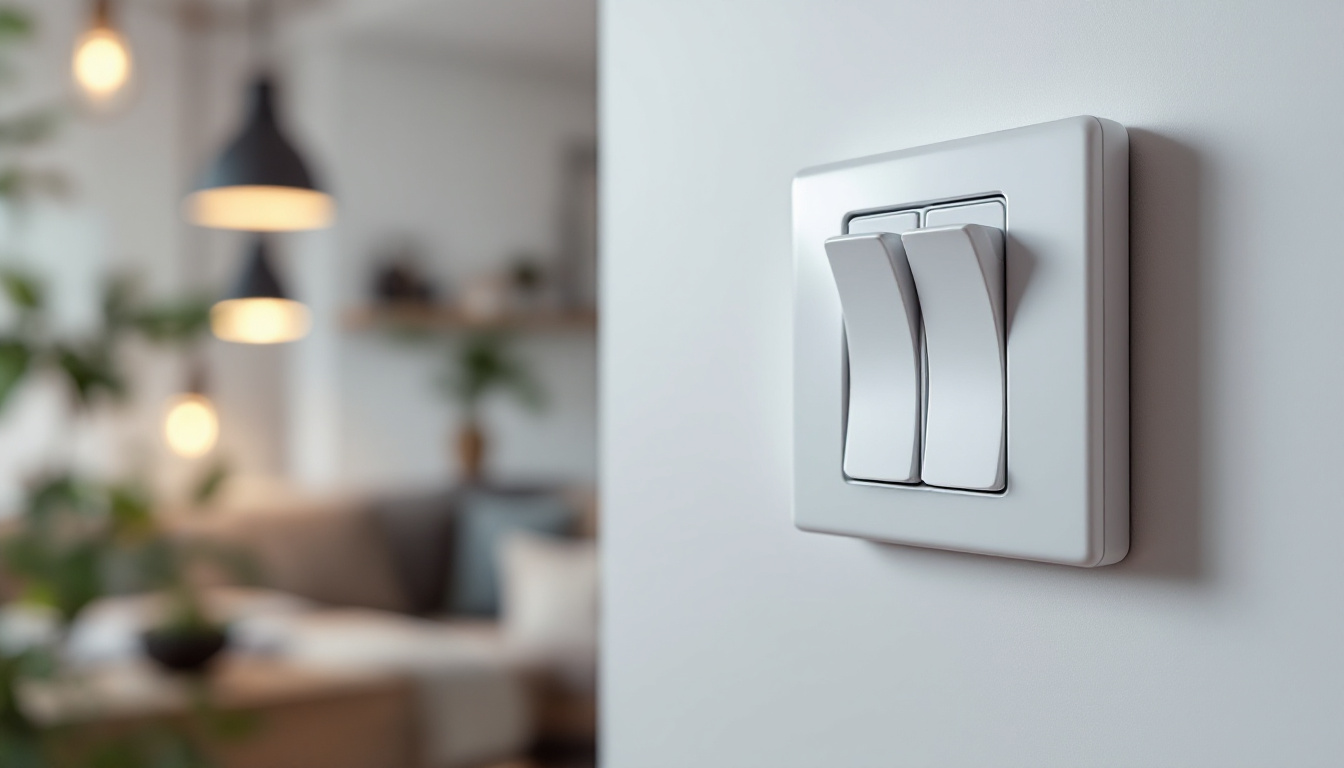
Safety should always be the top priority when working with electrical fixtures. Before beginning any work, ensure that the power is turned off at the circuit breaker. Use a voltage tester to confirm that there is no electrical current in the fixture. Additionally, wearing personal protective equipment, such as gloves and safety goggles, can help prevent injuries.
It’s also advisable to have a clear workspace. Remove any obstacles that could pose a tripping hazard, and ensure that ladders or scaffolding are stable and secure. Following these safety precautions not only protects the contractor but also ensures a smooth and efficient workflow. Furthermore, it’s beneficial to have a buddy system in place when working at heights or in complex electrical environments. Having someone nearby can provide assistance in case of an emergency and help with tasks that require an extra set of hands, such as holding fixtures in place while securing them. This collaborative approach not only enhances safety but also fosters a more productive working atmosphere.
Gathering the Necessary Tools and Materials
Essential Tools for the Job
Having the right tools on hand is crucial for a successful fixture replacement. Common tools required include a screwdriver set, pliers, wire cutters, and a voltage tester. Depending on the specific fixture and installation, additional tools such as a drill or a ladder may be necessary. It’s also wise to have a flashlight handy to illuminate dark spaces, ensuring you can see what you’re doing, especially in areas where fixtures are mounted high or in tight corners.
Investing in high-quality tools can make a significant difference in the efficiency and effectiveness of the work. For instance, a good screwdriver set will allow for easier removal and installation of screws, while a reliable voltage tester ensures that the workspace is safe before beginning any electrical work. Furthermore, having a sturdy pair of work gloves can protect your hands from sharp edges or electrical hazards, while a tool belt can keep everything organized and within reach, minimizing the time spent searching for tools during the project.
Choosing the Right Replacement Fixture
When selecting a replacement fluorescent light fixture, consider factors such as size, wattage, and style. It’s essential to match the new fixture’s specifications with the existing setup to avoid compatibility issues. Additionally, consider energy-efficient options that can provide long-term savings on electricity bills. LED fixtures, for instance, not only consume less energy but also have a longer lifespan compared to traditional fluorescent lights, making them a smart choice for many homeowners.
Consulting with manufacturers or suppliers can provide valuable insights into the best options available. Many suppliers offer detailed specifications and recommendations for various applications, which can aid in making an informed decision. Additionally, exploring online reviews and customer feedback can help gauge the performance and reliability of different fixtures. It’s also beneficial to consider the aesthetics of the fixture, ensuring it complements the existing decor of the space while providing adequate illumination. This balance of functionality and style can enhance the overall ambiance of the room, making it both practical and visually appealing.
Step-by-Step Guide to Changing Out the Fixture
Removing the Old Fixture
Once the necessary tools and materials are gathered, the next step is to remove the old fixture. Start by ensuring that the power is off, as previously mentioned. Carefully remove any cover or lens that protects the lamps. This may involve unscrewing or unclipping the cover, depending on the fixture design.
Next, disconnect the lamps by gently twisting them out of their sockets. Once the lamps are removed, the ballast and wiring will be accessible. Take note of how the wiring is connected, as this will be crucial for the installation of the new fixture. It’s often helpful to take a photo of the wiring setup for reference.
Installing the New Fixture
With the old fixture removed, it’s time to install the new one. Begin by securing the mounting bracket, if applicable, to the ceiling or wall. Ensure that it is level and securely attached. Next, connect the wiring according to the notes or photos taken during the removal process. Typically, this involves matching the colors of the wires: black to black, white to white, and grounding wires together.
After the wiring is connected, secure the new fixture to the mounting bracket. Ensure that it is firmly in place and that all screws are tightened. Finally, replace any covers or lenses that were removed during the process. This step not only enhances the fixture’s appearance but also protects the internal components.
Testing the New Installation
Once the new fixture is installed, it’s time to restore power at the circuit breaker. Turn on the light switch to test the new installation. If the fixture lights up as expected, it indicates a successful installation. However, if it does not work, double-check the wiring connections and ensure that the ballast is functioning correctly.
In some cases, it may be necessary to troubleshoot further. This could involve checking the circuit breaker for any tripped switches or confirming that the new fixture is compatible with the existing electrical system. Taking a systematic approach to troubleshooting can often resolve any issues quickly.
Common Challenges and Solutions
Dealing with Difficult Fixtures
Some fluorescent light fixtures can present unique challenges during replacement, particularly older models that may be more difficult to remove. In such cases, patience and careful handling are essential. If screws are rusted or stuck, applying a penetrating oil can help loosen them.
For fixtures that are hard to access, using a sturdy ladder or scaffolding is crucial. Ensure that the ladder is stable and positioned correctly to avoid accidents. If the fixture is in a tight space, consider using a flexible screwdriver or a ratchet wrench to reach screws that are otherwise difficult to access.
Handling Electrical Issues
Electrical issues can arise during the replacement process, particularly if the existing wiring is outdated or damaged. If any frayed wires or signs of wear are noticed, it’s advisable to replace them before installing the new fixture. This not only ensures safety but also enhances the longevity of the new installation.
If there are persistent electrical issues, consulting with a licensed electrician may be necessary. They can provide expert guidance and ensure that the installation meets local electrical codes and standards.
Maintaining Fluorescent Light Fixtures
Regular Maintenance Practices
Once the new fixture is installed, regular maintenance can help prolong its lifespan and ensure optimal performance. This includes cleaning the fixture periodically to remove dust and debris that can affect light output. Use a soft cloth and a mild cleaning solution to wipe down the exterior and interior components.
Additionally, it’s important to check the lamps and ballast regularly. If flickering or dim lighting occurs, it may be time to replace the lamps or the ballast. Keeping a schedule for maintenance checks can help catch any issues early, preventing more significant problems down the line.
Upgrading to Energy-Efficient Options
As technology advances, energy-efficient lighting options are becoming increasingly popular. Consider upgrading to LED fixtures or fluorescent lamps that offer better energy savings and longer lifespans. These options not only reduce electricity costs but also contribute to a more sustainable environment.
When transitioning to energy-efficient lighting, it’s essential to ensure compatibility with existing fixtures and wiring. Consulting with manufacturers or suppliers can provide valuable insights into the best options available for specific applications.
Conclusion
Changing out a fluorescent light fixture is a task that, while straightforward, requires careful planning, execution, and attention to safety. By understanding the components of the fixture, gathering the necessary tools, and following a systematic approach, lighting contractors can effectively replace fixtures while minimizing risks and maximizing efficiency.
Moreover, being prepared for common challenges and committing to regular maintenance can ensure that installations remain safe and functional for years to come. As the industry continues to evolve, staying informed about new technologies and energy-efficient options will further enhance the capabilities of lighting contractors, ultimately benefiting both their businesses and their clients.
Get Your Premium Lighting Supplies at LumenWholesale
Ready to take your lighting projects to the next level? At LumenWholesale, we provide lighting contractors with the highest quality, spec-grade lighting products at unbeatable wholesale prices. Say goodbye to local distributor markups and hello to a vast selection of reliable, high-performance lighting that meets the strictest industry standards. Plus, with free shipping on bulk orders, you can stock up on superior lighting solutions without worrying about hidden fees. Don’t compromise on quality or value — explore our wholesale lighting options today and experience the perfect blend of quality, affordability, and convenience that only LumenWholesale can offer.