As the demand for energy-efficient lighting solutions continues to rise, many lighting professionals find themselves tasked with changing out fluorescent light fixtures. This process, while straightforward, requires careful planning and execution to ensure safety, efficiency, and compliance with regulations. This article provides a comprehensive checklist to guide lighting contractors through the process of changing out fluorescent light fixtures.
Understanding the Basics of Fluorescent Lighting
Fluorescent lights have long been a staple in commercial and industrial settings due to their energy efficiency and longevity. However, as technology advances, many facilities are transitioning to LED alternatives. Before undertaking a fixture change, it is essential to understand the components involved in fluorescent lighting systems.
Components of Fluorescent Fixtures
A typical fluorescent fixture consists of several key components, including the lamp, ballast, and housing. The lamp is the tube that emits light when electrical current passes through it. The ballast regulates the current to the lamp, ensuring it operates effectively. The housing protects these components and can vary in design depending on the fixture’s intended use. In addition to these primary components, reflectors are often included in the design to enhance light distribution, maximizing the efficiency of the lighting system. These reflectors can be made from various materials, including polished aluminum or specialized coatings, which help to direct light where it is needed most.
Types of Fluorescent Fixtures
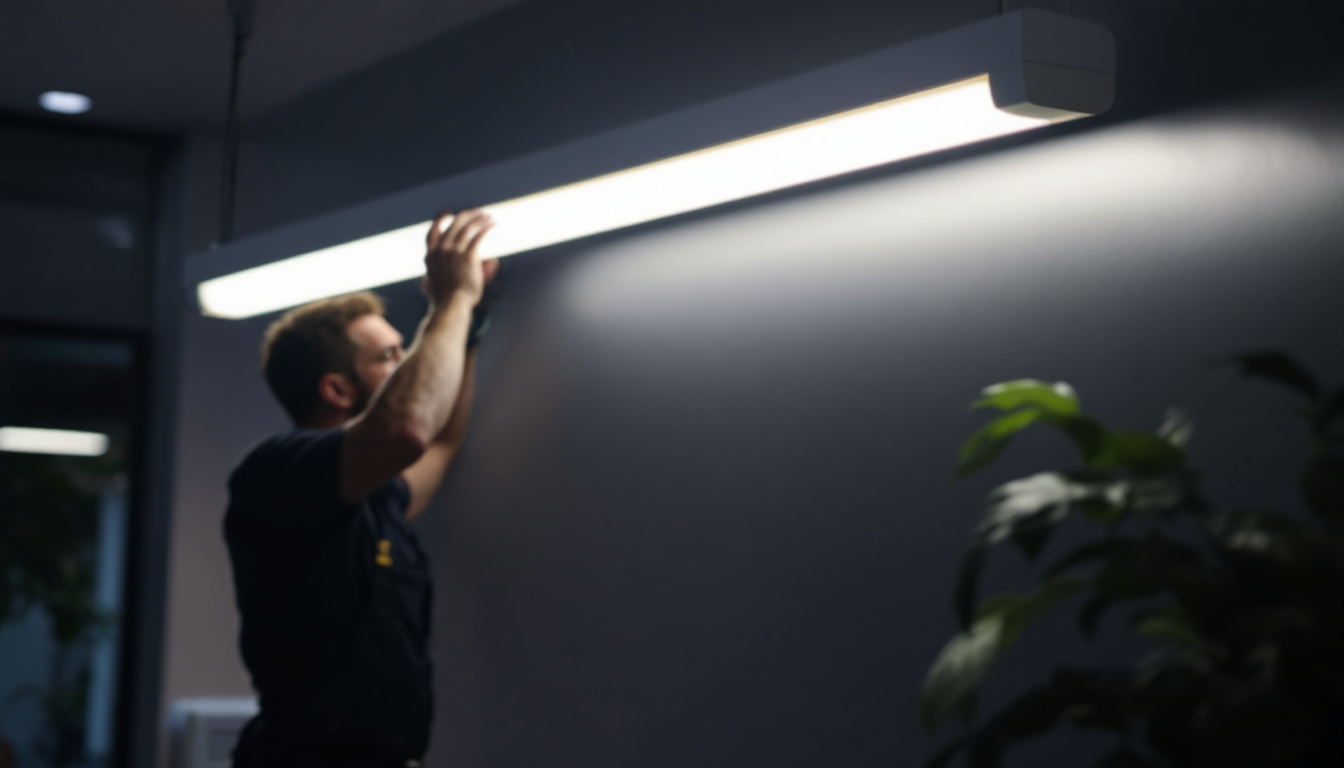
Fluorescent fixtures come in various types, including troffers, surface mounts, and pendant fixtures. Each type has its specific applications and installation requirements. Understanding these differences is crucial for selecting the right replacement fixture and ensuring proper installation. For instance, troffer fixtures are commonly used in drop ceilings and are ideal for providing uniform lighting in large areas like offices and schools. On the other hand, surface-mounted fixtures are typically found in spaces with limited ceiling height, while pendant fixtures are often used in more decorative applications, such as restaurants or retail spaces, where the aesthetic appeal of the lighting is just as important as its functionality.
Safety Considerations
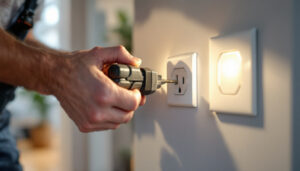
Safety should always be a priority when working with electrical fixtures. Fluorescent lights contain small amounts of mercury, making proper disposal essential. Additionally, understanding the electrical systems in place and adhering to local codes is critical to prevent accidents and ensure compliance. When replacing or installing fluorescent fixtures, it is advisable to wear appropriate personal protective equipment (PPE), such as gloves and safety goggles, to minimize the risk of injury. Furthermore, it is important to ensure that the power is turned off before beginning any work on the fixtures to avoid electrical shocks. Regular maintenance and inspections can also help identify potential hazards, such as frayed wires or flickering lights, which may indicate underlying issues that need to be addressed promptly.
Preparation for Changing Out the Fixture
Preparation is key to a successful fixture change. This phase includes assessing the current setup, gathering necessary tools and materials, and ensuring safety protocols are in place.
Assessing the Current Setup
Before beginning the replacement process, a thorough assessment of the existing fixture is necessary. This includes checking the type of fluorescent lamp and ballast currently in use, as well as evaluating the condition of the fixture itself. Identifying any potential issues early can save time and resources during the installation process. Additionally, it’s wise to inspect the surrounding area for any obstructions or hazards that might impede the installation. For instance, ensuring that there is adequate space to maneuver and that the area is free from clutter can significantly streamline the process.
Gathering Tools and Materials
Having the right tools and materials on hand is essential for a smooth operation. Common tools required for changing out fluorescent fixtures include screwdrivers, wire strippers, and a voltage tester. Additionally, ensure that the replacement fixture is compatible with the existing electrical system and meets the necessary specifications. It’s also beneficial to have a flashlight handy, especially if the work area is dimly lit. Furthermore, consider gathering extra materials such as electrical tape and wire connectors, as these can be invaluable if unexpected repairs are needed during the installation.
Implementing Safety Protocols
Before starting any electrical work, it is vital to implement safety protocols. This includes turning off the power to the fixture at the circuit breaker and using personal protective equipment (PPE) such as gloves and safety glasses. A clear understanding of emergency procedures and having a first aid kit nearby can also enhance safety during the installation process. Moreover, it’s advisable to inform others in the vicinity about the ongoing work to prevent accidental interruptions or hazards. If working on a ladder, ensure that it is stable and positioned correctly, as falls are a common risk during fixture changes. Taking these precautions not only protects the installer but also promotes a safer environment for everyone nearby.
Step-by-Step Installation Process
Once preparation is complete, the actual installation process can begin. Following a systematic approach will help ensure that the fixture is installed correctly and safely. Taking the time to understand each step can prevent potential issues down the line, making the installation not only efficient but also enjoyable for those who take pride in their DIY skills.
Removing the Old Fixture
The first step in the installation process is to remove the old fluorescent fixture. Start by carefully detaching the cover or lens, if applicable. Next, disconnect the wiring from the ballast, taking care to note how the connections are made. It is advisable to take pictures or make notes to aid in reinstallation. Additionally, it’s wise to check for any signs of wear or damage on the old fixture, as this could indicate underlying electrical issues that may need to be addressed before proceeding. Ensure that the power is completely off to avoid any accidents during this step, and consider using a voltage tester to confirm that there is no live current.
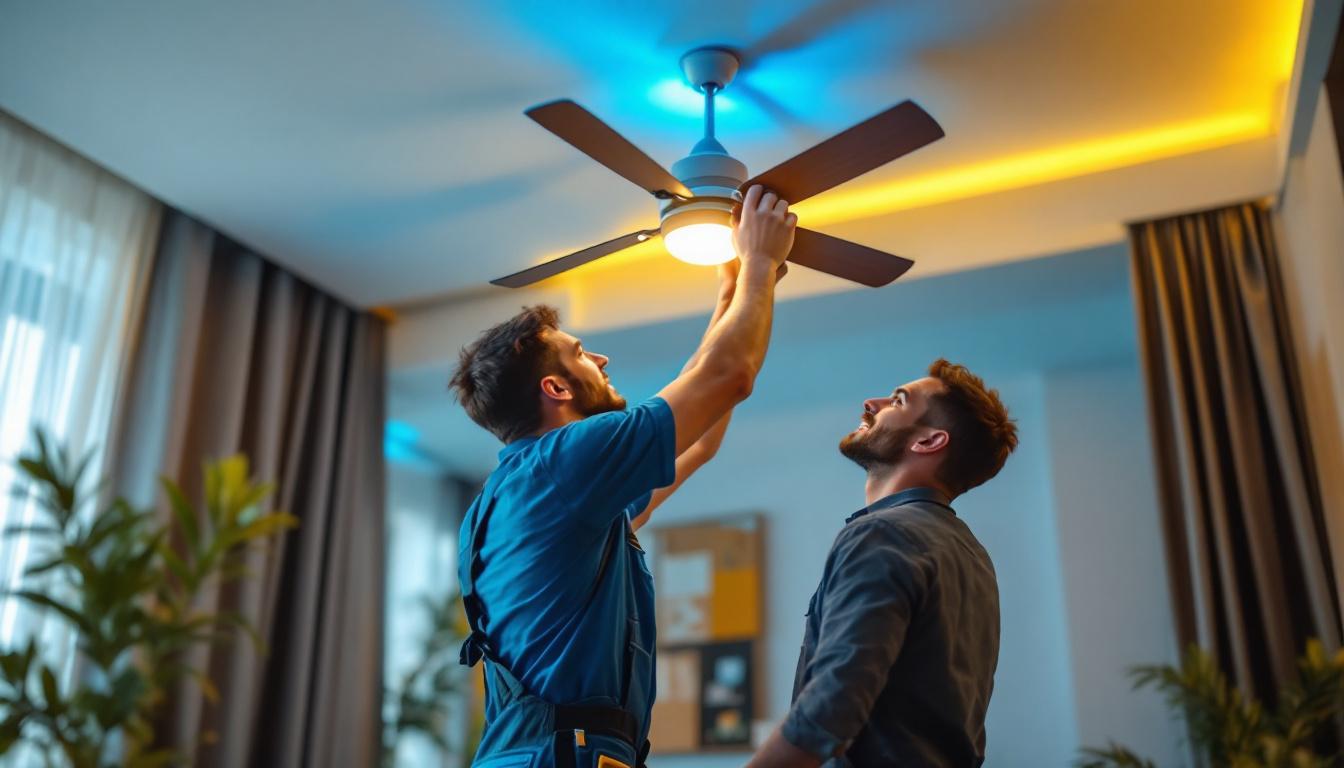
Installing the New Fixture
With the old fixture removed, the next step is to install the new fixture. Begin by securing the fixture to the mounting surface, ensuring it is level and properly aligned. Connect the wiring according to the manufacturer’s instructions, making sure to follow proper color coding for electrical connections. Once everything is connected, replace the cover or lens as needed. It’s also beneficial to take a moment to familiarize yourself with the features of the new fixture, such as adjustable brightness settings or energy-saving modes. This will not only enhance the functionality of your lighting but also allow you to maximize the benefits of your new installation.
Testing the Installation
After the new fixture is installed, it is crucial to test the installation before finalizing the project. Turn the power back on at the circuit breaker and check the functionality of the fixture. Ensure that the light is operating correctly and that there are no flickers or irregularities. If any issues arise, double-check the wiring and connections. Additionally, take this opportunity to assess the overall lighting quality in the space. Consider how the new fixture complements the room’s decor and whether it meets your illumination needs. If the light appears too harsh or too dim, adjustments may be necessary to achieve the desired ambiance. Remember, the right lighting can transform a space, enhancing both its functionality and aesthetic appeal.
Post-Installation Considerations
Once the installation is complete, there are several post-installation considerations that lighting professionals should keep in mind. These include proper disposal of old fixtures, maintenance recommendations, and customer follow-up.
Disposal of Old Fixtures
Fluorescent fixtures contain hazardous materials, including mercury, which necessitates proper disposal. Many municipalities have specific regulations regarding the disposal of fluorescent lights. It is essential to follow these guidelines to ensure environmental safety and compliance with local laws.
Maintenance Recommendations
Providing maintenance recommendations to clients can enhance their satisfaction and prolong the life of the new fixtures. Regular cleaning and periodic checks of the ballast and wiring can prevent issues and ensure optimal performance. Offering a maintenance schedule can also be a valuable service for lighting contractors.
Customer Follow-Up
Following up with the customer after the installation can help gauge their satisfaction and address any concerns. This communication can also open the door for future projects or referrals, enhancing the contractor’s reputation and business opportunities.
Common Challenges and Solutions
Even with careful planning, challenges can arise during the process of changing out fluorescent fixtures. Being prepared for these potential issues can help lighting professionals navigate them effectively.
Electrical Issues
One common challenge is encountering unexpected electrical issues, such as faulty wiring or incompatible ballasts. If problems arise, it is essential to troubleshoot systematically. Using a voltage tester can help identify issues, and consulting electrical codes may provide guidance on necessary repairs.
Fixture Compatibility
Another challenge is ensuring that the new fixture is compatible with the existing electrical system. Before purchasing a replacement, it is advisable to verify specifications and consult with manufacturers if necessary. This step can prevent costly mistakes and delays during installation.
Time Management
Time management can also be a concern, particularly in larger projects. Creating a detailed timeline and sticking to it can help keep the project on track. Additionally, having a team in place can expedite the process and ensure that tasks are completed efficiently.
Conclusion
Changing out fluorescent light fixtures is a task that requires careful planning, execution, and follow-up. By adhering to the essential checklist outlined in this article, lighting professionals can ensure a smooth installation process while prioritizing safety and compliance. As the industry continues to evolve, staying informed about new technologies and practices will further enhance the quality of service provided to clients.
In summary, whether addressing the basics of fluorescent lighting, preparing for installation, or navigating common challenges, a methodical approach will lead to successful outcomes. By prioritizing safety, efficiency, and customer satisfaction, lighting professionals can thrive in an ever-changing landscape of lighting solutions.
Get Your Premium Lighting Supplies at LumenWholesale
Ready to elevate your lighting projects with the best in the industry? Look no further than LumenWholesale for all your lighting needs. Our extensive selection of spec-grade lighting products ensures you have access to high-quality, reliable options for every installation. Say goodbye to inflated markups and hello to unbeatable wholesale prices, plus enjoy the convenience of free shipping on bulk orders. Don’t compromise on quality or value—choose LumenWholesale for Wholesale Lighting at the Best Value and make your next project shine.