In the world of lighting design and installation, recessed lighting has become a staple for both residential and commercial spaces. Among the various options available, cap recessed lights stand out for their sleek design and versatility. For lighting contractors, ensuring a successful installation involves a thorough understanding of the product, the installation process, and the needs of the client. This article presents an ultimate checklist for contractors to consider when working with cap recessed lights.
Understanding Cap Recessed Lights
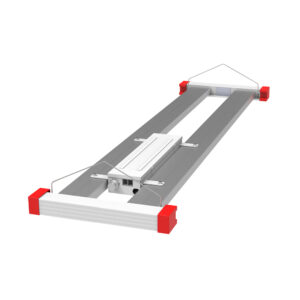
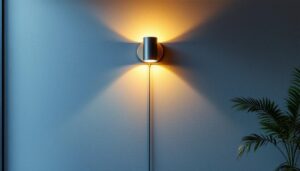
Before diving into the installation process, it is essential to understand what cap recessed lights are and how they differ from traditional recessed lighting. Cap recessed lights are designed with a unique cap that helps to diffuse light evenly, creating a soft glow that enhances the ambiance of any space. This design not only improves aesthetics but also minimizes glare, making them ideal for various applications. The cap serves as a protective layer while also contributing to the overall design, allowing for a seamless integration into the ceiling, which can be especially beneficial in modern interiors where clean lines are favored.
Types of Cap Recessed Lights
Cap recessed lights come in a variety of styles and configurations. Some popular types include:
- Adjustable Cap Lights: These fixtures allow for directional lighting, making them perfect for highlighting artwork or architectural features. Their flexibility means you can change the focus of the light as your decor evolves, ensuring that your space remains dynamic and engaging.
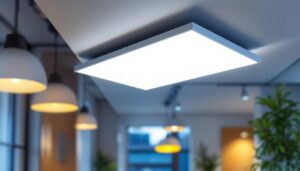
- Fixed Cap Lights: Ideal for general lighting, these fixtures provide a consistent light output without the ability to adjust the direction. They are often used in hallways and living rooms where a steady illumination is needed to create a welcoming atmosphere.
- Smart Cap Lights: Incorporating smart technology, these lights can be controlled via smartphone apps or voice commands, offering convenience and energy efficiency. With features like dimming and scheduling, smart cap lights can transform the mood of a room with just a few taps or commands.
Benefits of Using Cap Recessed Lights
The advantages of cap recessed lights extend beyond their aesthetic appeal. Here are some key benefits:
- space-saving design: Their low-profile design makes them perfect for spaces with low ceilings. This means you can enjoy a well-lit room without the bulkiness of traditional fixtures that can overwhelm smaller areas.
- Energy Efficiency: Many cap recessed lights use LED technology, which consumes less power and has a longer lifespan than traditional bulbs. This not only reduces your energy bill but also contributes to a more sustainable lifestyle, as LED lights are less harmful to the environment.
- Versatility: Suitable for various applications, from residential homes to commercial spaces, these lights can adapt to different lighting needs. Whether you’re illuminating a cozy reading nook or a bustling office, cap recessed lights can be tailored to suit the specific requirements of the environment.
In addition to their practical benefits, cap recessed lights can also enhance the overall design of a space. By choosing fixtures that complement your interior style—be it modern, industrial, or traditional—you can create a cohesive look that ties together various elements of your decor. Furthermore, the ability to install these lights in a variety of configurations allows for creative lighting designs, such as layering different types of cap recessed lights to achieve a multi-dimensional effect. This flexibility not only serves functional purposes but also allows for artistic expression in your lighting choices.
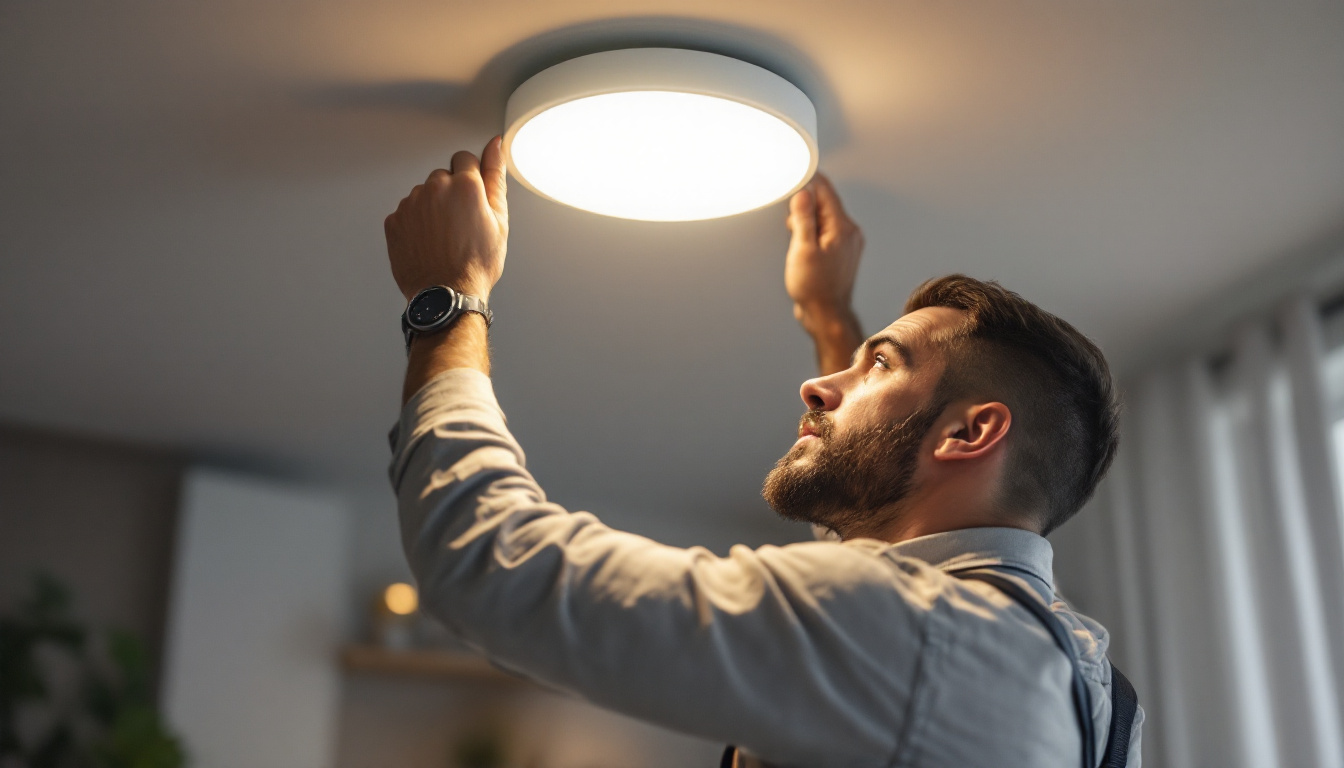
Moreover, the installation process for cap recessed lights can be straightforward, especially for those who are familiar with basic electrical work. Many models come with easy-to-follow instructions, and with the right tools, homeowners can often complete the installation themselves. However, for those who prefer a professional touch, hiring an electrician can ensure that the lights are installed safely and correctly, maximizing their performance and longevity. As more homeowners recognize the importance of good lighting, cap recessed lights continue to gain popularity, proving to be a smart investment for both style and functionality.
Preparation for Installation
Preparation is key to a successful installation. Before beginning the installation process, contractors should gather all necessary tools and materials. This includes not only the cap recessed lights themselves but also wiring, connectors, and safety equipment.
Tools and Materials Needed
Having the right tools on hand can streamline the installation process. Essential tools include:
- Drill and drill bits
- Wire cutters and strippers
- Screwdrivers
- Voltage tester
- Measuring tape
- Level
In addition to tools, ensure that all materials are ready. This includes the cap recessed lights, appropriate wiring, and any additional hardware needed for installation.
Client Consultation
Before proceeding, it is crucial to consult with the client to determine their specific needs and preferences. Discuss the following:
- Lighting Goals: Understand what the client hopes to achieve with the new lighting. Are they looking for ambient lighting, task lighting, or accent lighting?
- Fixture Placement: Discuss where the lights will be installed, considering factors such as ceiling height and room layout.
- Style and Finish: Cap recessed lights come in various finishes. Ensure the chosen style complements the overall design of the space.
Installation Process
Once preparation is complete, the installation process can begin. This section outlines the steps involved in installing cap recessed lights effectively.
Step 1: Marking the Layout
Using a measuring tape and level, mark the locations for the recessed lights on the ceiling. It is essential to space them evenly to achieve a balanced look. Consider the room’s dimensions and the type of lighting desired when determining placement.
Step 2: Cutting the Ceiling Holes
After marking the layout, use a drywall saw to cut holes in the ceiling for the recessed lights. Ensure that the holes are the correct size for the fixtures being installed. It is advisable to double-check measurements before cutting to avoid unnecessary repairs.
Step 3: Wiring the Fixtures
Before wiring, turn off the power at the circuit breaker to ensure safety. Connect the wiring according to the manufacturer’s instructions, typically involving connecting the black (hot), white (neutral), and green or bare (ground) wires. Use wire nuts to secure connections and ensure they are insulated properly.
Step 4: Installing the Fixtures
Once the wiring is complete, install the cap recessed lights into the holes. Most fixtures come with clips that secure them to the ceiling. Make sure they are flush with the ceiling surface to maintain a clean look. After installation, restore power and test the lights to ensure they function correctly.
Post-Installation Considerations
After the installation is complete, there are several post-installation considerations to keep in mind. These steps help ensure the longevity and effectiveness of the cap recessed lights.
Testing and Adjustments
Once the lights are powered on, conduct a thorough test to ensure each fixture is working correctly. Check for any flickering or dimming issues, which may indicate wiring problems. If using adjustable cap lights, take the time to direct the beams as needed for optimal lighting.
Client Walkthrough
Schedule a walkthrough with the client to demonstrate the new lighting. This is an opportunity to explain how to operate any smart features and answer any questions they may have. Ensure the client is satisfied with the placement and functionality of the lights.
Maintenance Tips
Educate the client on how to maintain their cap recessed lights. This includes:
- Regularly checking for dust buildup on the fixtures.
- Replacing bulbs as needed, especially in LED fixtures which may have a longer lifespan but still require attention.
- Encouraging the client to report any issues promptly to avoid further complications.
Common Challenges and Solutions
Even with careful planning and execution, challenges may arise during the installation of cap recessed lights. Being prepared to address these issues can save time and enhance client satisfaction.
Electrical Issues
One of the most common challenges is dealing with existing electrical wiring. If the wiring in the ceiling is outdated or not up to code, it may require an upgrade. Always ensure that the electrical system can handle the new lighting load.
Insulation and Heat Concerns
Cap recessed lights can generate heat, which may pose a risk if they are installed near insulation. It is crucial to use IC-rated fixtures that are safe for contact with insulation. Additionally, ensure proper ventilation in the ceiling space to prevent overheating.
Client Expectations
Sometimes, clients may have unrealistic expectations regarding the lighting effects. Clear communication during the consultation phase is vital to align their expectations with the capabilities of cap recessed lights. Providing visual aids or examples can help illustrate the potential outcomes.
Conclusion
Cap recessed lights offer a modern and efficient lighting solution for various spaces. By following this comprehensive checklist, lighting contractors can ensure a successful installation that meets client needs and enhances the overall aesthetic of the environment. From understanding the product to navigating the installation process and addressing common challenges, this guide serves as a valuable resource for lighting professionals.
Ultimately, the key to successful lighting installation lies in preparation, communication, and attention to detail. By adhering to these principles, contractors can deliver exceptional results that leave a lasting impression on their clients.
Get Your Cap Recessed Lights at LumenWholesale
Ready to elevate your lighting projects with the sleek and efficient cap recessed lights? Look no further than LumenWholesale for all your lighting needs. We provide contractors with the highest quality, spec-grade lighting products at unbeatable wholesale prices. With our direct-to-contractor approach, you’ll enjoy superior lighting solutions without the inflated markups often found at local distributors. Our extensive selection not only meets but exceeds industry standards, ensuring every installation shines with reliability and performance. Plus, with free shipping on bulk orders, you can stock up on premium lighting without worrying about hidden fees or compromises. Don’t miss out on the best value in lighting—visit Wholesale Lighting at the Best Value and experience the LumenWholesale difference today.