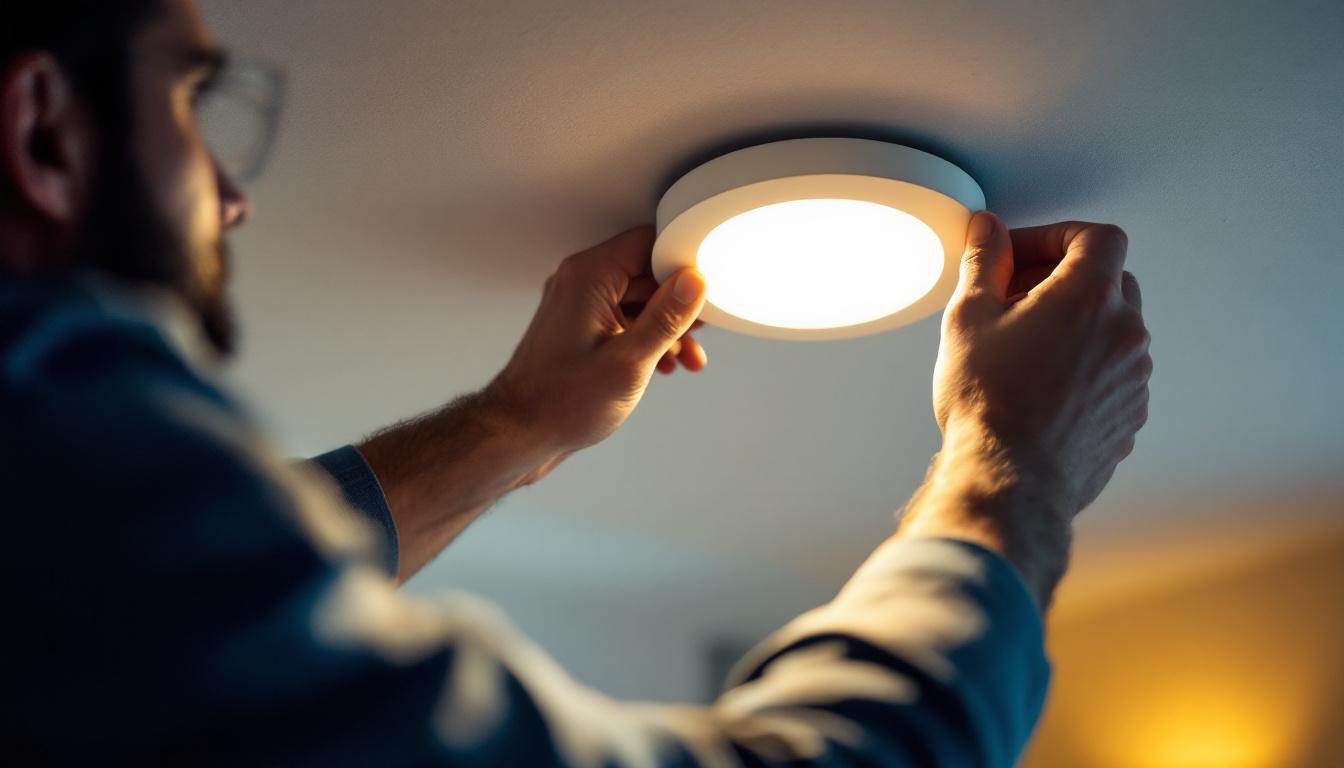
In the ever-evolving world of lighting design, recessed lighting has become a staple for both residential and commercial spaces. Among the various sizes available, 8-inch recessed lighting fixtures offer a unique blend of functionality and aesthetics. This comprehensive handbook aims to equip lighting contractors with the essential knowledge and skills needed to successfully retrofit 8-inch recessed lighting fixtures. From understanding the benefits to installation techniques, this guide covers all aspects of the process.
Before diving into the retrofitting process, it’s crucial to understand what 8-inch recessed lighting entails. These fixtures are larger than their 6-inch counterparts, making them suitable for spaces that require more light output or a broader beam spread. The increased size not only enhances illumination but also provides a more balanced light distribution, which is particularly beneficial in larger rooms where shadows can easily form.
One of the primary advantages of 8-inch recessed lighting is its ability to illuminate larger areas effectively. This makes it ideal for open floor plans, high ceilings, and commercial spaces. Additionally, the larger size allows for the incorporation of more advanced lighting technologies, such as LED options, which can enhance energy efficiency and reduce long-term costs. With LED technology, these fixtures can last up to 25,000 hours or more, significantly decreasing the frequency of replacements and maintenance.
Another benefit is aesthetic versatility. The larger diameter can accommodate various trim styles and finishes, allowing for customization that aligns with the overall design theme of a space. Whether aiming for a sleek modern look or a more traditional feel, 8-inch recessed lighting can complement any interior design. Furthermore, the ability to choose from a variety of color temperatures—from warm white to cool daylight—enables homeowners and designers to create the perfect ambiance for any occasion, enhancing the overall mood of the environment.
8-inch recessed lighting is particularly effective in areas such as living rooms, kitchens, and commercial environments. In residential settings, these fixtures can highlight artwork, provide ambient lighting, or serve as task lighting in workspaces. In commercial spaces, they can illuminate retail displays, conference rooms, and lobbies, creating an inviting atmosphere for customers and clients alike. The strategic placement of these lights can also help to delineate different functional areas within a larger room, making them a practical choice for multifunctional spaces.
Moreover, these fixtures can be used in conjunction with smart home technology, allowing for adjustable brightness and color temperature, which can further enhance the functionality of the space. Imagine being able to dim the lights for a movie night or brighten them for a lively gathering with friends—all at the touch of a button or through voice commands. This adaptability not only increases convenience but also contributes to energy savings, as users can tailor their lighting needs to specific activities throughout the day.
In addition to their practical applications, 8-inch recessed lights can also serve as a focal point in a room’s design. By selecting decorative trims or using them in creative configurations, homeowners can transform standard lighting into a design statement. For instance, a series of 8-inch fixtures can create a stunning visual effect when installed in a grid pattern, drawing the eye upward and accentuating high ceilings. This not only enhances the aesthetic appeal but also maximizes the functionality of the lighting, making it a win-win for both style and utility.
Retrofitting 8-inch recessed lighting requires careful planning and preparation. A successful installation hinges on understanding the existing infrastructure and the specific needs of the project.
Before beginning the retrofit process, it’s essential to assess the existing fixtures. Determine the type of lighting currently in place, whether it’s incandescent, fluorescent, or older LED models. Understanding the existing wiring and housing will guide the selection of the new fixtures and ensure compatibility.
Additionally, consider the layout of the space. Take measurements to determine the optimal placement of the new fixtures, ensuring even light distribution and minimizing shadows. This step is vital in creating a well-lit environment that meets the needs of the occupants.
Choosing the right 8-inch recessed lighting fixtures is crucial for achieving the desired lighting effect. Factors to consider include the type of bulb, trim style, and color temperature. LED options are highly recommended due to their energy efficiency, longevity, and versatility.
Furthermore, consider the beam angle of the fixtures. A wider beam angle may be suitable for general lighting, while a narrower beam angle can be used for accent lighting or highlighting specific areas. Selecting fixtures that offer adjustable features can also enhance the overall functionality of the lighting system.
The installation process for retrofitting 8-inch recessed lighting can vary based on the existing setup and the chosen fixtures. However, there are general steps that can guide contractors through the process.
Before starting the installation, gather all necessary tools and materials. Common tools include a drill, wire cutters, a voltage tester, and a screwdriver. Additionally, ensure that the new fixtures, wiring, and any required trim are on hand.
Having all materials ready will streamline the process and minimize delays. It’s also advisable to wear appropriate safety gear, including gloves and goggles, to protect against potential hazards.
1. **Turn Off Power**: Before beginning any electrical work, ensure that the power to the existing fixtures is turned off at the circuit breaker. Use a voltage tester to confirm that there is no electricity running to the fixtures.
2. **Remove Existing Fixtures**: Carefully remove the old recessed lighting fixtures. This may involve unscrewing the trim and disconnecting the wiring. Take note of how the existing fixtures are connected, as this will aid in the installation of the new ones.
3. **Prepare the Housing**: If the existing housing is compatible, clean it and ensure it is free from dust and debris. If not, new housing may need to be installed. Follow the manufacturer’s instructions for installing the new housing if necessary.
4. **Connect Wiring**: Connect the wiring for the new 8-inch recessed fixtures, following the color codes (typically black for hot, white for neutral, and green or bare for ground). Ensure all connections are secure and insulated with wire nuts.
5. **Install the Fixtures**: Insert the new fixtures into the prepared housing. Ensure they are securely fastened and aligned properly. If the fixtures have adjustable features, set them according to the desired lighting effect.
6. **Test the Installation**: Once the fixtures are installed, turn the power back on at the circuit breaker. Test each fixture to ensure they are functioning correctly. If any issues arise, double-check the wiring and connections.
After the installation is complete, there are several post-installation considerations to keep in mind. These can enhance the longevity and performance of the lighting system.
Once the fixtures are operational, take the time to adjust and fine-tune the lighting. This may involve changing the angle of adjustable fixtures or altering the brightness settings if dimmable options were installed. The goal is to achieve a balanced and aesthetically pleasing lighting environment.
Consider conducting a walkthrough of the space with the client to gather feedback. This collaborative approach can ensure that the lighting meets their expectations and needs.
Educate clients on the importance of regular maintenance for their recessed lighting. This includes cleaning the fixtures and checking for any signs of wear or damage. LED fixtures generally require less maintenance than traditional bulbs, but it’s still essential to keep them in good condition to ensure optimal performance.
Additionally, advise clients on the lifespan of the bulbs used in the fixtures. While LEDs typically last longer, they may still require replacement after several years of use. Keeping track of the replacement schedule can prevent unexpected outages.
Even with careful planning and execution, challenges may arise during the retrofitting process. Understanding these potential issues and their solutions can help contractors navigate the installation smoothly.
One common challenge is encountering outdated or damaged wiring. If the existing wiring is not up to code or shows signs of wear, it may need to be replaced. This can add time to the project, so it’s crucial to communicate any potential delays to the client.
In some cases, hiring a licensed electrician may be necessary to ensure that all work is performed safely and in compliance with local regulations. Proper documentation of any changes made to the wiring should also be maintained.
Another challenge is achieving even light distribution throughout the space. If fixtures are placed too far apart or not positioned correctly, it can lead to dark spots or uneven lighting. During the planning phase, utilize lighting design software or tools to simulate how the light will spread in the area.
If issues arise post-installation, consider adjusting the placement of fixtures or adding additional units to achieve the desired effect. Collaborating with the client during this process can lead to a more satisfactory outcome.
Retrofitting 8-inch recessed lighting can transform a space, enhancing both its functionality and aesthetic appeal. By understanding the benefits, preparing adequately, and following a structured installation process, lighting contractors can ensure a successful project.
Through careful planning, attention to detail, and effective communication with clients, contractors can navigate the challenges that may arise during the retrofit process. Ultimately, the goal is to create well-lit environments that meet the needs of the occupants while showcasing the beauty of the space.
As the demand for energy-efficient and versatile lighting solutions continues to grow, mastering the art of retrofitting 8-inch recessed lighting will position contractors as leaders in the field, ready to tackle any project with confidence.
Ready to elevate your lighting projects with the best in 8-inch recessed lighting retrofits? Look no further than LumenWholesale. Our commitment to quality and affordability ensures you have access to the highest standard of spec-grade lighting products at prices that can’t be beaten. Say goodbye to middleman markups and hello to hassle-free bulk buying with free shipping. Make LumenWholesale your go-to source for premium lighting solutions that don’t break the bank. Wholesale Lighting at the Best Value is just a click away. Start transforming spaces with confidence and convenience today!

Discover how Rhps311Al Jw0 can help lighting contractors win more bids with proven strategies, key insights, and actionable tips—boost your success today!.

Discover how using recessed lights with covers can revolutionize efficiency for lighting contractors.

Discover the key qualities that distinguish top lighting contractors in the installation of driveway post lanterns.

Discover the ultimate plug-in fluorescent lights lighting contractors’ checklist to ensure safety, efficiency, and cost savings.