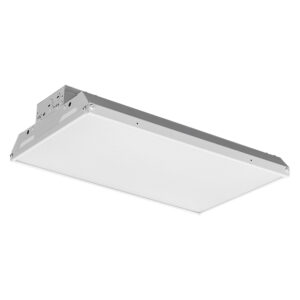
Why Replace Fluorescent Fixtures with Recessed Lighting?
Fluorescent lighting has been a staple in commercial and residential spaces for decades. Its efficiency and brightness made it a popular choice, especially in offices, schools, and retail environments. However, recessed lighting is rapidly becoming the preferred alternative for many contractors and clients alike.
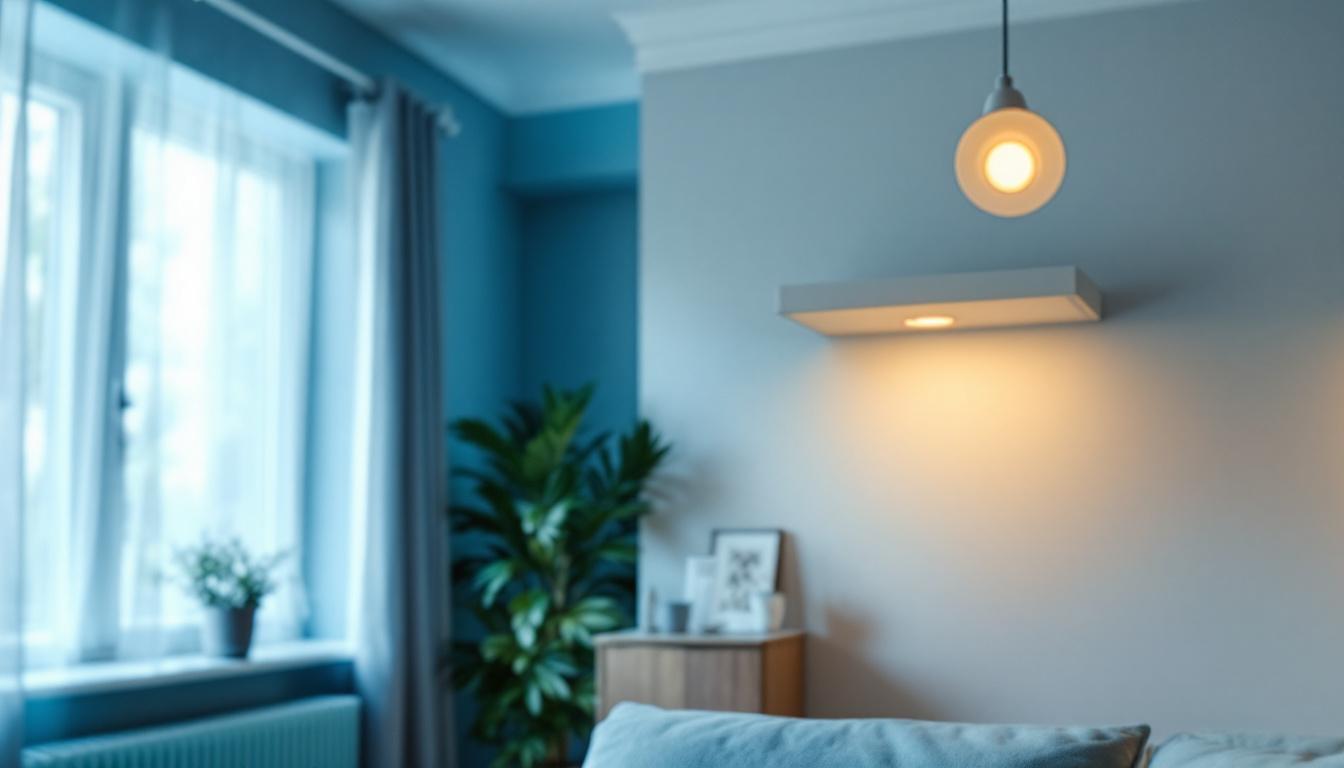
Recessed lighting offers a sleek, modern aesthetic that fluorescent fixtures simply cannot match. The fixtures sit flush with the ceiling, creating a clean look that complements contemporary design trends. Beyond aesthetics, recessed lighting provides superior control over light distribution and ambiance. This allows for tailored lighting solutions that can enhance the functionality of a space, whether it’s highlighting artwork in a gallery or providing soft illumination in a cozy living room.
From an energy perspective, LED recessed lights consume significantly less power compared to traditional fluorescent tubes. This translates to lower operating costs and less frequent maintenance, which is a compelling selling point for clients focused on long-term savings. Additionally, many LED options come with dimming capabilities, allowing users to adjust the brightness according to their needs, further enhancing energy efficiency and creating the perfect atmosphere for any occasion.
Moreover, the environmental benefits of switching to recessed lighting cannot be overlooked. Unlike fluorescent bulbs, which contain hazardous materials like mercury, LED recessed lights are free from such toxins, making them a safer choice for both users and the planet. As sustainability becomes increasingly important in design and construction, opting for recessed lighting aligns with eco-friendly practices, appealing to environmentally conscious clients. Furthermore, the longevity of LED lights—often lasting up to 25,000 hours or more—means fewer replacements and less waste, contributing to a more sustainable future.
Assessing the Existing Fluorescent Setup
Understanding the Current Electrical Infrastructure
Before removing fluorescent fixtures, it’s crucial to evaluate the existing electrical wiring and support systems. Fluorescent lights often rely on ballasts, which regulate current to the tubes. These ballasts may be magnetic or electronic, and their presence affects how you approach the retrofit. Magnetic ballasts, while more robust, can be less energy-efficient compared to their electronic counterparts, which provide better performance and longer lifespan. Understanding the type of ballast in use can help determine whether it should be replaced or can be bypassed during the installation of new lighting.
In many cases, fluorescent fixtures are wired to a 120V or 277V supply line, but the wiring setup can vary depending on the building’s age and electrical code compliance. Confirming voltage and wiring conditions ensures that the new recessed lighting will be compatible and safe. Additionally, it’s wise to check for any signs of wear or damage in the wiring, as older buildings may have outdated electrical systems that could pose safety hazards. Upgrading the wiring may be necessary not only for compatibility but also to enhance the overall safety and efficiency of the lighting system.
Ceiling Type and Structural Considerations
Fluorescent fixtures are commonly mounted in drop ceilings or directly on drywall ceilings. When switching to recessed lighting, the ceiling type dictates installation complexity. Drop ceilings offer easier access but may limit fixture depth options. Drywall ceilings require cutting holes and may necessitate additional framing or support for the new fixtures. It’s also essential to consider the aesthetic implications of the ceiling type; recessed lighting in a drywall ceiling can create a sleek, modern look, while drop ceilings may require careful planning to maintain a cohesive design.
Verify the ceiling cavity depth to ensure there is enough space for the recessed housing. Insufficient clearance can lead to overheating or require specialized shallow housings designed for tight spaces. Furthermore, consider the insulation in the ceiling cavity, as it can impact both the installation process and the performance of the recessed lights. Proper insulation can prevent heat loss and improve energy efficiency, while inadequate insulation may lead to increased energy costs and potential damage to the fixtures. Assessing these factors will help ensure a successful transition to recessed lighting that meets both functional and aesthetic needs.
Choosing the Right Recessed Lighting Fixtures
Types of Recessed Lights
Recessed lighting comes in several varieties, each suited to different applications:
- IC-rated fixtures: Designed for insulation contact, these are ideal for ceilings with insulation, preventing fire hazards.
- Non-IC-rated fixtures: Require clearance from insulation and are typically used in open ceilings or attics.
- New construction housings: Installed before ceiling drywall, often used in new builds or major renovations.
- Remodel housings: Designed for installation in existing ceilings, perfect for retrofits replacing fluorescent fixtures.
For replacing fluorescent fixtures, remodel housings are usually the best choice, as they can be installed without removing the ceiling material extensively.
LED vs. Other Light Sources
LED recessed lights dominate the market due to their efficiency, longevity, and versatility. They offer a broad range of color temperatures, from warm white to daylight, allowing customization based on the space’s function.
Compared to compact fluorescent lamps (CFLs) or halogen bulbs, LEDs provide instant-on lighting without flicker, which is a significant upgrade in terms of user comfort and energy savings. Additionally, LEDs generate less heat, reducing cooling loads in commercial spaces.
Step-by-Step Guide to Replacing Fluorescent Fixtures with Recessed Lighting
1. Turn Off Power and Remove Fluorescent Fixtures
Safety is paramount. Always switch off the circuit breaker before beginning any electrical work. After confirming power is off, remove the fluorescent tubes and then the fixture housing. Disconnect wiring carefully, noting how the ballast and wiring are configured.
2. Remove Ballasts and Modify Wiring
Ballasts are unnecessary for LED recessed lights and should be removed. This often involves rewiring the fixture junction box to bypass the ballast and connect directly to the power supply. Ensure that all connections are secure and comply with local electrical codes.
3. Prepare Ceiling Openings
Measure and mark the locations for the new recessed lights. The hole size must match the housing specifications. Use a drywall saw or hole cutter to create clean openings. If the existing fluorescent fixture’s footprint is large, multiple recessed lights may be installed to provide even illumination.
4. Install Recessed Housings
Insert the remodel housings into the ceiling openings. Use the integrated clips or mounting brackets to secure them firmly. If the ceiling is insulated, ensure the housings are IC-rated to prevent fire hazards.
5. Wire the New Fixtures
Connect the recessed light wiring to the building’s electrical system. Typically, this involves connecting black (hot), white (neutral), and green or bare copper (ground) wires. Use wire nuts and electrical tape to secure connections and prevent exposure.
6. Install LED Trim and Bulbs
Attach the trim to the housing, which not only provides the finished look but also helps direct light. Insert the LED bulb or integrated LED module as specified by the manufacturer. Some LED trims come with dimming capabilities, which can be a valuable feature for clients seeking adjustable lighting.
7. Test the Installation
Restore power and test each fixture to ensure proper operation. Check for flickering, buzzing, or uneven lighting. Address any issues immediately to maintain safety and performance standards.
Design Considerations for Optimal Lighting
Spacing and Layout
Replacing a single fluorescent fixture with multiple recessed lights allows for more flexible lighting design. A general rule of thumb is to space recessed lights approximately 4 to 6 feet apart, depending on ceiling height and desired brightness. This spacing helps avoid shadows and creates uniform illumination.
Consider the function of the space when planning layout. For example, task lighting in work areas may require brighter, focused light, while ambient lighting in a lounge area might benefit from softer, diffused illumination.
Color Temperature and CRI
Color temperature affects the mood and perceived brightness of a room. Cooler temperatures (4000K to 5000K) mimic daylight and are suitable for workspaces, while warmer temperatures (2700K to 3000K) create a cozy, inviting atmosphere.
Color Rendering Index (CRI) measures how accurately a light source reveals colors compared to natural light. A CRI of 80 or above is recommended for most applications, ensuring colors appear vibrant and true.
Common Challenges and How to Overcome Them
Limited Ceiling Depth
In some retrofit scenarios, ceiling cavities may be too shallow to accommodate standard recessed housings. Low-profile or shallow-mount housings are available and specifically designed for these situations. Alternatively, surface-mounted LED fixtures can be considered if recessed installation is impractical.
Compatibility with Dimming Controls
Many clients request dimmable lighting for flexibility. Not all LED recessed lights are compatible with existing dimmers, especially those designed for incandescent or fluorescent fixtures. Verify compatibility before installation to avoid flickering or damage. Using LED-specific dimmers is often necessary.
Maintaining Building Codes and Safety Standards
Electrical codes vary by region but generally require adherence to safety protocols such as proper grounding, circuit protection, and fixture ratings. Always consult local codes and, when in doubt, collaborate with a licensed electrician to ensure compliance.
Benefits Beyond Aesthetics
Replacing fluorescent fixtures with recessed lighting is not just about updating the look. It offers tangible benefits that contractors can highlight to clients:
- Energy Efficiency: LED recessed lights use up to 75% less energy than fluorescent tubes, reducing utility bills.
- Longevity: LEDs can last 25,000 to 50,000 hours, significantly outlasting fluorescent lamps and ballasts.
- Reduced Maintenance: Fewer replacements mean less labor and disruption.
- Improved Light Quality: LEDs provide consistent, flicker-free light that enhances comfort and productivity.
- Environmental Impact: LEDs contain no mercury and have a smaller carbon footprint.
Final Thoughts for Lighting Contractors
Replacing fluorescent fixtures with recessed lighting is a valuable upgrade that enhances both form and function. It requires careful planning, a solid understanding of electrical systems, and attention to design details. When done correctly, it can transform a space, improve energy efficiency, and increase client satisfaction.
Contractors who master this retrofit process position themselves as experts in modern lighting solutions, opening doors to new projects and repeat business. Staying informed about the latest LED technologies and installation techniques ensures that every job meets the highest standards.
Upgrade Your Lighting Projects with LumenWholesale
Ready to elevate your lighting installations and delight your clients with the sleek appeal of recessed lighting? At LumenWholesale, we provide you with the high-quality, spec-grade lighting products you need to make every project shine. Say goodbye to local distributor markups and hello to unbeatable wholesale prices, backed by our commitment to quality and performance. With our vast selection, free shipping on bulk orders, and no hidden fees, you can trust that you’re getting the best value for your investment. Take the first step towards a brighter future in lighting by visiting Wholesale Lighting at the Best Value and discover how we can help you achieve lighting excellence.