For lighting contractors, the ability to install and configure Leviton Decora products efficiently and effectively is a valuable skill. With a variety of switches, dimmers, and outlets available, understanding the nuances of each component can significantly enhance the quality of your work. This article will delve into the essential installation instructions, tips, and tricks that can elevate your proficiency with Leviton Decora products.
Understanding Leviton Decora Products
Leviton Decora products are designed with both functionality and aesthetics in mind. They offer a sleek, modern look that can complement a variety of interior designs. However, their appeal goes beyond just appearance; they also feature advanced technology that enhances usability and energy efficiency. With the growing trend towards smart home integration, Decora products are increasingly equipped with features that allow for seamless connectivity and control through mobile devices or voice-activated systems, making them a popular choice among homeowners looking to upgrade their living spaces.
Before diving into installation, it is crucial to familiarize yourself with the different types of Decora products available. From standard switches to smart dimmers, each product has specific features and requirements that must be understood for a successful installation. Moreover, understanding the nuances of each product can empower you to make informed decisions that align with your specific needs, whether you are renovating a single room or undertaking a whole-home upgrade.
Types of Decora Products
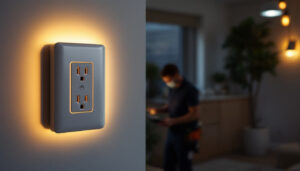
The Decora line includes a wide range of products, such as standard switches, dimmers, and outlets. Each type serves a unique purpose and has distinct installation requirements. For instance, smart dimmers often require a neutral wire, while standard switches may not. Understanding these differences can save time and prevent frustration during installation. Furthermore, the Decora line also includes specialty devices like GFCI outlets and USB charging ports, which are designed to enhance safety and convenience in areas such as kitchens and bathrooms.
Additionally, Decora products may come with various features, such as programmable settings or compatibility with smart home systems. Familiarizing yourself with these features will not only enhance your installation skills but also allow you to offer clients tailored solutions that meet their specific needs. For example, the ability to set schedules for lighting can significantly improve energy efficiency and create the perfect ambiance for any occasion, whether it’s a cozy family dinner or a lively gathering with friends.
Tools and Materials Required
Having the right tools and materials on hand is essential for any installation project. For Leviton Decora installations, the following tools are typically required:
- Wire stripper
- Screwdriver (flathead and Phillips)
- Voltage tester
- Drill (if necessary for mounting)
- Electrical tape
In addition to tools, ensure that you have the appropriate Decora products and any necessary wiring materials. Double-checking your inventory before starting can help streamline the installation process. It’s also wise to have a few extra screws and wire nuts on hand, as these small components can easily get misplaced during a project. Moreover, if you’re working on a larger installation, consider having a helper to assist with holding fixtures in place or managing wires, which can make the process smoother and more efficient.
Step-by-Step Installation Instructions
Installing Leviton Decora products can be straightforward if you follow a systematic approach. Below is a step-by-step guide that outlines the general installation process for a Decora switch or dimmer.
Preparation
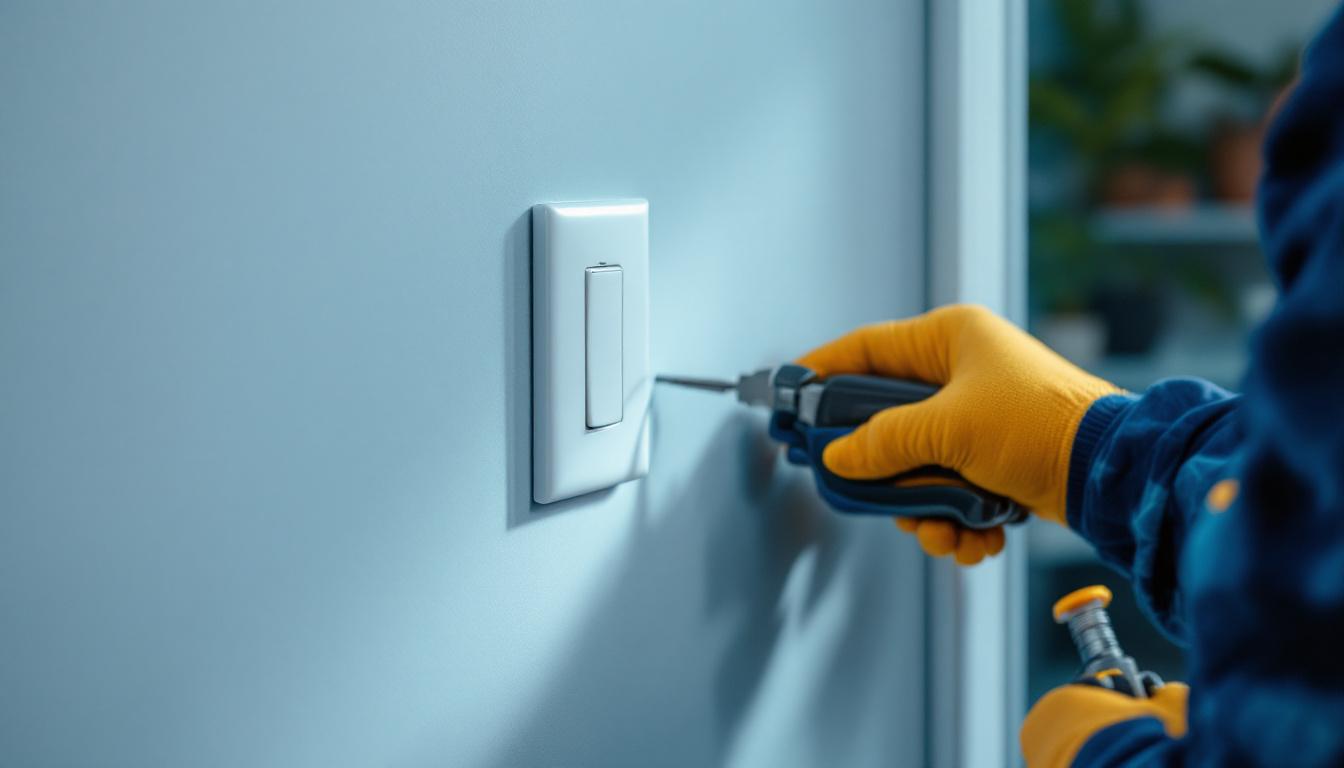
Before beginning the installation, it is crucial to turn off the power at the circuit breaker. This step ensures safety and prevents electrical shock during the installation process. Use a voltage tester to confirm that the power is off before proceeding. It’s also wise to label the circuit breaker to avoid any accidental reactivation while you are working on the installation.
Next, remove the existing switch or outlet by unscrewing it from the electrical box. Take note of the wiring configuration, as this will be helpful when connecting the new Decora product. If you’re unsure about the wiring, consider taking a photo for reference. This can save you time and confusion later on, especially if the wiring setup is complex or if you are dealing with multiple switches in close proximity.
Wiring the Decora Product
Once the old switch is removed, it’s time to wire the new Decora product. Begin by stripping the ends of the wires to expose about half an inch of copper. Connect the wires to the new switch or dimmer according to the manufacturer’s instructions. Typically, the black (hot) wire connects to the brass terminal, while the white (neutral) wire connects to the silver terminal. If installing a smart dimmer, ensure that the neutral wire is connected as well. Additionally, if your installation includes a ground wire (usually bare or green), make sure to connect it to the green terminal for safety.
After making the connections, secure the wires with electrical tape to prevent any accidental disconnections. Carefully tuck the wires back into the electrical box, ensuring that they are not pinched or crimped. It’s important to double-check that all connections are tight and secure, as loose wires can lead to malfunction or even create a fire hazard. If you are using a smart dimmer, take a moment to review any specific requirements for installation, as some models may have unique wiring needs or additional components.
Finalizing the Installation
With the wiring complete, attach the Decora product to the electrical box using the provided screws. Ensure that it is level and flush with the wall. Once secured, attach the faceplate to complete the installation. This final touch not only enhances the aesthetic appeal of your switch or dimmer but also protects the wiring and connections from dust and damage.
Finally, turn the power back on at the circuit breaker and test the installation to ensure everything is functioning correctly. If the product includes smart features, follow the manufacturer’s instructions to connect it to any smart home systems. This may involve downloading an app, creating an account, or pairing the device with your home Wi-Fi network. Take a moment to explore the features of your new Decora product, as many models offer customizable settings that can enhance your lighting experience, such as scheduling, dimming options, or integration with voice assistants. Understanding these features can help you maximize the benefits of your installation and create a more comfortable living environment.
Common Installation Challenges
Even experienced contractors may encounter challenges during the installation of Leviton Decora products. Understanding these common issues can help you troubleshoot effectively and ensure a successful installation.
Wiring Issues
One of the most common challenges is wiring issues, particularly with older homes that may not have a neutral wire available. In such cases, it may be necessary to run a new wire or consider alternative products that do not require a neutral connection. Always assess the existing wiring before beginning the installation to avoid unexpected complications.
Additionally, incorrect wire connections can lead to malfunctioning devices. Double-checking the wiring against the installation instructions can help prevent these issues. If unsure, consulting a more experienced contractor or referring to the manufacturer’s guidelines can provide clarity.
Compatibility with Smart Home Systems
As smart home technology continues to evolve, compatibility issues may arise with certain Decora products. Before installation, verify that the product is compatible with the existing smart home system. This step is particularly important for smart dimmers and switches.
In cases where compatibility is an issue, consider recommending alternative products or solutions to clients. Staying informed about the latest technology trends can help contractors provide the best options for their clients.
Tips for a Successful Installation
To ensure a smooth installation process, consider the following tips that can help enhance your efficiency and effectiveness as a lighting contractor.
Stay Organized
Keeping your workspace organized can significantly improve your installation speed and accuracy. Use a toolbox to store your tools and materials, and keep the work area free of clutter. An organized workspace allows for easier access to tools and reduces the likelihood of losing essential components.
Additionally, labeling wires and components can help streamline the installation process. This practice is especially useful when working with multiple switches or outlets in a single project.
Continuously Educate Yourself
The lighting industry is constantly evolving, with new products and technologies emerging regularly. Staying updated on the latest advancements in Leviton Decora products and installation techniques can give contractors a competitive edge. Attend workshops, webinars, and trade shows to expand your knowledge and skills.
Furthermore, consider joining professional organizations or forums where contractors share experiences and tips. Networking with peers can provide valuable insights and foster collaboration within the industry.
Leveraging Leviton Decora for Client Satisfaction
Ultimately, the goal of any installation project is to achieve client satisfaction. By mastering Leviton Decora installation techniques, contractors can provide high-quality service that meets or exceeds client expectations.
Custom Solutions for Clients
Understanding the various features and capabilities of Decora products allows contractors to offer tailored solutions for clients. Whether it’s recommending a specific dimmer for a home theater or suggesting smart switches for energy efficiency, providing customized options can enhance the overall client experience.
Additionally, educating clients about the benefits of the products can lead to informed decisions. Take the time to explain how different features work and how they can enhance the functionality of their space.
Follow-Up and Support
After the installation is complete, following up with clients can demonstrate professionalism and commitment to service. Check in to ensure that everything is functioning as expected and address any concerns they may have.
Offering ongoing support can also lead to repeat business and referrals. By establishing a reputation for quality work and excellent customer service, contractors can build long-term relationships with clients.
Conclusion
Mastering the installation of Leviton Decora products is an essential skill for lighting contractors. By understanding the various products, following systematic installation instructions, and addressing common challenges, contractors can enhance their proficiency and deliver exceptional service to clients.
Staying organized, continuously educating oneself, and providing customized solutions can further elevate a contractor’s reputation in the industry. Ultimately, a commitment to quality and client satisfaction will lead to a successful career in lighting installation.
Get Your Leviton Decora Products at LumenWholesale
Ready to elevate your lighting installations with Leviton Decora products? Look no further than LumenWholesale for all your lighting needs. Our extensive selection of spec-grade lighting products ensures you have access to the highest quality options for your projects. With unbeatable wholesale prices and the convenience of free shipping on bulk orders, you can stock up on reliable, high-performance lighting without the worry of hidden fees. Make the smart choice for your business and experience the best value in wholesale lighting today. Your clients—and your reputation—will thank you.