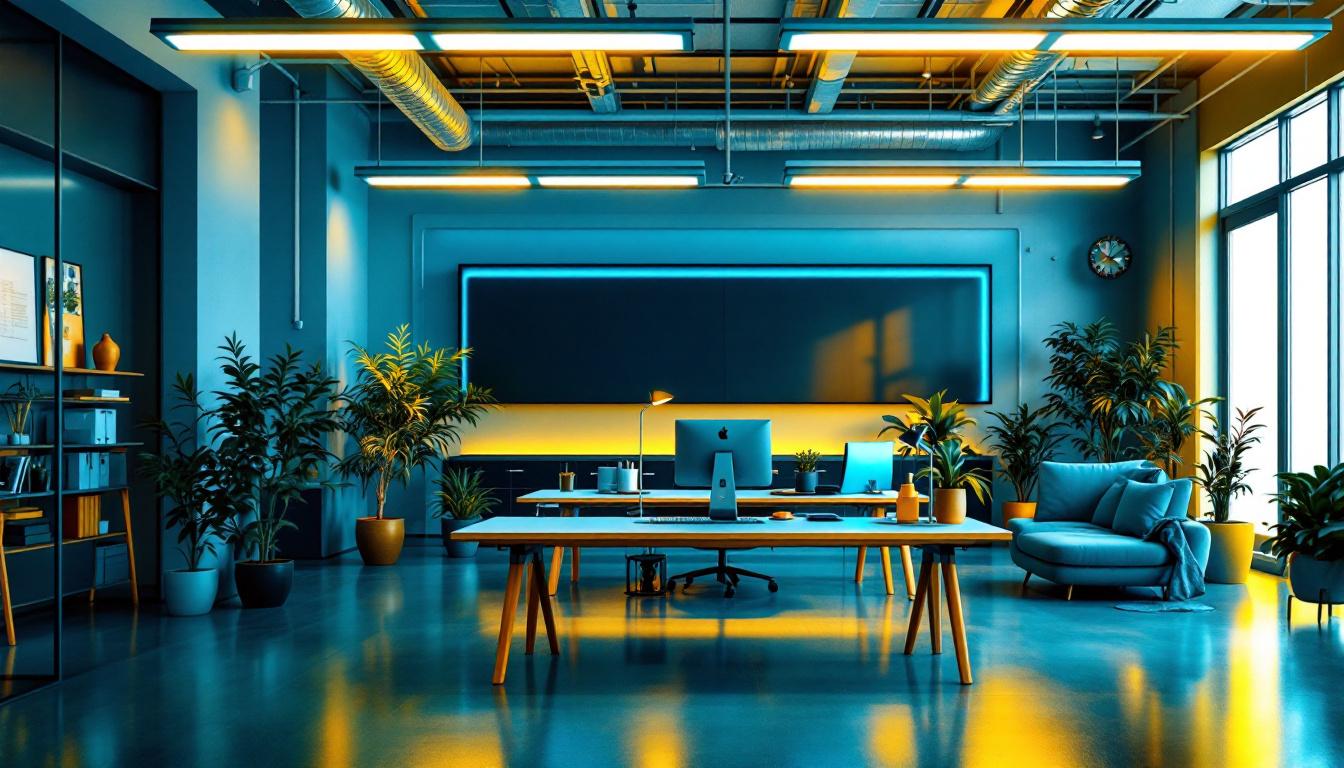
Understanding Fluorescent Light Fixtures and Their Covers
Fluorescent lighting remains a staple in commercial and industrial environments due to its energy efficiency and longevity. For lighting contractors, working with these fixtures is routine, yet removing the cover can sometimes present unexpected challenges. Before diving into the removal process, it’s essential to understand the types of fluorescent light fixtures and their covers, as this knowledge directly impacts the approach and safety precautions required.
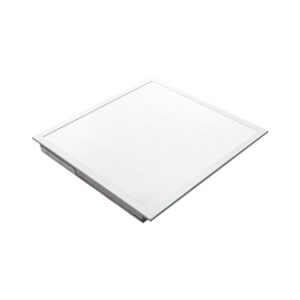
Fluorescent fixtures typically come with covers or diffusers designed to protect the tubes, reduce glare, and distribute light evenly. These covers vary widely—from simple plastic or glass panels to prismatic lenses and louvered designs. Each type has a unique method of attachment, such as clips, screws, or snap-in frames, which influences how a contractor should proceed with removal.
Recognizing the fixture’s design helps avoid damage to the cover or fixture itself and ensures the process is efficient. For example, older fixtures might use metal spring clips that require careful manipulation, while newer models often feature plastic snap-in covers that can be removed with minimal tools.
In addition to understanding the physical characteristics of the fixtures, it’s also crucial to consider the maintenance and cleaning of fluorescent light covers. Dust and grime can accumulate over time, diminishing the quality of light emitted and potentially impacting the lifespan of the bulbs. Regular cleaning can be performed using a soft cloth and a mild detergent, ensuring that the covers are not only functional but also aesthetically pleasing. This maintenance task is often overlooked but can significantly enhance the overall lighting quality in a workspace, making it a vital part of fixture upkeep.
Moreover, safety is paramount when working with fluorescent fixtures. Contractors should always ensure that the power is turned off at the circuit breaker before attempting to remove any covers. Additionally, wearing protective gear, such as gloves and safety goggles, can prevent injuries from broken glass or sharp edges. Understanding the electrical components involved, such as ballasts and starters, is also essential, as improper handling can lead to electrical hazards. By prioritizing safety and maintenance, contractors can ensure a smoother workflow and a safer working environment.
Essential Tools and Safety Precautions Before Removal
Gathering the Right Tools
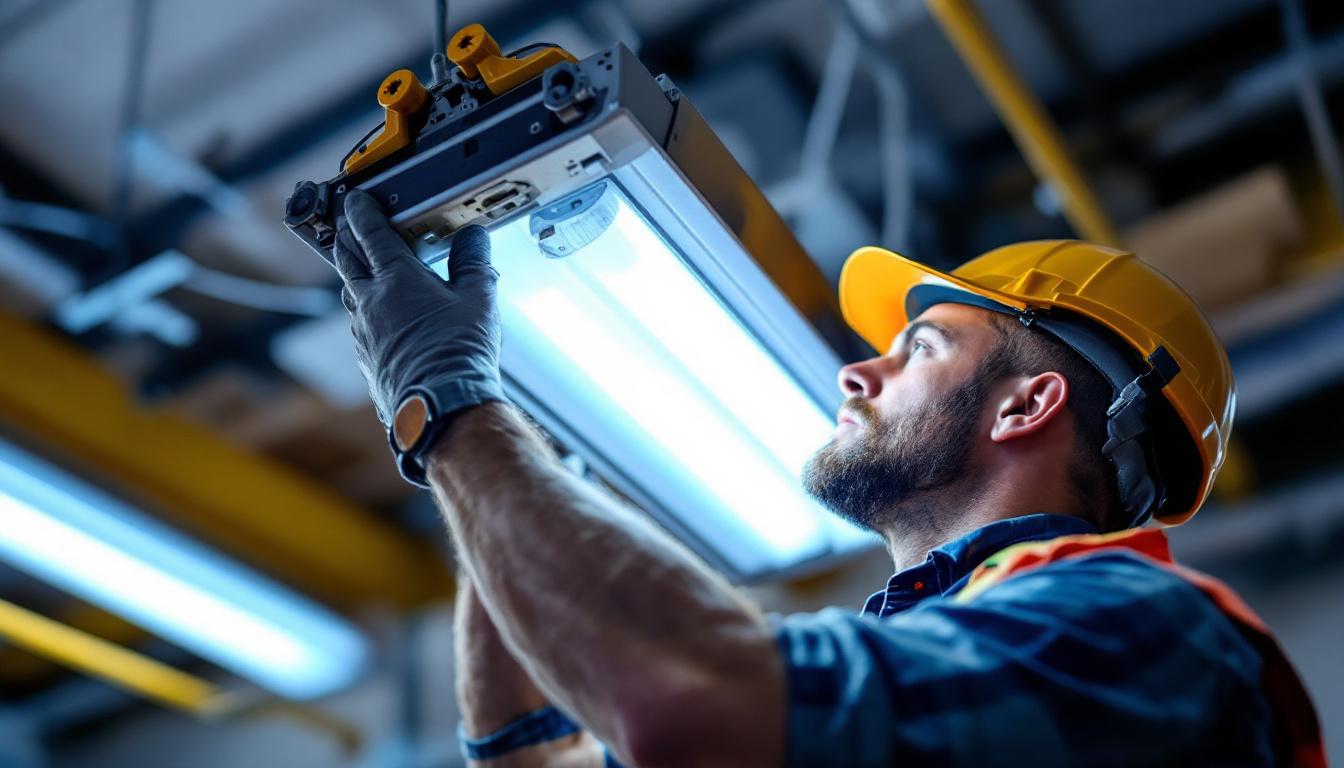
Having the correct tools on hand is critical for a smooth and safe cover removal. Common tools include a flat-head screwdriver, a putty knife, needle-nose pliers, and a step ladder if the fixture is ceiling-mounted. For fixtures with screws, a compatible screwdriver is necessary, and in some cases, a cordless drill can speed up the process. Depending on the specific fixture type, you may also need a wire stripper or electrical tape to ensure safe reconnection of wires after the removal. Furthermore, a voltage tester can provide an extra layer of safety by confirming that no current is present before you start working.
It’s also advisable to have a soft cloth or padding nearby to place the cover on once removed, preventing scratches or breakage. For contractors working in commercial settings, carrying a portable tool kit with these essentials is standard practice. Additionally, having a flashlight can be beneficial, especially in dimly lit areas, allowing you to see the fixture clearly and avoid any potential hazards lurking in the shadows. Proper organization of your tools can save time and enhance efficiency during the removal process, ensuring that you have everything you need within reach.
Prioritizing Safety
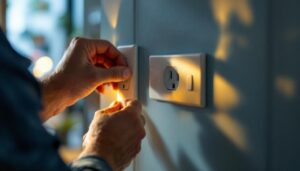
Safety cannot be overstated when working with fluorescent fixtures. Although fluorescent lights operate on low voltage, the ballast and wiring inside the fixture carry electrical current that can cause shocks if mishandled. Always ensure the power is turned off at the circuit breaker before beginning any work. It’s advisable to label the circuit breaker to prevent accidental reactivation while you are working. Moreover, consider using lockout/tagout procedures to further ensure that the power remains off until you have completed your task.
Wearing safety glasses and gloves is recommended to protect against accidental glass breakage or sharp edges on the fixture. Additionally, fluorescent tubes contain small amounts of mercury vapor, so handling the fixture carefully to avoid breaking the tubes is crucial. In case of breakage, follow proper hazardous material protocols for cleanup. This may include using a damp paper towel to pick up small glass shards and placing them in a sealed container for disposal. Always consult local regulations regarding the disposal of fluorescent materials, as improper disposal can lead to environmental hazards. By taking these precautions, you not only protect yourself but also contribute to a safer working environment for everyone involved.
Step-by-Step Guide to Removing Fluorescent Light Covers
Step 1: Power Down and Confirm
Start by switching off the power at the circuit breaker rather than just the wall switch. This ensures there is no residual current. Use a non-contact voltage tester to confirm the fixture is de-energized before proceeding. It’s crucial to take this step seriously, as working with electrical fixtures can pose significant safety risks. If you’re unsure about the process, consider consulting with a professional electrician who can ensure that everything is handled safely and correctly.
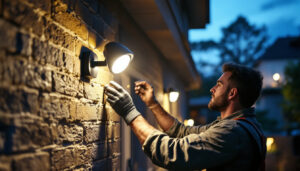
Step 2: Accessing the Fixture
Set up a stable ladder or platform to reach the fixture comfortably. Ensure the area beneath is clear of obstacles and that you have adequate lighting to see the fixture clearly. It’s also wise to wear non-slip shoes to maintain your footing while on the ladder. If the fixture is located in a high or hard-to-reach area, you might want to have a second person assist you, either by holding the ladder steady or by passing tools and materials as needed.
Step 3: Identify the Cover Type and Attachment Method
Inspect the cover to determine how it is secured. Common attachment methods include:
- Spring Clips: These are metal clips that hold the cover in place by tension.
- Screws: Small screws located along the frame or edges.
- Snap-in or Slide-in Covers: Plastic or glass panels that snap or slide into grooves.
Understanding this will guide the removal technique and prevent damage. Additionally, take a moment to examine the condition of the cover and the fixture itself. If the cover appears to be cracked or damaged, it may be a good opportunity to consider replacing it with a new one. This not only enhances the aesthetic appeal but also improves the efficiency of the lighting system.
Step 4: Removing the Cover
For Spring Clip Covers: Gently depress the clips with a flat-head screwdriver or your fingers, releasing the tension. Carefully lower the cover to avoid dropping it. It’s advisable to wear safety goggles during this process, as small pieces can occasionally break off unexpectedly.
For Screw-Attached Covers: Use the appropriate screwdriver to remove all screws. Keep screws in a container so they don’t get lost. Once unscrewed, the cover should lift away easily. Make sure to check if there are any additional screws hidden from view, as some fixtures may have them in less obvious locations.
For Snap-in or Slide-in Covers: Insert a putty knife or flat-head screwdriver into the edge gap and gently pry the cover loose. Work slowly around the perimeter to avoid cracking the material. If the cover seems stuck, applying a bit of lubricant to the edges can help loosen it without causing damage.
Step 5: Handling the Cover Post-Removal
Place the cover on a padded surface immediately to prevent scratches or breakage. If the cover is glass, handle it with extra care and avoid placing it near edges or high-traffic areas. It’s also a good practice to clean the cover before reinstallation, as dust and grime can accumulate over time, affecting the quality of light emitted. Use a gentle glass cleaner and a microfiber cloth to restore clarity, ensuring that your lighting fixture looks as good as new when you put it back together.
Additionally, while you have the cover off, take the opportunity to inspect the fluorescent bulbs and the fixture itself. If the bulbs are flickering or have darkened ends, it may be time to replace them. Regular maintenance not only prolongs the life of your lighting system but also enhances energy efficiency, saving you money in the long run. Consider keeping a spare set of bulbs on hand for quick replacements in the future.
Common Pitfalls and How to Avoid Them
Breaking the Cover
One of the most frequent issues contractors face is cracking or shattering the cover during removal. This often results from applying excessive force or using inappropriate tools. To avoid this, always use gentle, controlled pressure and the correct tools for the fixture type. If the cover feels stuck, reassess the attachment method rather than forcing it.
Damaging the Fixture or Tubes
Fluorescent tubes are fragile and can be easily damaged if the cover is removed carelessly. Avoid pushing or pulling on the tubes when removing the cover. Additionally, be cautious not to bend or deform the fixture’s frame, which can affect reinstallation and the fixture’s alignment.
Electrical Hazards
Failing to completely disconnect power is a serious hazard. Always verify with a voltage tester before touching any part of the fixture. Additionally, be mindful of ballast components inside the fixture, which can retain charge even after power is off.
Losing Small Parts
Screws, clips, and other small components can easily be misplaced during removal. Use a magnetic tray or small container to keep these parts organized. This practice saves time and frustration during reassembly.
Post-Removal Considerations for Lighting Contractors
Inspection and Maintenance Opportunities
Removing the cover provides an excellent opportunity to inspect the fixture’s internal components. Check for signs of wear, corrosion, or damage to the ballast, sockets, and wiring. Cleaning dust and debris from inside the fixture can improve light output and prolong the fixture’s lifespan.
Upgrading or Replacing Components
Contractors often remove covers to upgrade fluorescent tubes to newer, more efficient models or to retrofit fixtures with LED tubes. Understanding the cover removal process ensures that these upgrades can be performed seamlessly without damaging existing components.
Reinstallation Best Practices
When reinstalling the cover, ensure all clips or screws are securely fastened to prevent rattling or falling covers. Verify that the cover sits flush with the fixture to maintain aesthetic appeal and proper light diffusion.
Conclusion: Mastering Cover Removal for Professional Excellence
For lighting contractors, the ability to efficiently and safely remove fluorescent light covers is a fundamental skill that enhances service quality and client satisfaction. By understanding fixture designs, using the right tools, prioritizing safety, and avoiding common pitfalls, contractors can perform this task with confidence and precision.
Moreover, the process opens doors to valuable maintenance and upgrade opportunities that can extend fixture life and improve lighting performance. Mastery of these techniques not only streamlines workflow but also reinforces a contractor’s reputation for professionalism and expertise in the lighting industry.
Upgrade Your Lighting Game with LumenWholesale
Ready to take your lighting projects to the next level? At LumenWholesale, we provide lighting contractors like you with the highest quality, spec-grade lighting products at prices that can’t be beaten. Say goodbye to local distributor markups and hello to a vast selection of reliable, high-performance lighting options that meet the strictest industry standards. Plus, with free shipping on bulk orders, you can stock up on premium lighting solutions without worrying about hidden fees or compromises. Don’t miss out on the perfect combination of quality, affordability, and convenience. Visit LumenWholesale now for Wholesale Lighting at the Best Value and elevate your professional lighting services today.