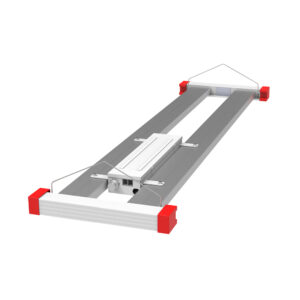
In the modern world of lighting solutions, LED canister lights have emerged as a popular choice for both residential and commercial applications. Their versatility, energy efficiency, and sleek design make them an attractive option for contractors looking to enhance their projects. However, selecting and installing LED canister lights involves several considerations. This comprehensive checklist aims to guide lighting contractors through the essential steps to ensure a successful installation.
Understanding LED Canister Lights
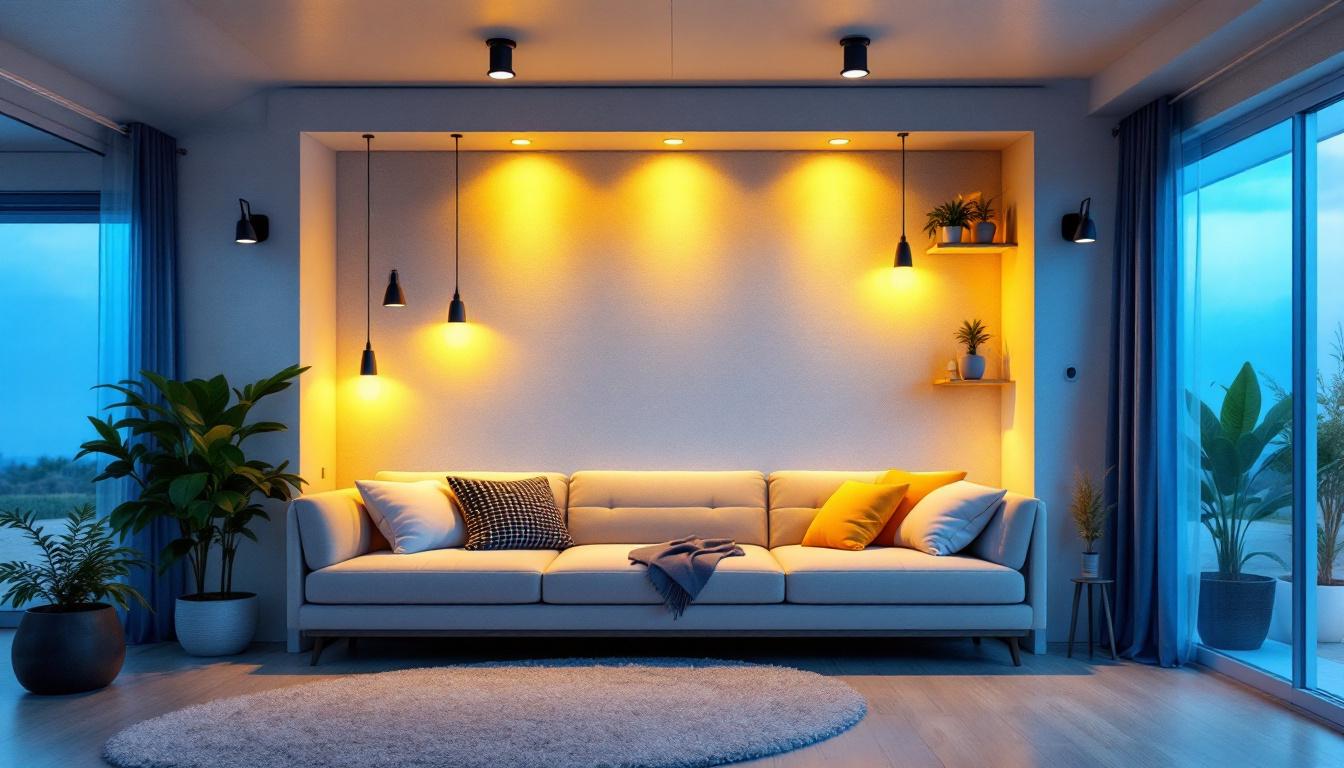
Before diving into the installation process, it’s crucial to understand what LED canister lights are and their advantages. These lights, also known as recessed lights or downlights, are fixtures that are installed into a hollow opening in a ceiling. They provide a clean and unobtrusive look, making them ideal for various spaces. The sleek design of LED canister lights allows them to blend seamlessly into the architecture of a room, creating a modern and sophisticated ambiance. This unobtrusiveness is particularly beneficial in spaces where aesthetics are paramount, such as galleries or high-end retail environments.
Benefits of LED Canister Lights
LED canister lights offer numerous benefits that can enhance any lighting project. First and foremost, they are energy-efficient, consuming significantly less power than traditional incandescent bulbs. This efficiency translates into lower energy bills for the end-user, making them an attractive option for homeowners and businesses alike. Furthermore, the reduced heat output of LED lights minimizes the risk of overheating, contributing to a safer environment, especially in enclosed spaces.
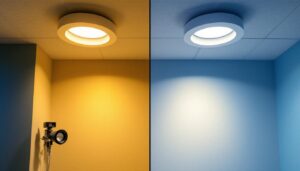
Additionally, LED lights have a longer lifespan, often lasting up to 25,000 hours or more. This longevity reduces the frequency of replacements, saving both time and money for contractors and clients. The durability of LED technology also means they are less prone to breakage compared to fragile incandescent bulbs. Furthermore, LED canister lights are available in various color temperatures, allowing for customization to suit different moods and settings. Whether you prefer a warm, inviting glow for a cozy living room or a cooler, more energizing light for a workspace, there’s an LED option to meet your needs.
Applications of LED Canister Lights
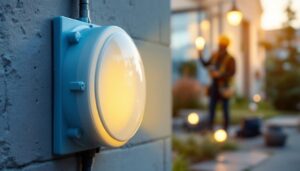
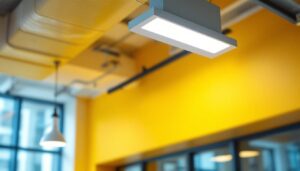
LED canister lights are incredibly versatile and can be used in various applications. In residential settings, they are commonly used in living rooms, kitchens, and hallways to provide ambient lighting. In commercial spaces, they can illuminate offices, retail stores, and restaurants, enhancing the overall aesthetic appeal. Their ability to be dimmed or adjusted in brightness further adds to their functionality, allowing users to create the perfect atmosphere for any occasion.
Moreover, these lights can be used for task lighting, accent lighting, or even as part of a layered lighting design. Their adaptability makes them a go-to choice for contractors looking to meet diverse client needs. For instance, in a home office, strategically placed LED canister lights can provide focused illumination for work tasks while also offering softer lighting for relaxation during breaks. Additionally, when used in conjunction with smart home technology, LED canister lights can be controlled remotely, providing convenience and enhancing energy efficiency. This integration into smart systems allows users to schedule lighting, adjust colors, and even sync them with other devices for a truly modern lighting experience.
Essential Tools and Materials
Having the right tools and materials is critical for a successful installation. Below is a list of essential items that every contractor should have on hand when working with LED canister lights.
Tools Required
1. **Drill and Drill Bits**: A power drill is essential for creating holes in the ceiling for the canister lights. Ensure you have a variety of drill bits to accommodate different ceiling materials. For instance, using a masonry bit is necessary for concrete ceilings, while a wood bit is suitable for wooden structures. Additionally, a hole saw attachment can make the job quicker and cleaner, allowing for precise cuts that fit the canister lights perfectly.
2. **Wire Strippers**: These are necessary for preparing the electrical wires for connections. Properly stripped wires ensure a secure and reliable connection. Investing in high-quality wire strippers can save time and frustration, as they often come with adjustable settings for different wire gauges, making the task much easier and more efficient.
3. **Screwdrivers**: Both flathead and Phillips screwdrivers will be needed for securing fixtures and making electrical connections. A magnetic screwdriver can be particularly useful, as it helps hold screws in place while you work, preventing them from falling into hard-to-reach areas. Additionally, having a ratcheting screwdriver can speed up the process, allowing for quicker tightening and loosening of screws.
Materials Needed
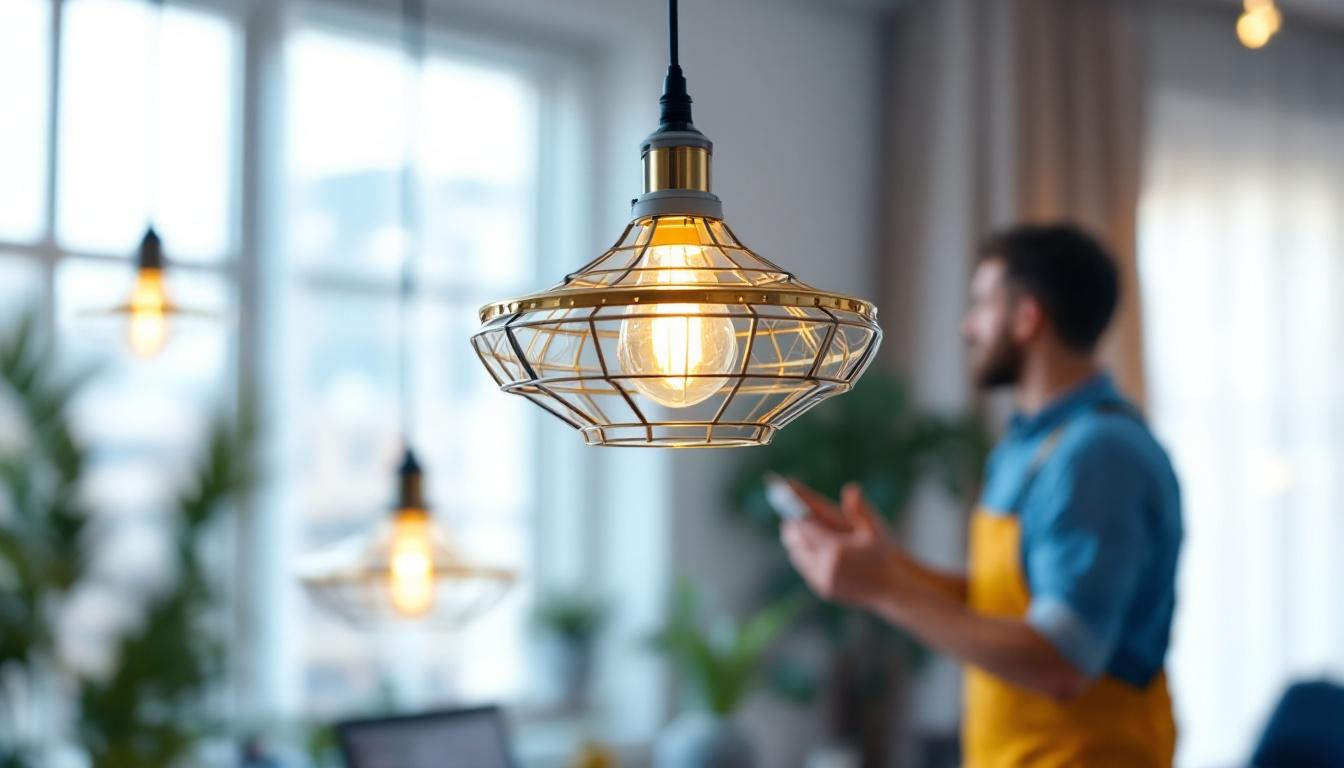
1. **LED Canister Lights**: Choose high-quality LED canister lights that meet the project requirements. Consider factors like wattage, color temperature, and dimmability. It’s also wise to check for energy efficiency ratings, as some LED lights offer significant savings on electricity bills over time. Furthermore, look for models with a long lifespan and warranties, ensuring that your installation remains reliable for years to come.
2. **Electrical Wire**: Ensure you have the appropriate gauge of electrical wire for the installation, typically 14-gauge for most residential applications. Depending on the complexity of your setup, you may also need different types of wire, such as NM (non-metallic) cable for interior wiring or UF (underground feeder) cable for outdoor installations. Always double-check local building codes to ensure compliance, as this can vary by region.
3. **Wire Nuts**: These are essential for making secure electrical connections between wires. When selecting wire nuts, consider the size and number of wires you’ll be connecting; using the right size ensures a tight fit and prevents connection failures. Additionally, having a few extra wire nuts on hand can be beneficial, as they can sometimes get lost during the installation process. For added safety, consider using heat shrink tubing over connections for extra insulation and protection against moisture.
Planning the Installation
Proper planning is key to a successful LED canister light installation. This phase involves determining the layout, spacing, and electrical requirements for the project.
Layout and Spacing
Before installation, create a detailed layout of where the canister lights will be placed. Consider factors such as room size, ceiling height, and the intended use of each space. A common guideline is to space the lights approximately 4 to 6 feet apart, depending on the brightness desired and the wattage of the fixtures.
Additionally, take into account any architectural features or furniture that may obstruct the light. Ensuring even distribution of light will enhance the overall ambiance of the space.
Electrical Considerations
Before beginning the installation, it’s crucial to assess the existing electrical system. Check for available circuits and ensure they can handle the additional load of the new canister lights. If necessary, consult with a licensed electrician to determine if upgrades are needed.
Moreover, consider the use of dimmer switches for added flexibility in controlling the lighting. Ensure that the dimmers are compatible with LED technology to prevent flickering or reduced lifespan of the bulbs.
Installation Process
Once the planning phase is complete, it’s time to move on to the installation process. This section outlines the steps needed to install LED canister lights safely and effectively.
Step-by-Step Installation
1. **Turn Off Power**: Safety should always come first. Before starting any electrical work, turn off the power at the circuit breaker to avoid any risk of electric shock.
2. **Cut the Ceiling Openings**: Using a drywall saw, cut openings in the ceiling according to the size of the canister lights. Ensure the holes are evenly spaced and aligned with your planned layout.
3. **Run Electrical Wiring**: Pull the electrical wire through the ceiling from the power source to each canister light location. Make sure to leave enough wire length at each fixture for connections.
Making Electrical Connections
4. **Connect Wires**: Strip the ends of the wires and connect them using wire nuts. Typically, the black (hot) wire connects to the black wire from the fixture, the white (neutral) wire connects to the white wire, and the green or bare wire (ground) connects to the ground wire. Secure the connections with wire nuts and electrical tape for added safety.
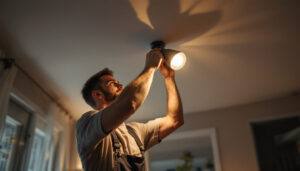
5. **Install the Canister Lights**: Insert the canister lights into the openings you created. Depending on the model, they may have clips that hold them in place. Ensure they are snug and secure.
Finishing Touches
After the installation of the canister lights, it’s time to complete the project with some finishing touches. This phase ensures that everything is functioning correctly and looks professional.
Testing the Lights
Once all fixtures are installed and connected, turn the power back on at the circuit breaker. Test each light to ensure they are functioning correctly. If any lights do not turn on, double-check the connections and wiring.
Additionally, if dimmer switches were installed, test their functionality as well. This step is crucial to ensure that clients are satisfied with the final results.
Final Inspection
Conduct a thorough inspection of the installation. Look for any visible wiring or fixtures that may need adjustment. Ensure that the lights are evenly spaced and aligned with the intended design. A clean and professional finish will leave a lasting impression on clients.
Maintenance Tips for LED Canister Lights
Once the installation is complete, it’s important to educate clients on the maintenance of their new LED canister lights. Proper care can extend the lifespan of the fixtures and maintain their performance.
Regular Cleaning
Dust and debris can accumulate on the fixtures over time, impacting their brightness. Encourage clients to regularly clean the exterior of the canister lights using a soft, dry cloth. For more stubborn dirt, a damp cloth can be used, but ensure that no moisture enters the fixture.
Check for Flickering or Dimming
Advise clients to monitor their lights for any flickering or dimming issues. These can be signs of electrical problems or compatibility issues with dimmer switches. If any issues arise, recommend contacting a qualified electrician for further assessment.
Conclusion
LED canister lights are an excellent choice for contractors looking to provide modern, efficient lighting solutions. By following this comprehensive checklist, lighting contractors can ensure a successful installation that meets client expectations. From understanding the benefits of LED technology to executing a professional installation, each step is vital to achieving the desired outcome.
With the right tools, careful planning, and attention to detail, contractors can enhance their projects and provide clients with a lighting solution that not only looks great but also performs efficiently for years to come.
Get Your Premium LED Canister Lights at LumenWholesale
Ready to elevate your lighting projects with the efficiency and sophistication of LED canister lights? Look no further than LumenWholesale for all your lighting needs. Our spec-grade lighting products are designed to meet the highest industry standards, ensuring you deliver top-quality installations every time. By choosing us, you’re not just getting superior lighting—you’re also enjoying unbeatable wholesale prices, free shipping, and the convenience of hassle-free bulk buying. Don’t let middleman markups dim your project’s potential. Take advantage of our extensive selection and experience the best value in lighting solutions today. Visit Wholesale Lighting at the Best Value and make LumenWholesale your go-to source for exceptional lighting.